Today I’ll be sharing how we created the plank wall in our kitchen. If you want to catch up on our kitchen project you can find the links below.
Kitchen Redo: Part One {Side Kitchen Reveal}
Kitchen Redo: Part Two {DIY Curtain Rod}
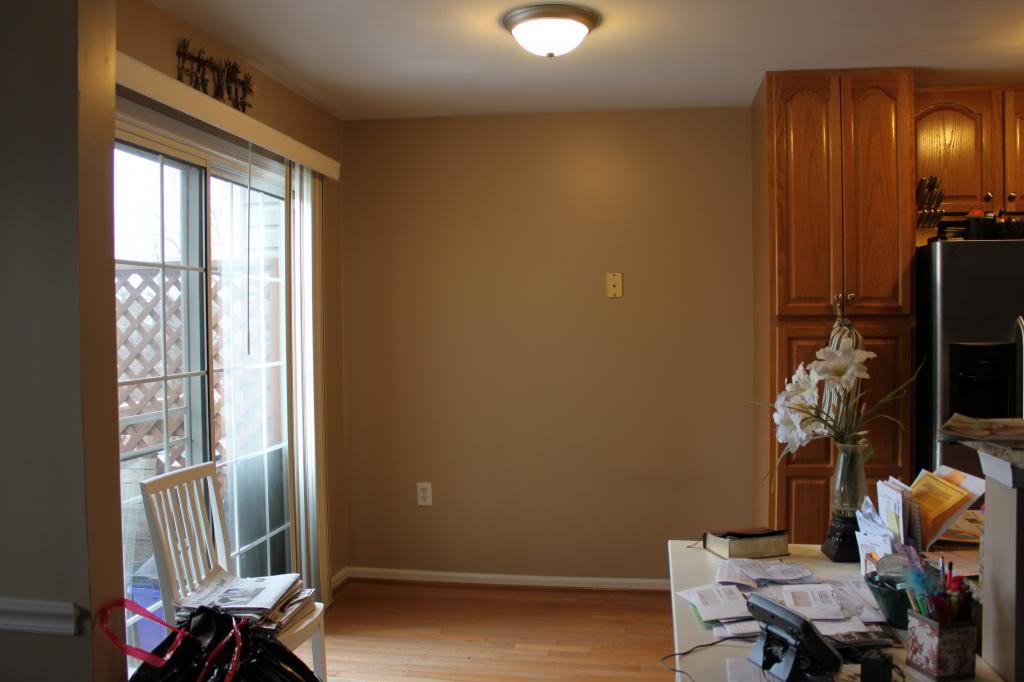
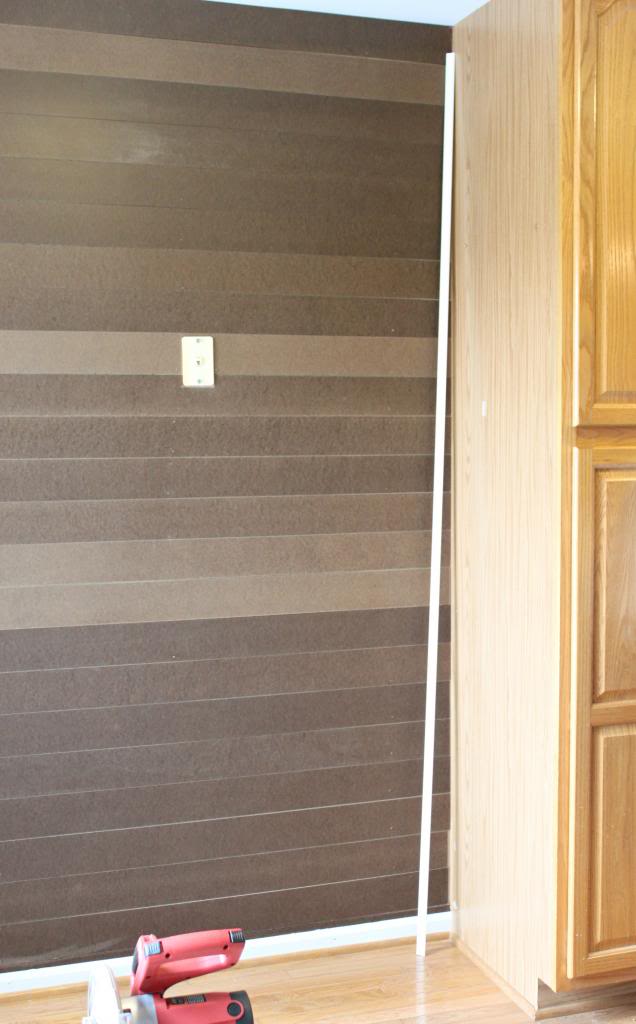
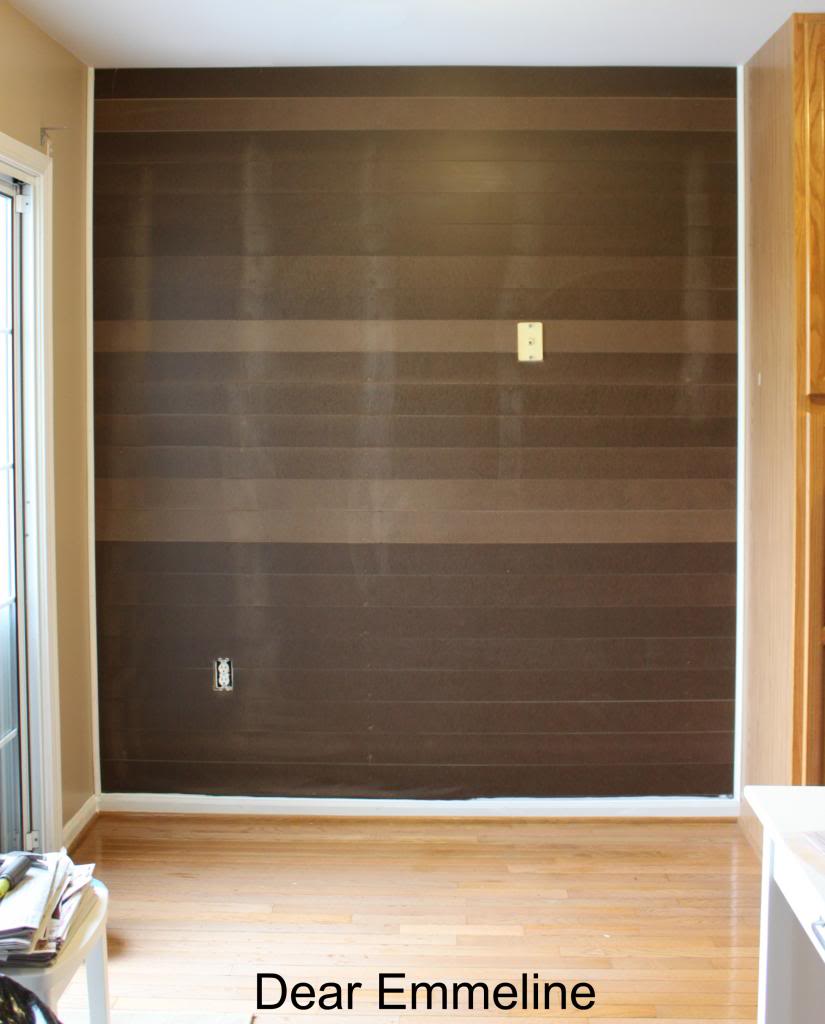
This is how the wall started. This photo also gives you a glimpse of the cabinets we will soon be painting. Woohoo!
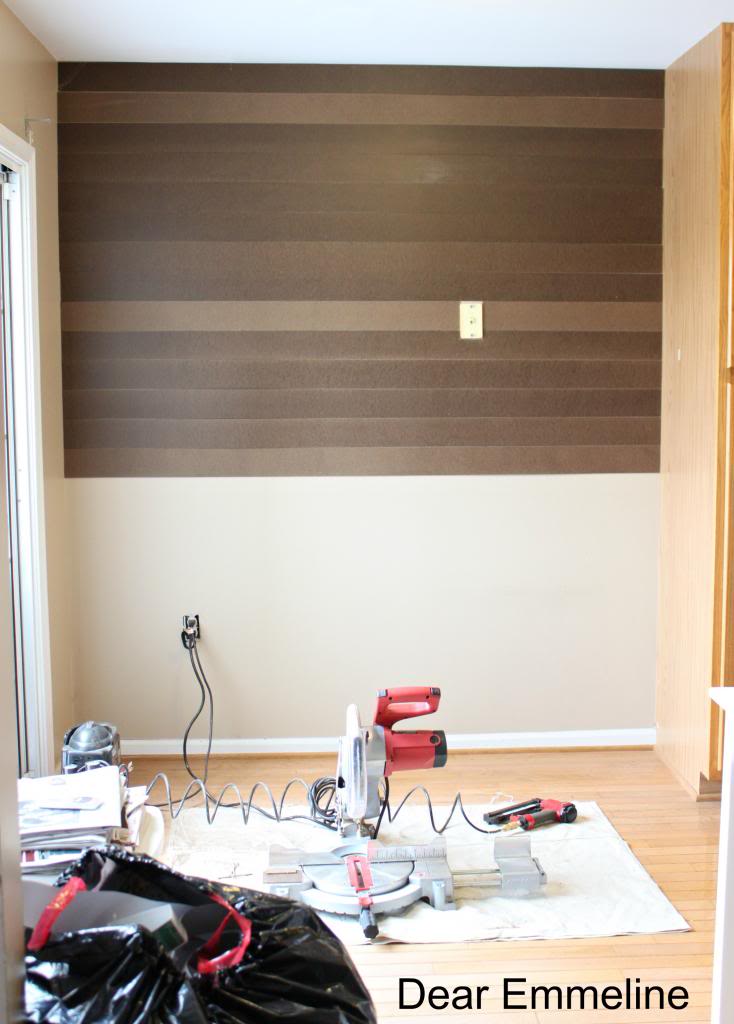
The hardboard for this project was cut into 4″ strips at Lowes. We piled all the boards up and they were run through the saw all at one time for a total of 12 cuts. Saved us a ton of time to do it this way. The first 2 cuts were free and it cost us about $3.00 for the other 10 cuts. Money well spent in my opinion. Why did we go with hardboard over hardwood? It was a money thing. We wanted the look and not the cost so this was the best option. I had the idea well over a year ago and after finding out that Marian used hardboard for her guest room planks I was sold.
We started nailing the board onto the wall from the top so we could hide the partial board under the trim at the bottom. Our wall is only about 7 feet long so my husband decided to find and make use of the studs for nailing the boards. Since the boards were longer than our wall we chose to cut and hang each board the entire length of the wall. Less seams, less nails, win, win.
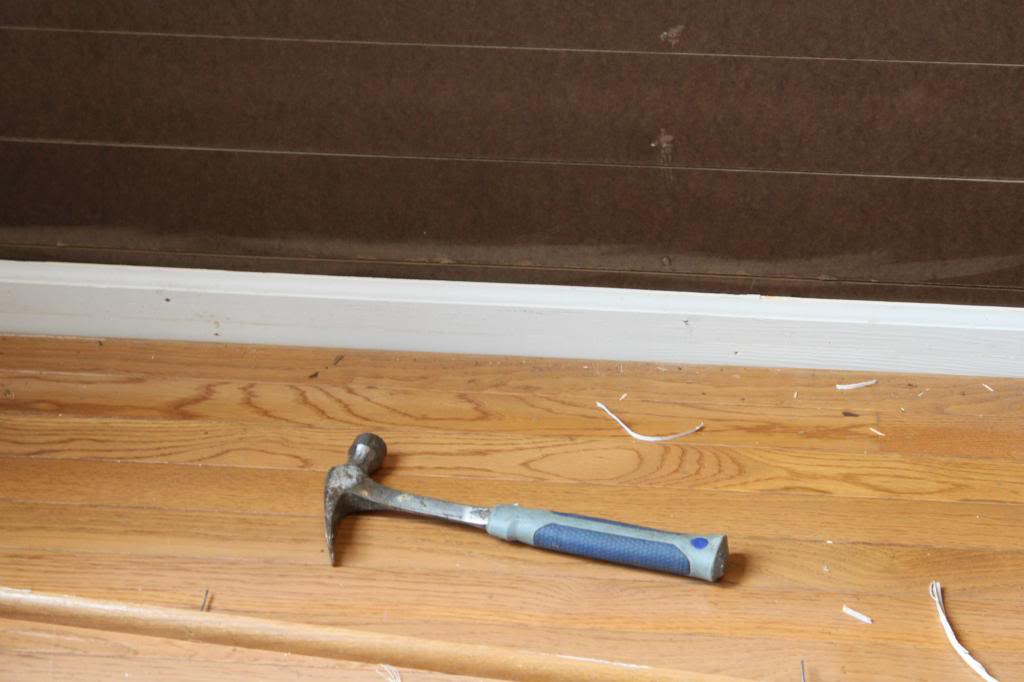
Here you can see only an inch hangs out from the board behind the trim. After all the trim was put back my husband caulked the seam (with paintable caulk) for a nice clean finish.
Next, we put up some edge trim at both ends of the wall to make nice finished ends.
Tada!
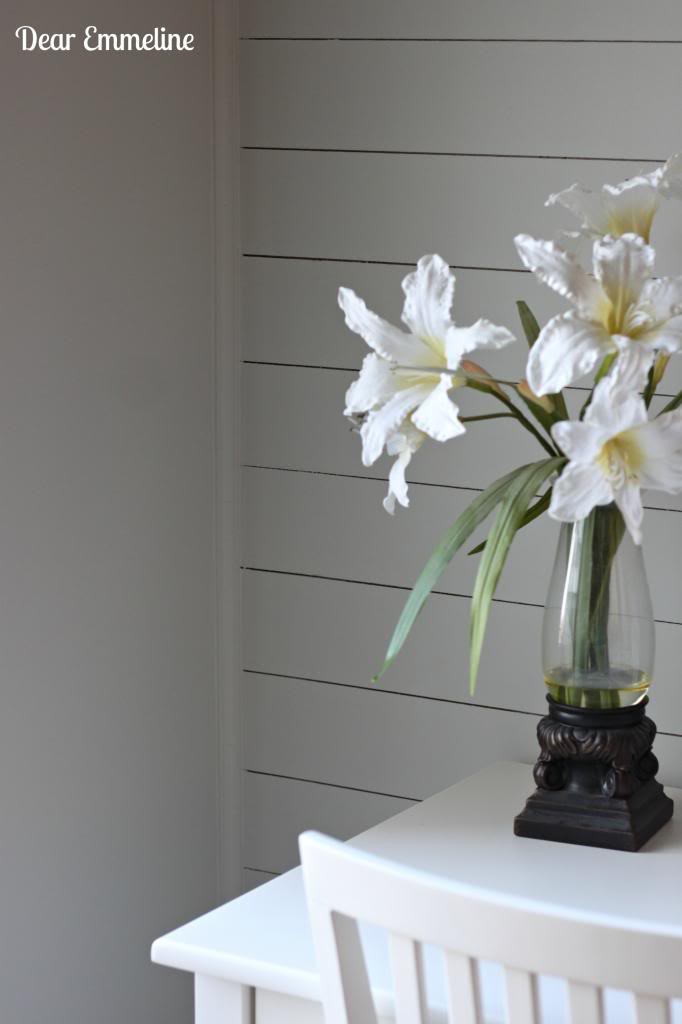
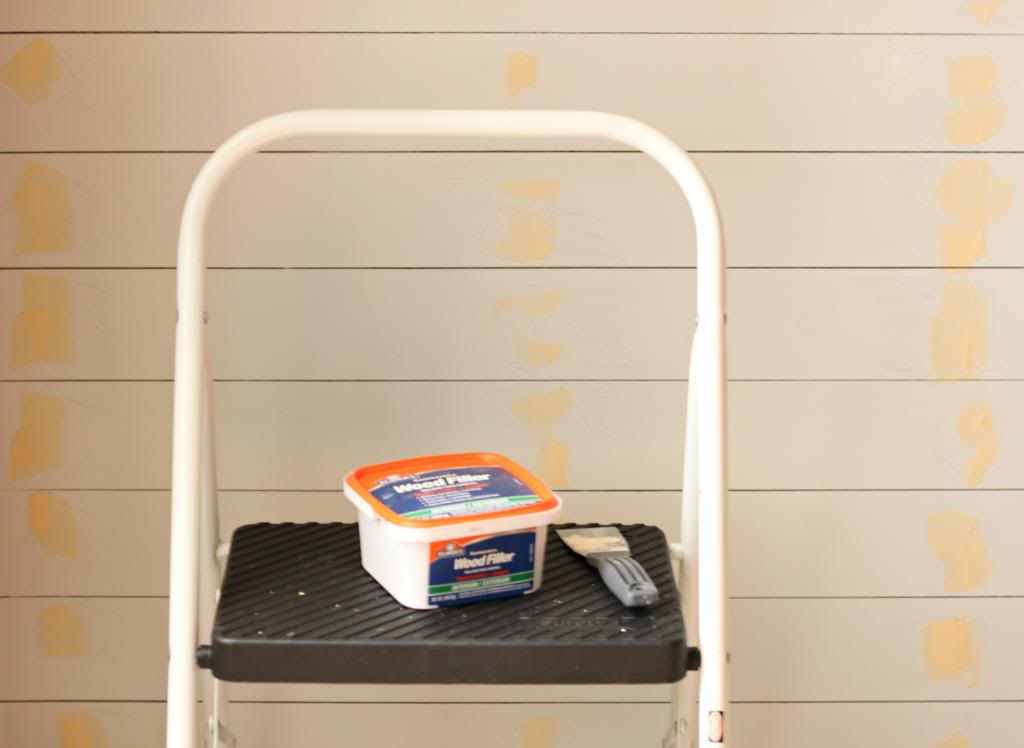
After one coat of paint (Benjamin Moore: Gray Owl) we decided the nails were too obvious so they got a little Elmer’s wood filler to patch them up. I will also add that if you want the cracks to you should load the roller with very little paint. Too much and it will moosh and squish right into all your pretty little cracks. The few places where this happened I took a putty trowel and slid the edge through each space to clear the paint.
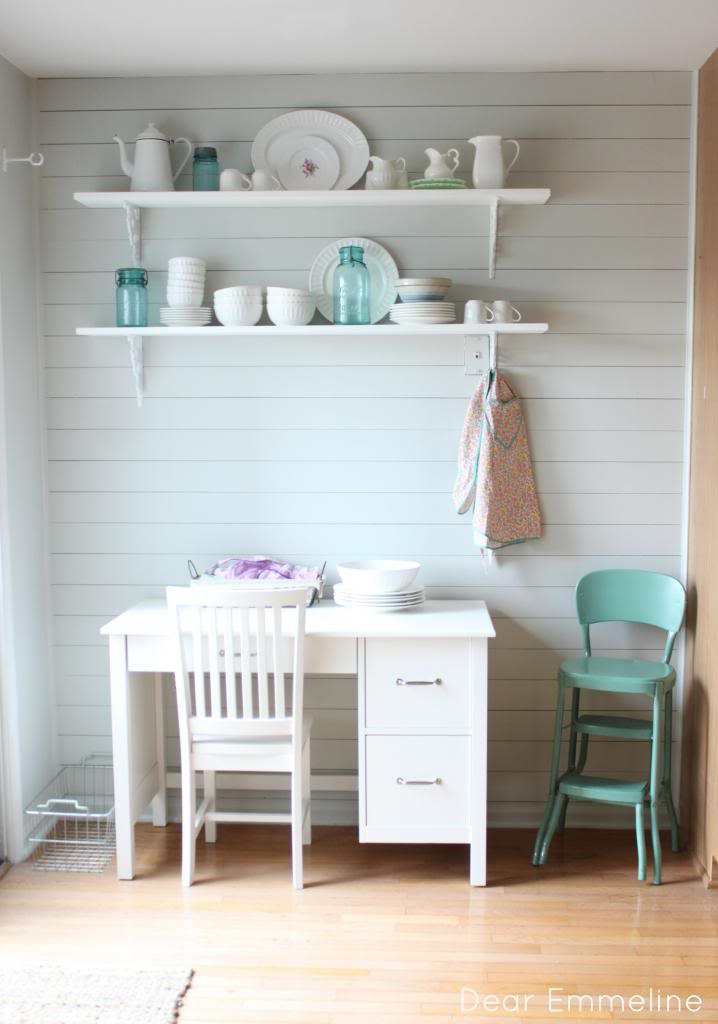
Another coat of paint and the wall was finished!
Feel free to visit the other posts in our kitchen makeover series:
Painted Cabinet Reveal
Easy Conduit and Knob Curtain Rod DIY
Side Kitchen Reveal
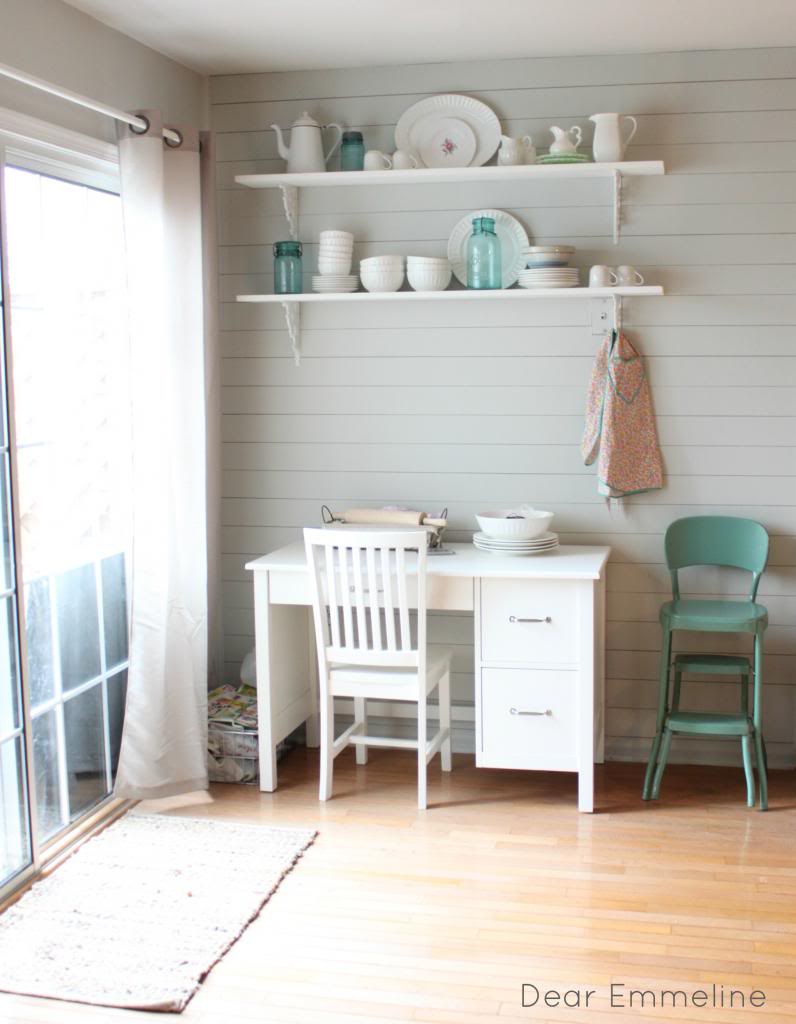
What a fabulous change! I never thought of using hardboard. It looks like it provides a nice smooth finish for paint too! LOVE your chair…and, of course, the ironstone! xo
What great texture it adds! Perfect for the cottage/farmhouse look you are going for!
Love the look! This wall turned out fabulous!
Love it 100% better!! What an awesome job.
Very nice job and a complete demo! I do have a question, though. In the old days of home décor, we felt we would have to do the walls of an entire room as opposed to just doing one lone wall. I'm left to wonder…have the decorating rules changed?
Donna Allgaier-Lamberti / White Oak Studio Designs / SW Michigan
Hand-Painted Vintage Furniture Transformations
Blog: http://smallhouseunderabigsky.wordpress.com
Facebook: donnaallgaierlamberti@facebook.com (To see a portfolio of painted pieces for sale)
I think as long as your house isn't an episode of hoarders then you can make it/decorate it/ & design it however you please. I'm sure someone would say there are "rules" in decorating but quite frankly I personally don't care about them. There is much truth in the saying beauty is in the eye of the beholder. Some rules, trends, or fads might not be for you and vice versa you may try something that isn't widely used or accepted and have fantastic results. In this case I figure many homes naturally have one exposed brick wall or planked wall because they are exterior or original walls.
Just beautiful!
Ohhh my goodness! That is SO beautiful! I love the whole vignette so so much!
Kelly @ View Along the Way
I love the plank wall! We installed one in our home and it just adds such a fun touch to a room! Great job! It looks beautiful!
Allison