Long time, no post.
Life happened, holidays happened, sickness happened and happened and happened some more.
Projects have happened BUT posting has not happened.
I’m glad to be back and wishing you a happy new year! I have a slew of projects to share and will hopefully have time to once two of the kiddos return to school tomorrow.
One of the home projects we finished up just before the weather turned was painting our front doors. I was contacted by Modern Masters earlier in the year and finally selected a front door paint to try.
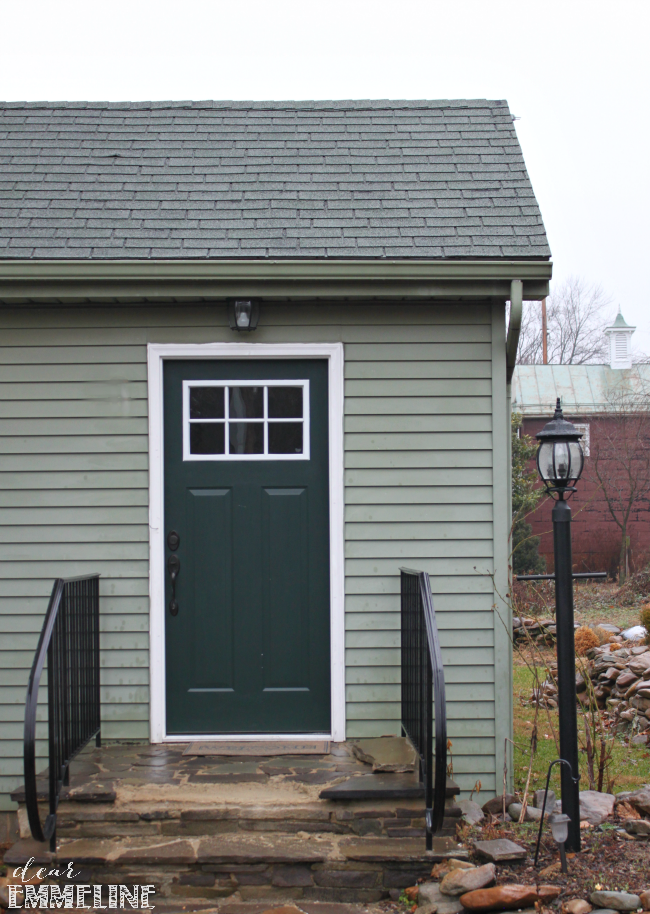
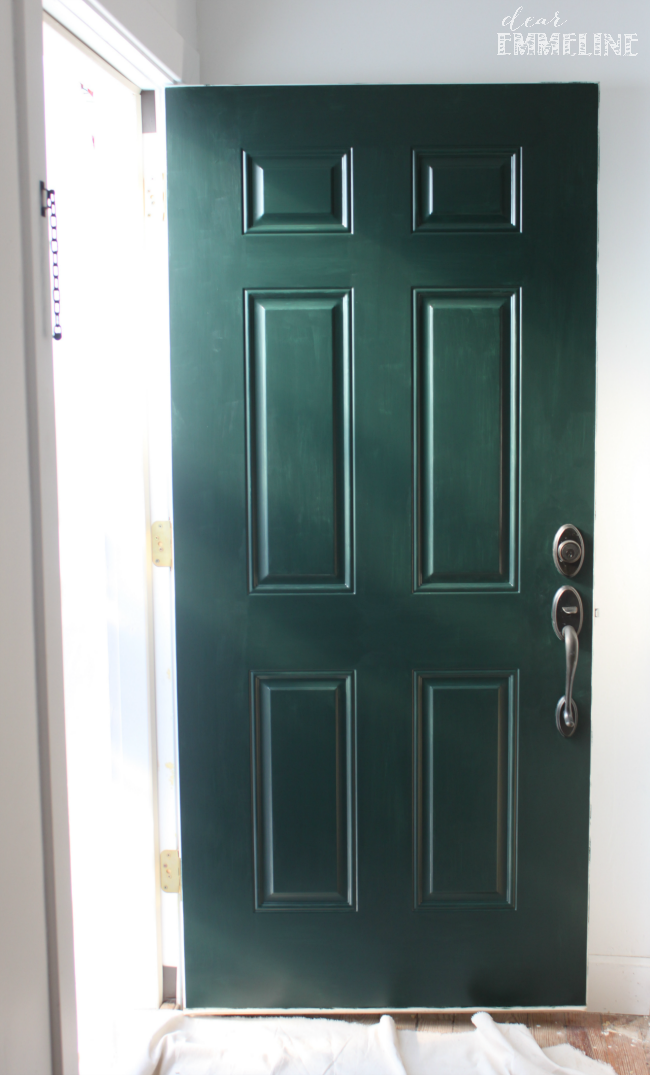
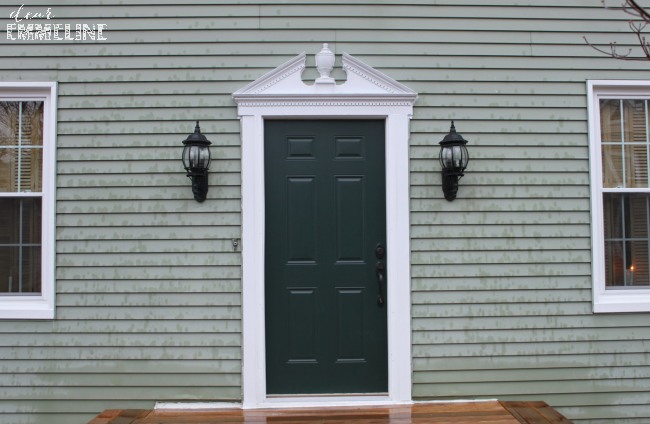
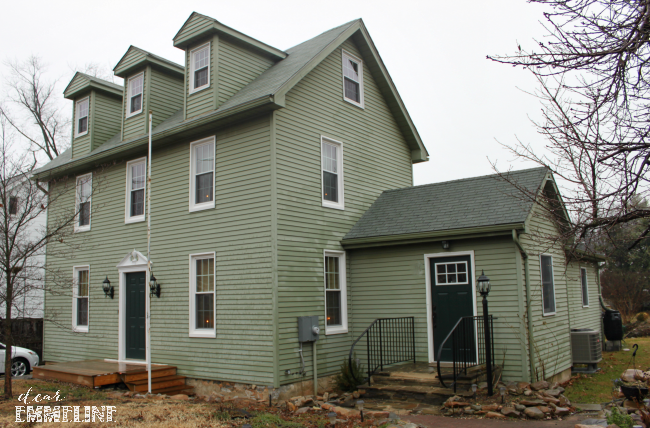
Say hello to our new deep dark green doors, painted with Modern Masters Front Door Paint in Successful.
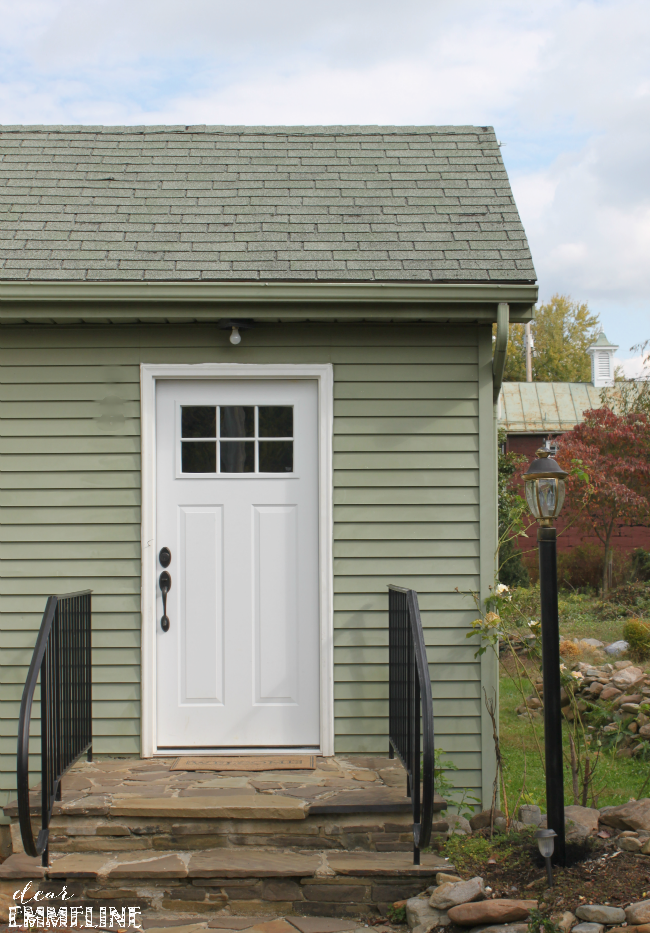
The dusty green aluminum siding made it hard to decide what color would work plus there were plenty of color options to choose from.
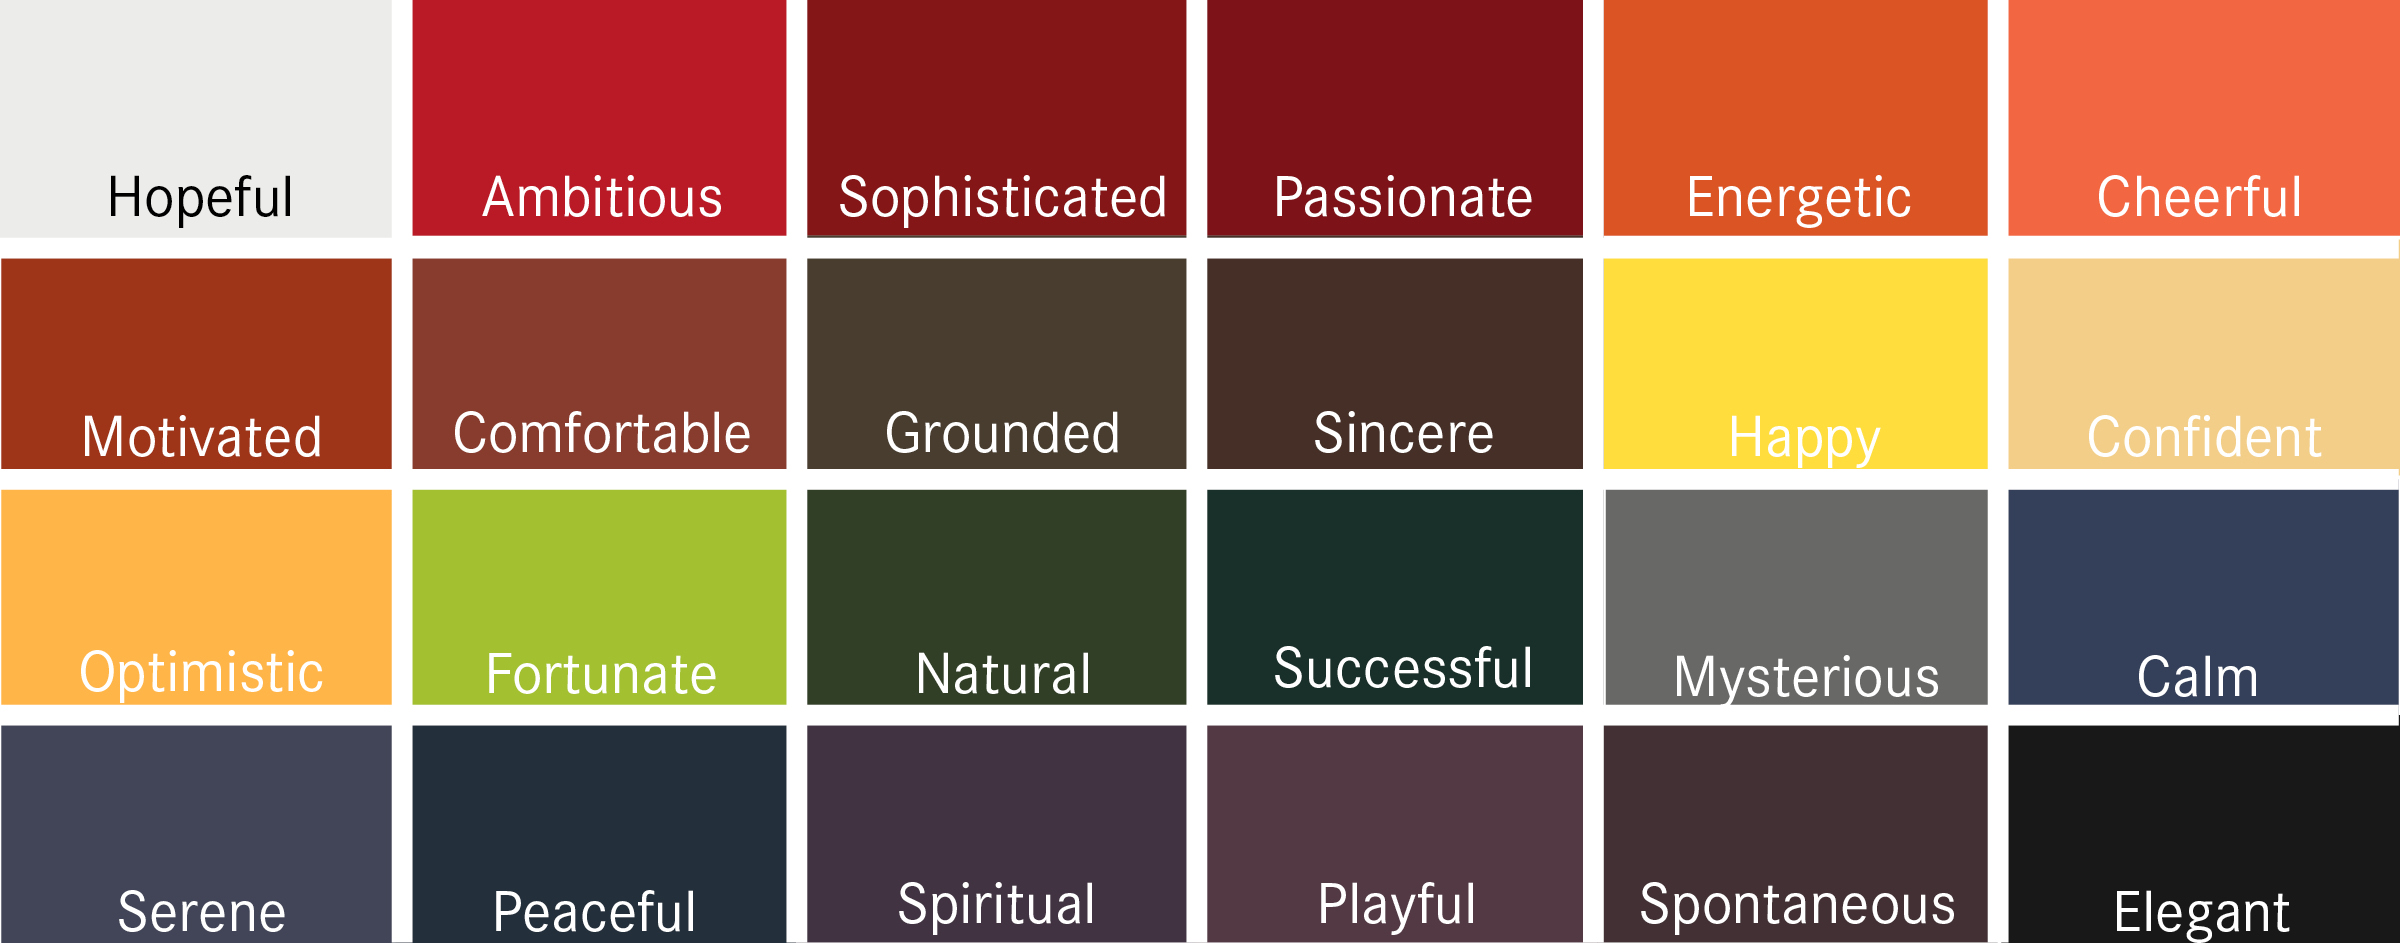
I thought about sticking with white (Hopeful) but it seemed a bit too safe. Black (Elegant) seemed like it would be too stark. Others colors I debated were Passionate, Motivated, and Spontaneous. After running the colors by my husband we decided on Successful.
Mudroom Door Before:
Our doors do not have screens so we came up with a way to paint while keeping bugs and pollen, etc. out.
We stapled 6 mil plastic sheeting to the outside door frame.
Worked perfectly! Privacy, check. Bug free, check. Pollen, dirt, and dust out, check.
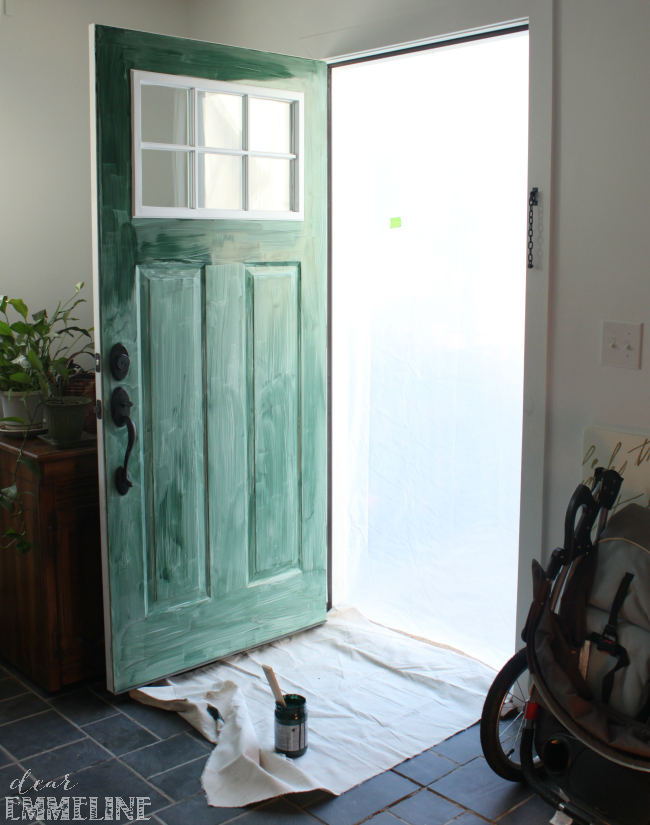
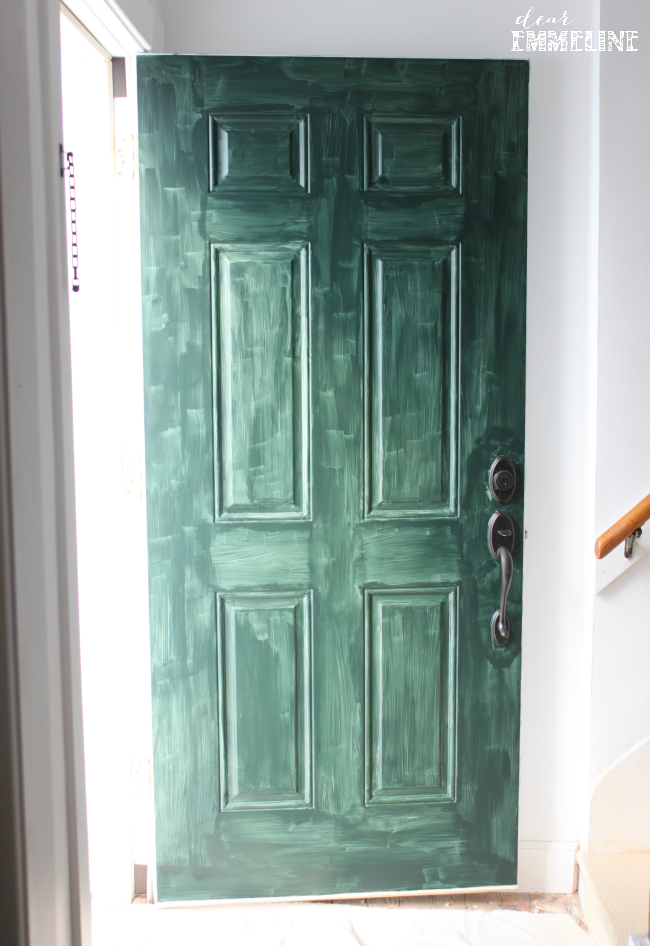
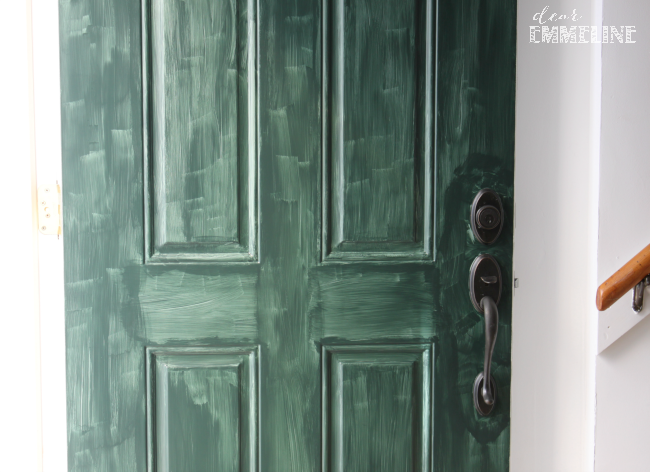
I started with our mudroom door. I followed the directions on the can for mixing and was really surprised at the watery first coat. I was under the impression that the paint should have been much thicker and should have required 1-2 coats for complete coverage. My jar of paint seemed very separated to start and as I painted and continued stirring and stirring (beyond initial recommendation) it seemed to incorporate more and more and did become quite thick as it mixed. The top corner of the door shows what the paint looked like after it was a bit more mixed. Due to the runny first coat our door needed 2-3 coats. Good thing this paint dries quickly.
After painting the first coat on the mudroom door I moved to the front door. The paint (now more incorporated) had much better coverage. Because of the fast drying nature of this paint you can’t really go back over your paint strokes so the first coat might leave you saying “yikes”.
The paint will look much better after the second coat!
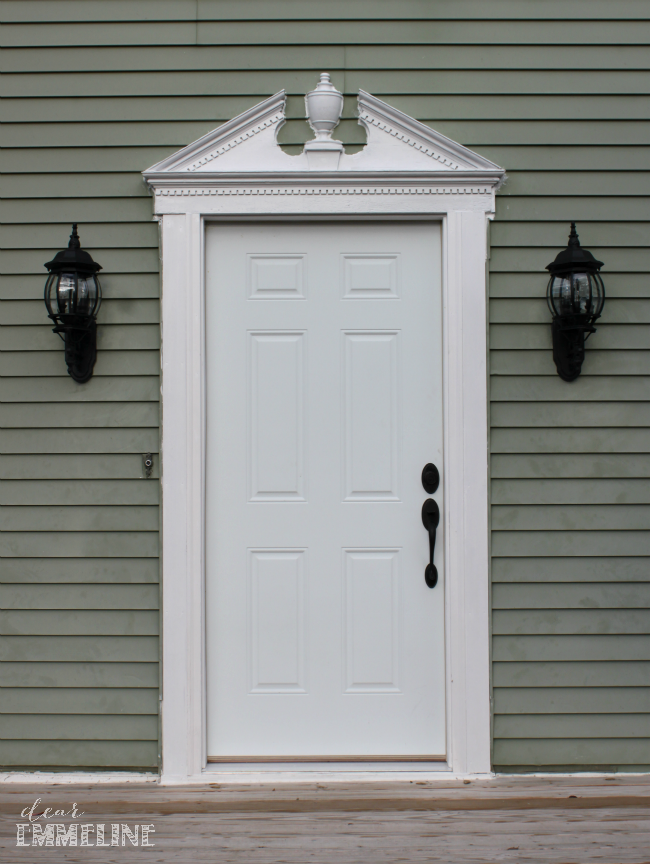
Front Door Before:
We’re happy with the new pop of deep green!
After living with factory primed doors for a few months it’s nice to have some freshly painted doors.
Does your front door need a fresh new coat for the new year? Make sure to stop in next week for a fun Modern Masters giveaway!!
Your doors look fantastic and I love the green! I painted ours a few years ago and it made such a change. All the best for 2015!
i love the new door color! i always love tone on tone houses, except mine which is brown and brown. ick.
Your painted doors look awesome! I know you are pleased with the end result.
Paula@SweetPea
http://www.virginiasweetpea.com
Looks great! I love the color you chose with the white details surrounding it. I have 2 doors to paint, so I'm excited for your giveaway!
Thanks Paula! It's nice to have some paint up. Any color would have been better than the factory primed white! Love the green though. 🙂
Thanks Suzanne! It's amazing what a little paint can do, right? Best wishes for a wonderful and successful 2015 for you as well!
This comment has been removed by a blog administrator.
Thank you so, so much for posting the first coat picture! I just finished my first coat and (admittedly tried to make it look right by globing on more paint – hope I didn't ruin it) and decided to look up what the first coat looks like. NO ONE HAS THE FIRST COAT! 🙂 Just you. They just show before and after. Even the so-called step by step sites. I feel more at ease now. But very worried about where I globed it on. heehee…first tries are always bumpy!