Five weeks ago we began transforming an 18′ x 11′ room in our garage outbuilding. A room that once looked like a typical cement floored garage now looks completely different. We’ve painted, added trim, and installed laminate flooring, desks, & shelving. We’ve completed a host of DIY projects and the room is nearly complete.
We are sharing our renovation project weekly as part of the One Room Challenge™. The ORC is a biannual challenge where bloggers and designers around the web complete a room redo over the span of 6 weeks. Every Wednesday, 20 featured designers share the progress they’ve made in their rooms, and each Thursday, Linda of Calling It Home (the originator of the ORC), hosts a linkup where anyone from around the web can jump in and share their own ORC projects.

Today marks the end of the 5th week of the 6 week challenge. It went SO fast!! If you’re looking for the motivation to finish a room I highly suggest jumping in as an ORC participant in the fall.
If you missed any posts in our Garage Studio & Pop-Up Shop series, you can catch up here;
Week 1: The Before & Inspiration
Week 2: The Design Plan
Week 3: Nature’s Reflection Painted Door & Other Progress Sneak Peaks
Week 4: Studio Shelving
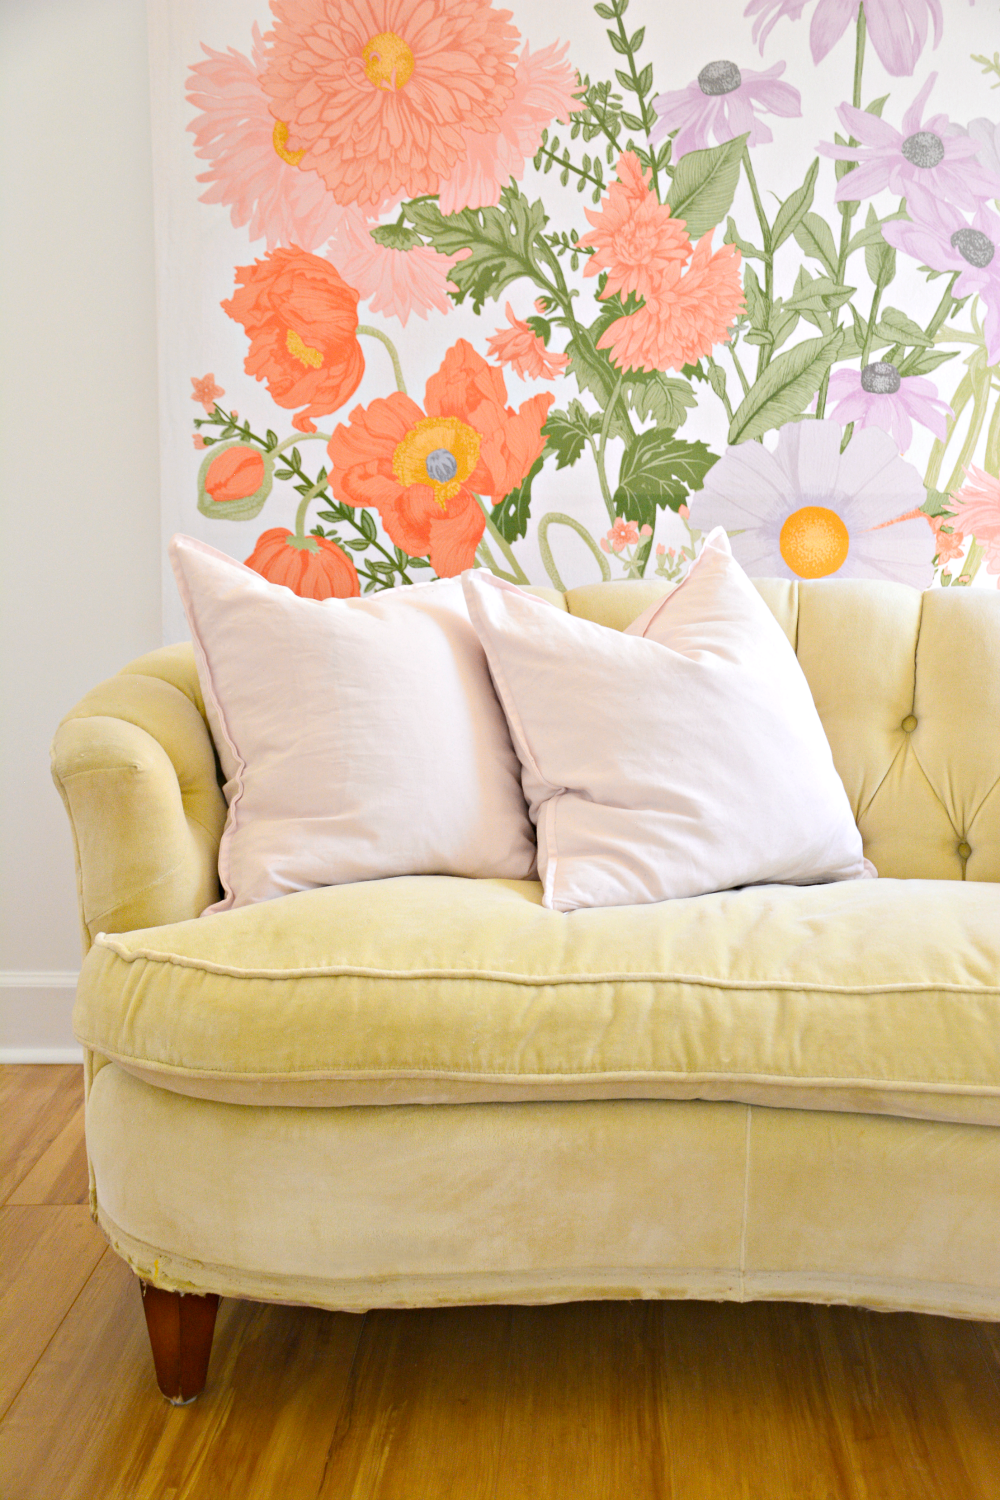
Today, I’ll be sharing how we created a large-scale floral art piece for the studio. The entire piece measures 5’4″ squared.
* This post contains several Amazon affiliate links. Shopping via the links costs nothing extra AND we will receive a small commission for the sale. Win, win!*
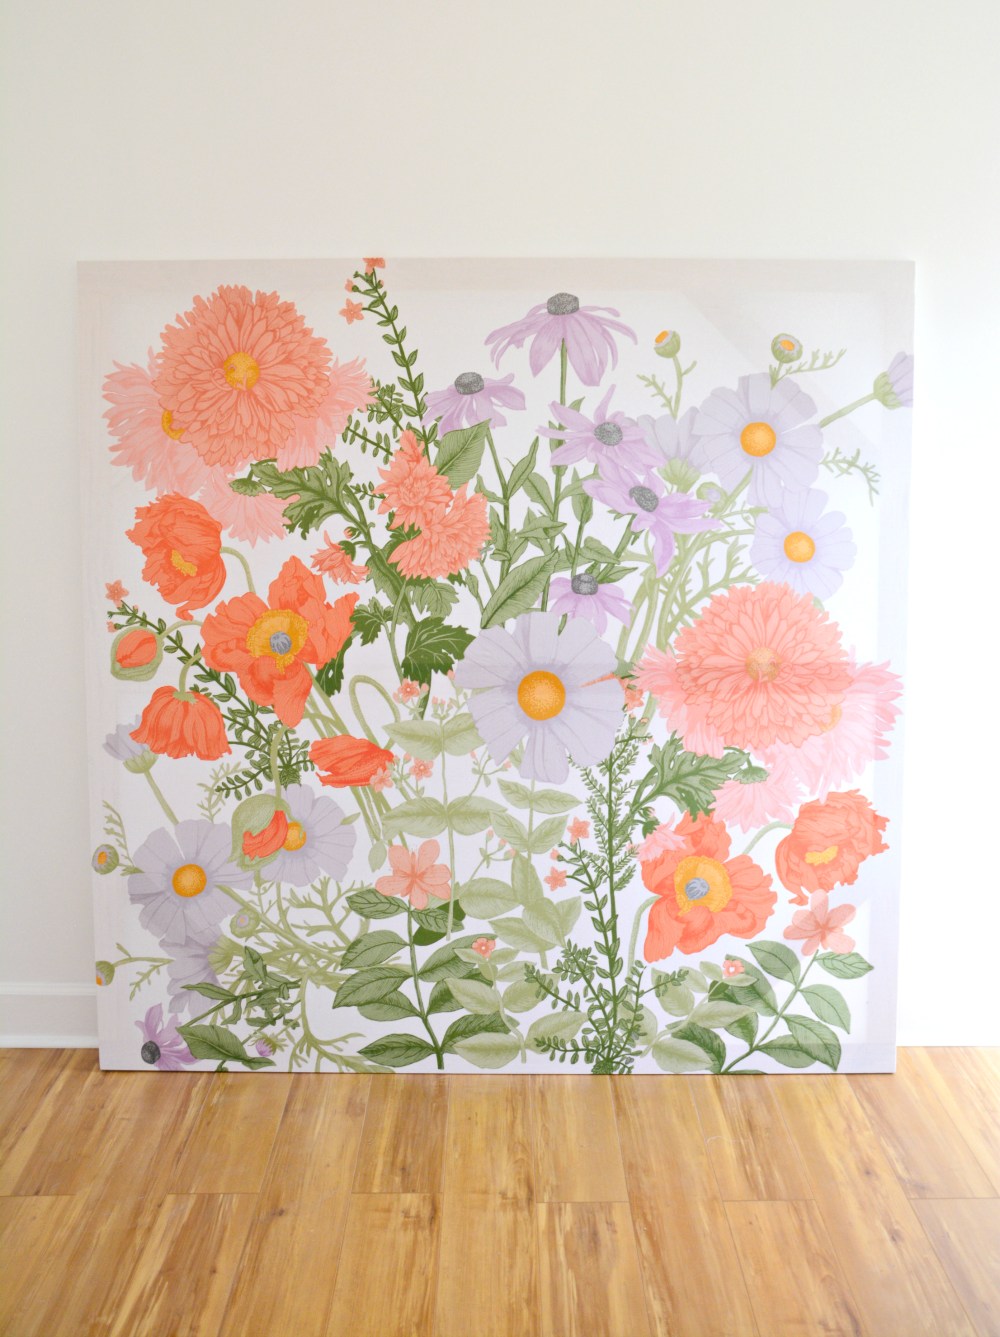
The secret to this easy project is that the “art” itself is actually a cotton shower curtain!
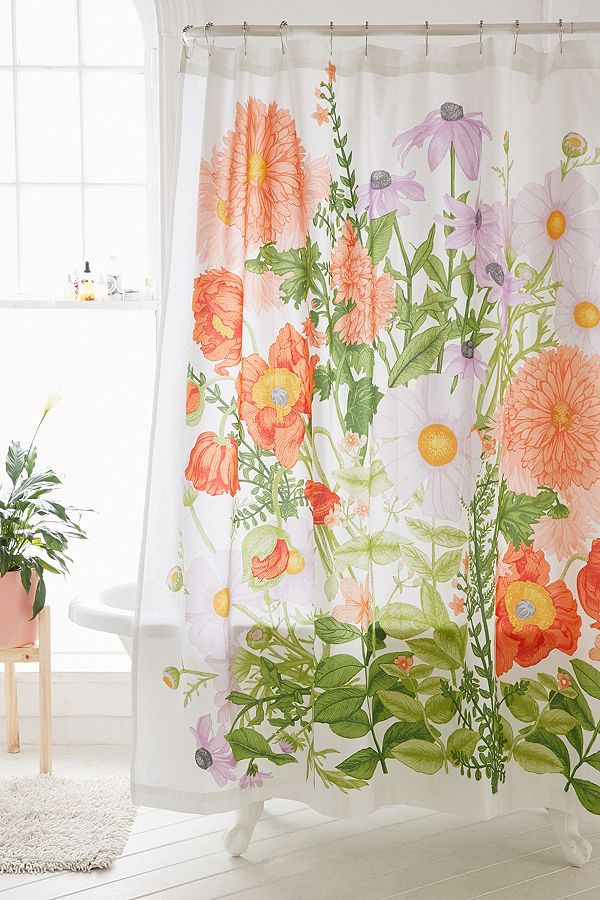
I loved the colors and scale of the Marina Floral Shower Curtain from Urban Outfitters.
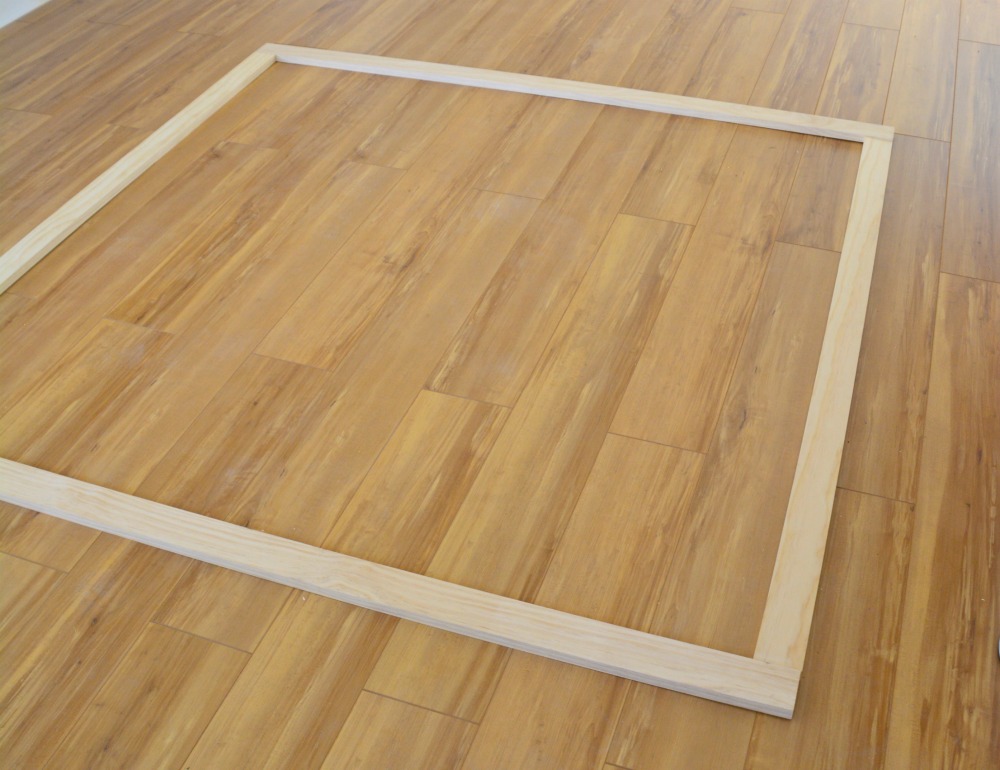
To start we cut 1’x3′ wood boards to create a 5’4″ square frame. 1’x3’s were also cut to fit across the center and at each corner. The center and corner braces provide the necessary support needed for a large frame to hold secure. The boards could be cut shorter or longer to fit any shower curtain or tapestry of choice.
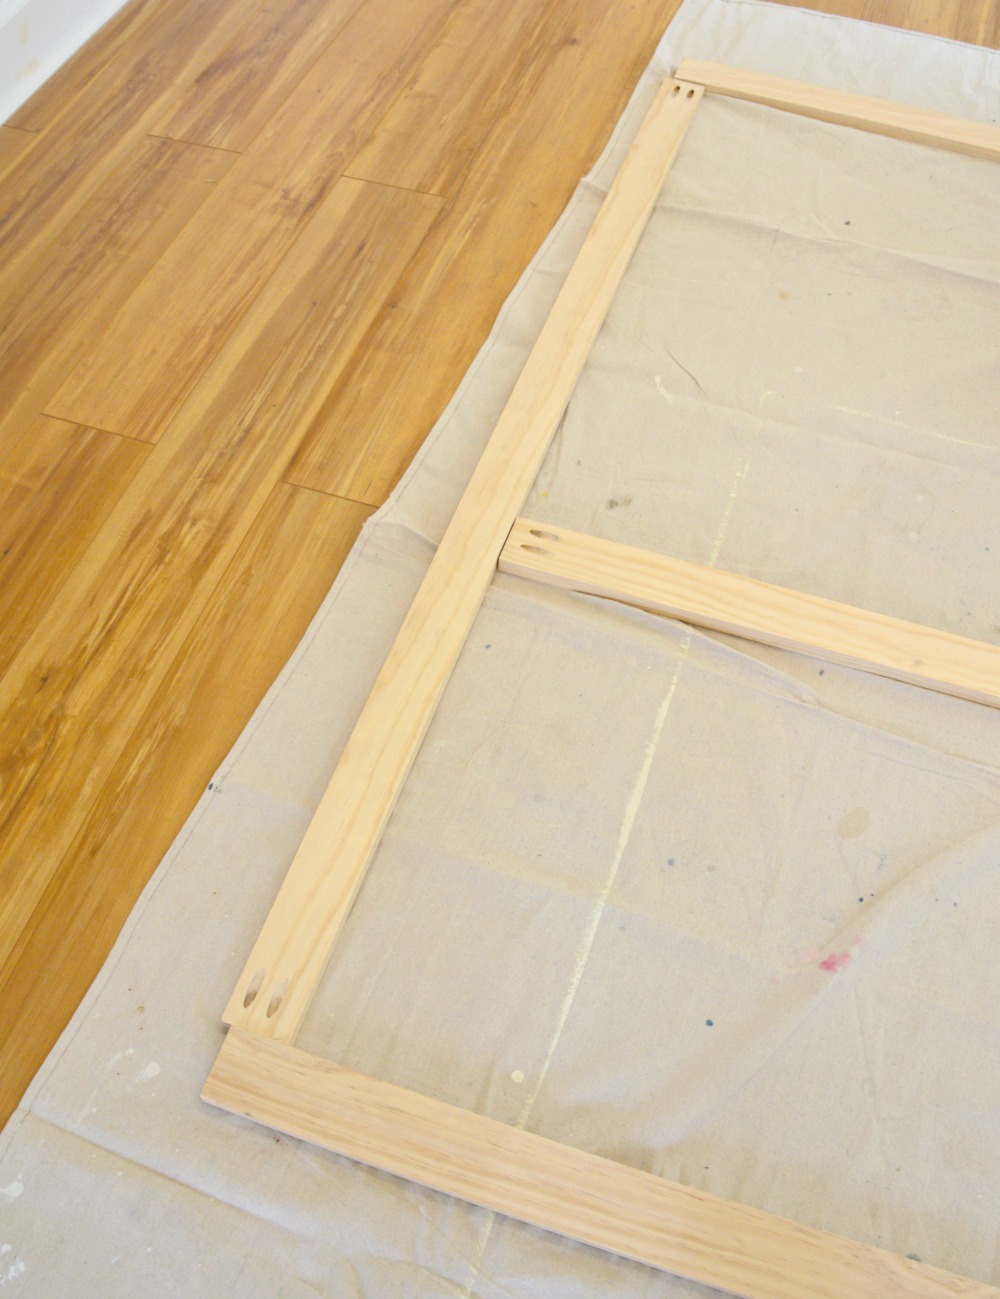
Next, my husband used a Kreg Jig System (probably his favorite specialty tool!!) to create pocket holes at each joint of the frame.
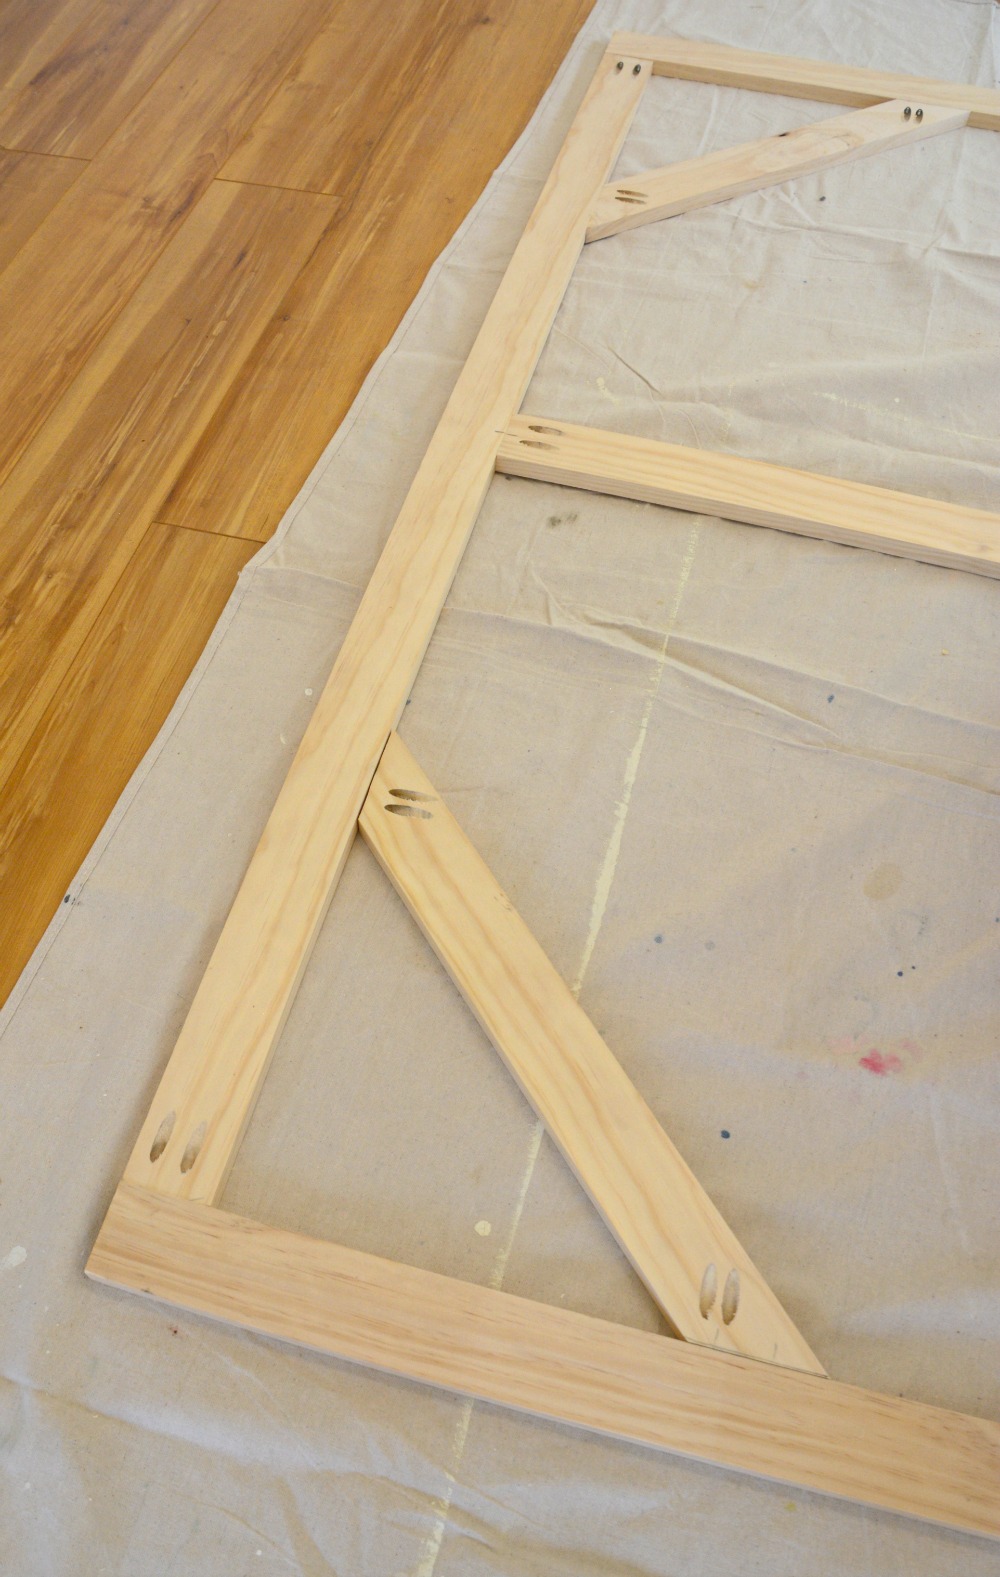
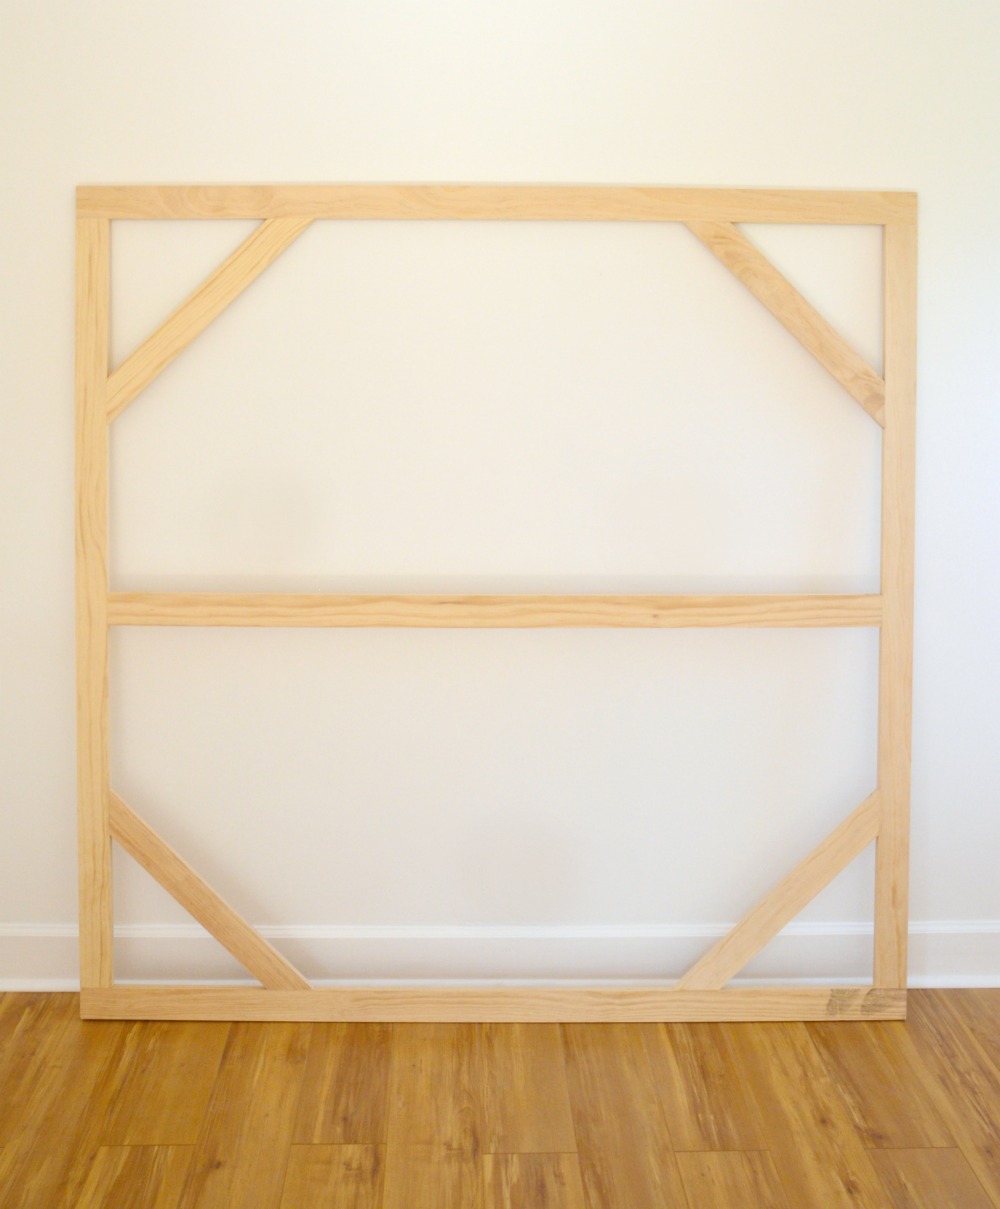
After the frame was assembled we laid out the shower curtain right side down.
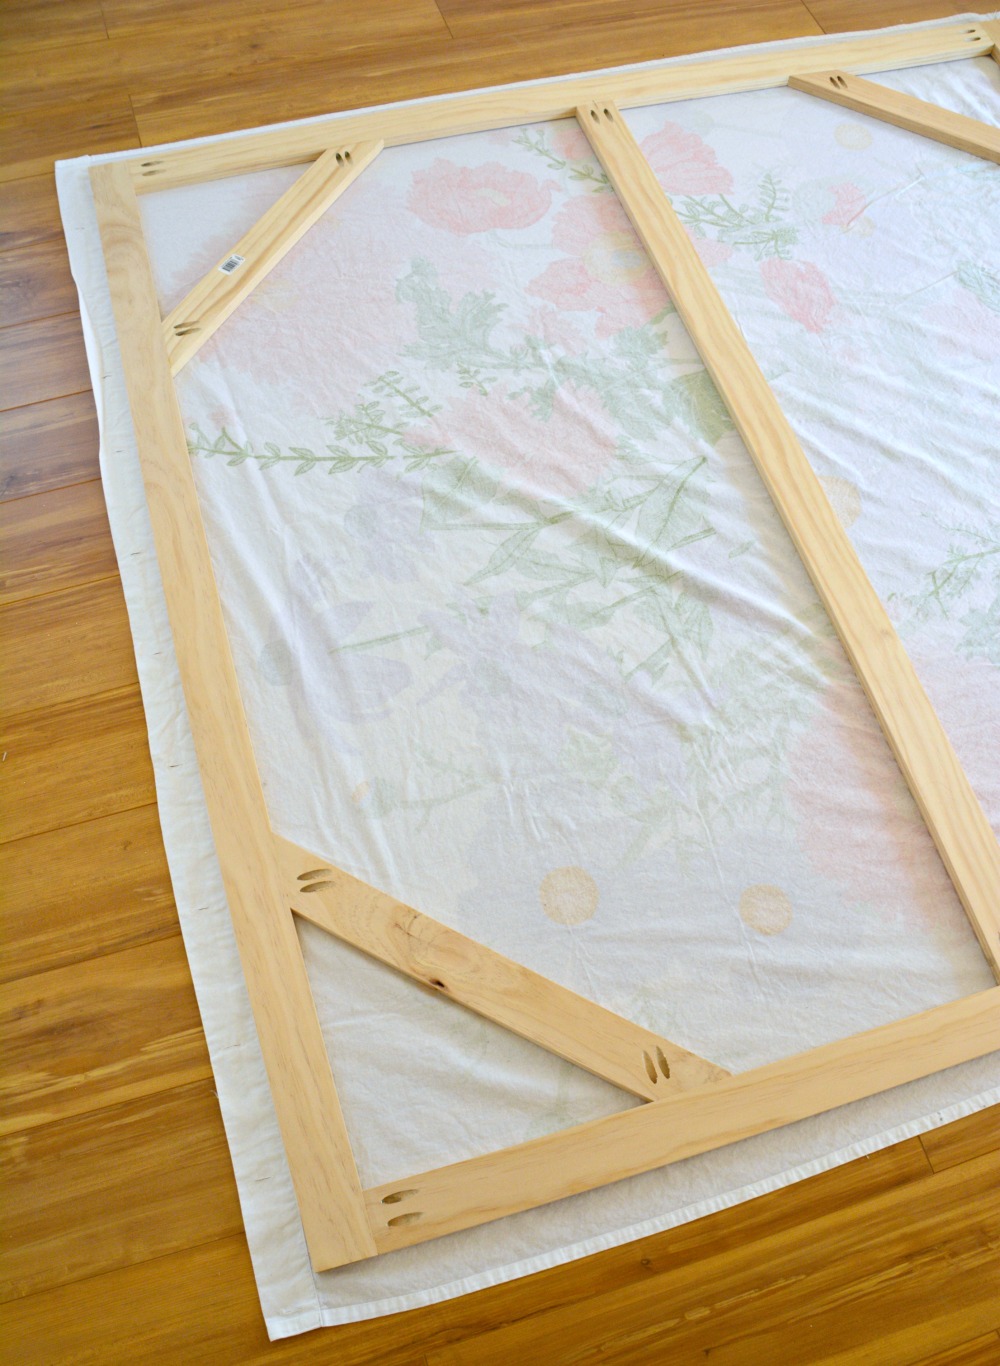
Starting at the center on the top and bottom, we stretched and secured the fabric (as taut as possible) to the back of the frame with a staple gun.
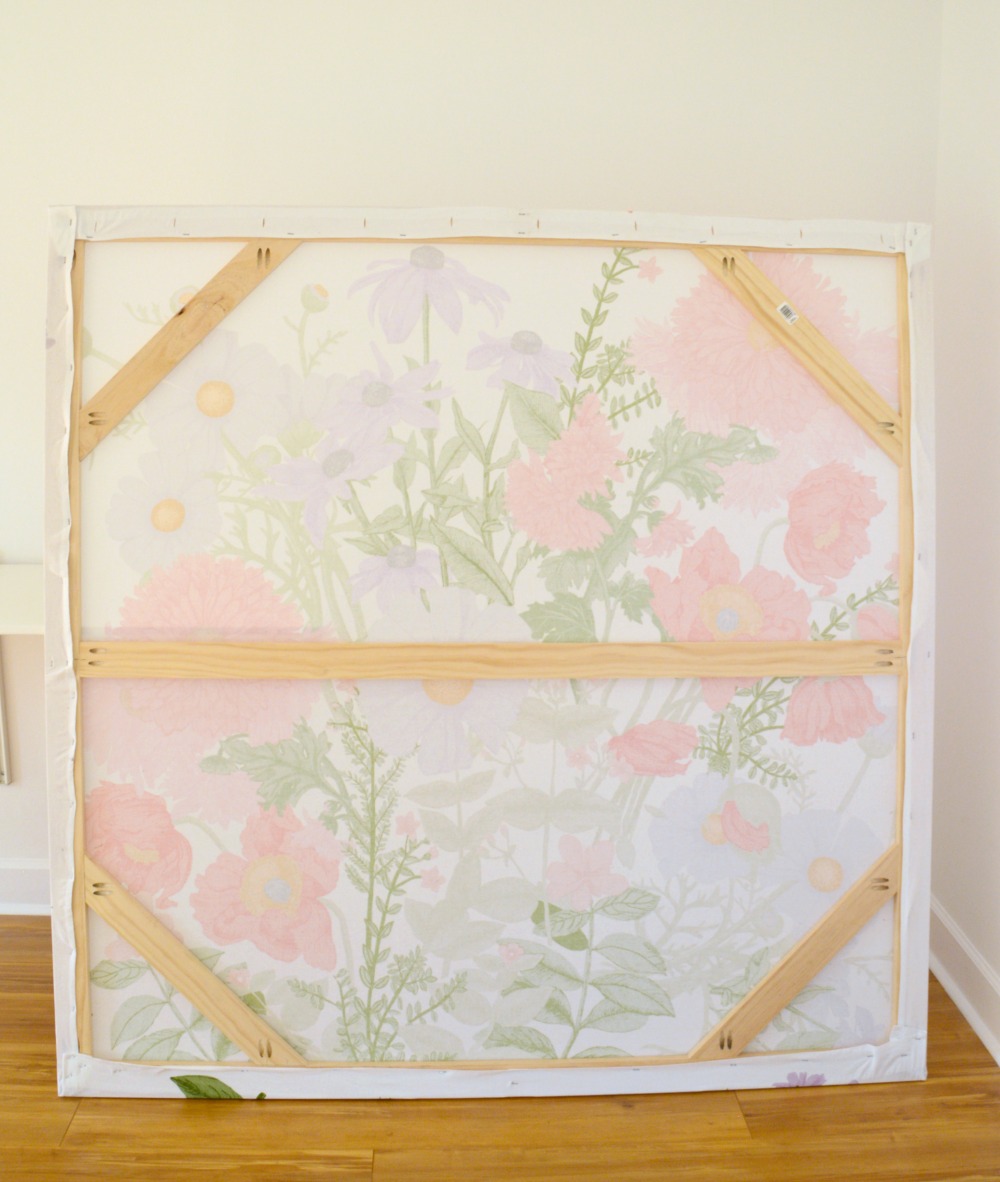
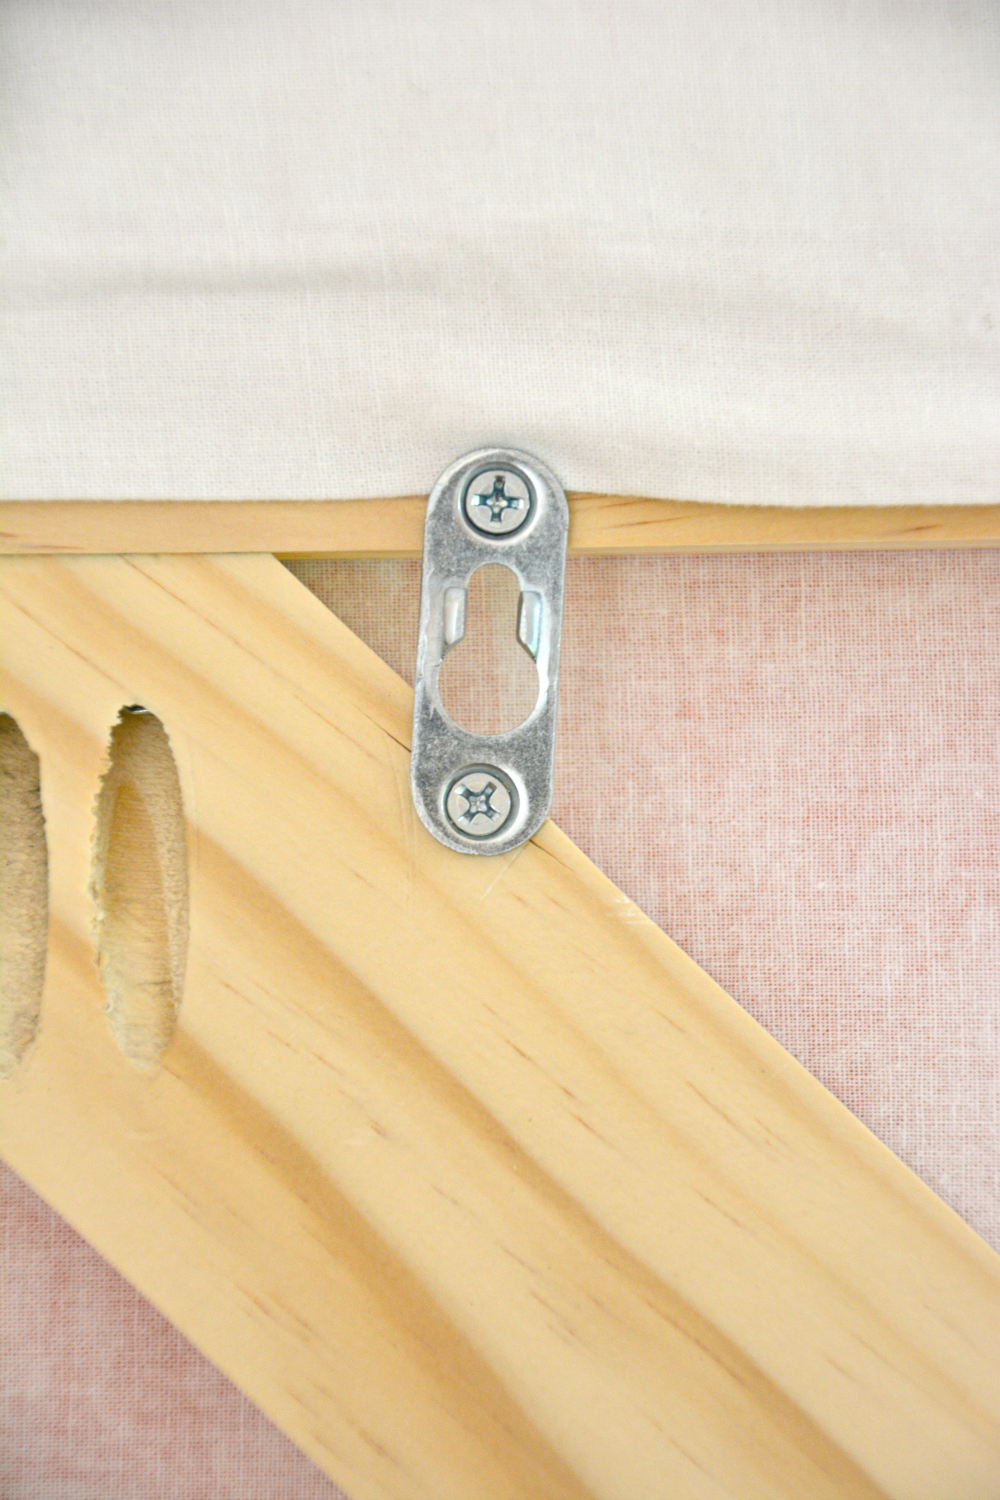
We attached metal keyhole hanger fasteners from the top to corner braces of each side of the frame so we would be able to hang the art flush with the wall.
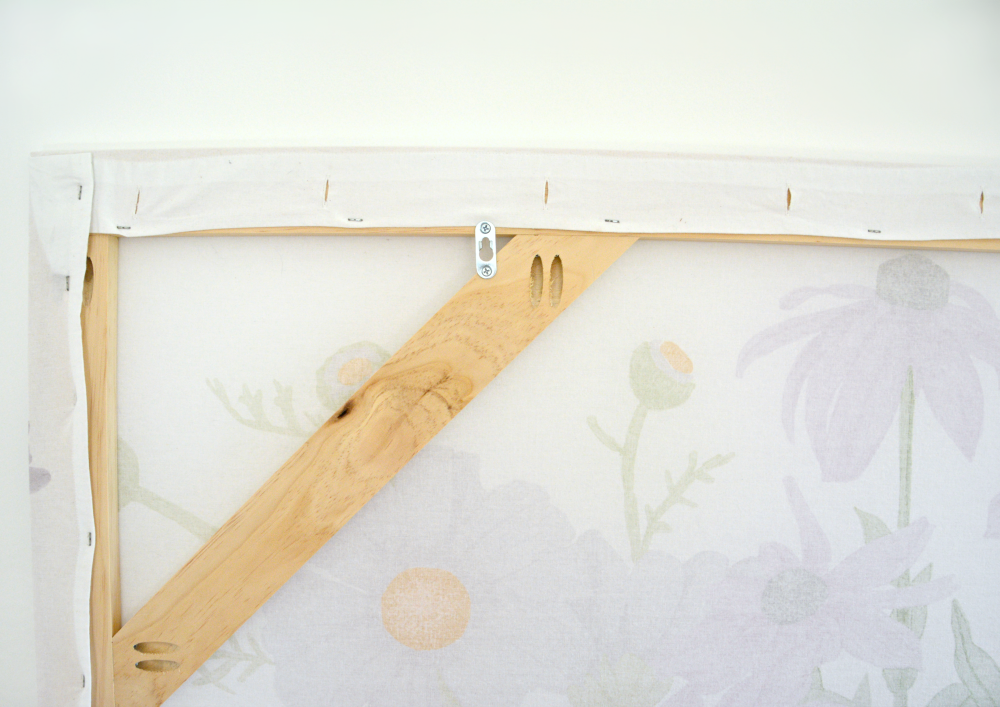
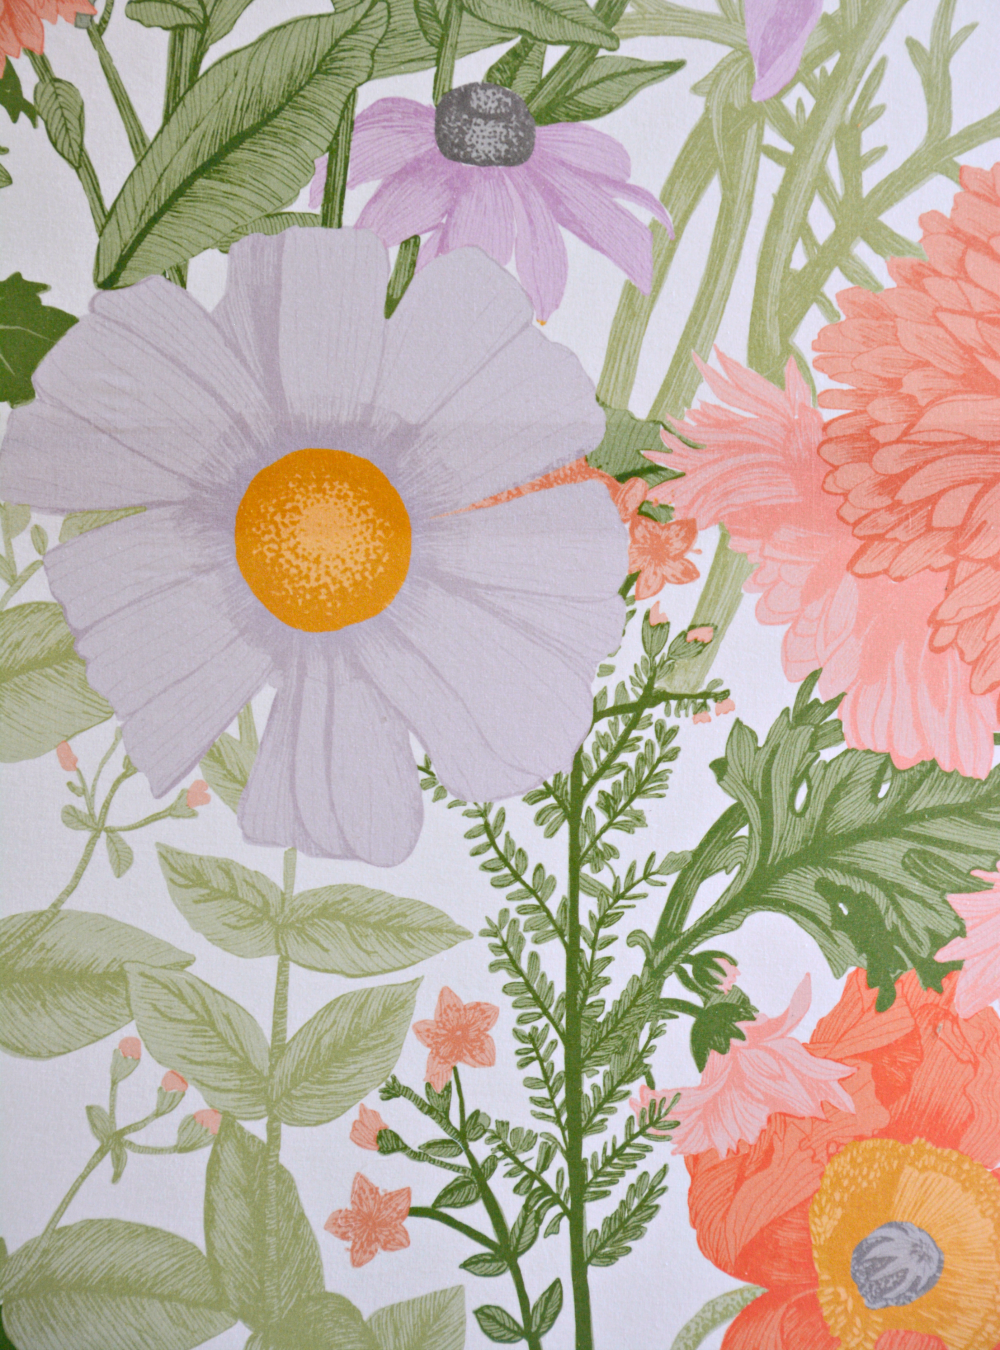
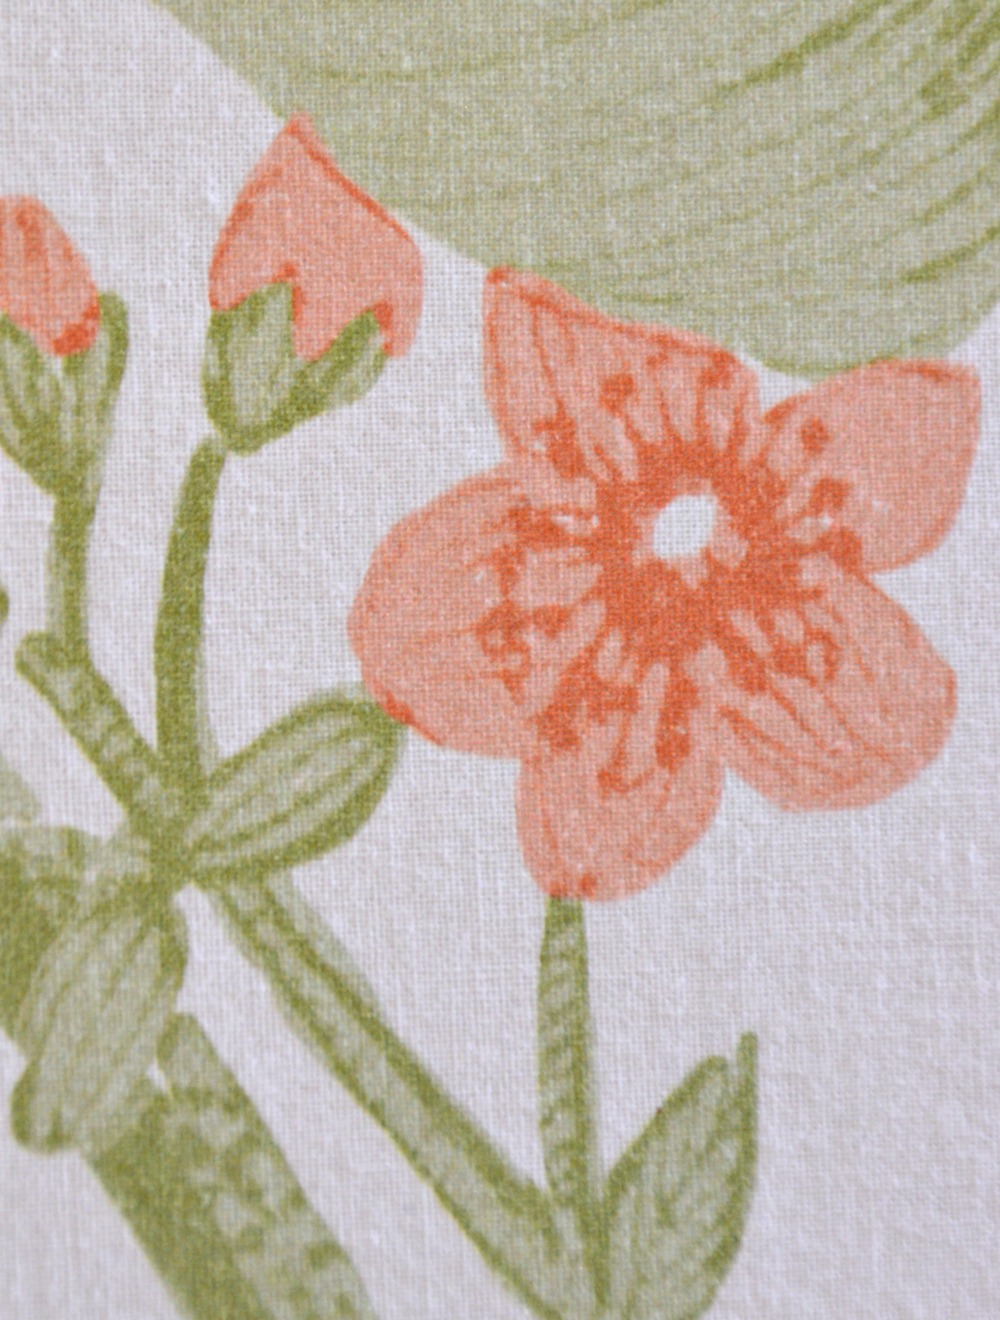
The cotton texture of the shower curtain is so pretty and mimics the texture of a traditional art canvas perfectly.
This is the prefect DIY for someone who wants a big impact with low commitment. Renters or anyone who doesn’t want the hassle or permanence of wallpaper, this one’s for you!
so, how are we on our project list for the room as a whole? DONE! Well, sort of. I need to hang a shelf and the light fixture on the wall (+ buy a light bulb). Then I can style the space and the room will be complete!
patch & paint wall & ceilingshang new door, window, & baseboard trimreinforce walls and install 6 wall mount work stationsinstall LED ceiling lightsinstall new “old” interior door & door stop triminstall Select Surfaces laminate flooringinstall 1/4 round trim to cap laminate floorprep & paint interior door – Nature’s Reflectionstain & install 1″ wood boards at base of windows x2paint & install open shelves above desk bank – rightclean upholstery of thrifted tufted loveseat(add new trim)paint accent table (for use as coffee table)paint? collapsible shelving units to go between entry door and desk bank – rightconstruct & paint DIY wall hung sconceDIY stool build x6 [decided to buy stools instead x4]make DIY large-scale floral art for rear wallpaint 2 door cabinet for next to sofastrip and paint wood bench? (for beside entry door under window on front wall) [too big, bought white metal table instead]create & paint/stain DIY plant stands x4complete various small DIY painted decor projectsrug (now a DIY since I was unable to find what I want in the correct size)- STYLE THE SPACE!
The final ORC reveals will be posted next week on May 9th!! We hope you’ll come back and see our finished space!
Now go stop over on the One Room Challenge™ blog to see how all of the other ORC rooms are shaping up.
Thank you for taking the time to visit today.
AND a humongous thanks to our sponsor, Select Surfaces, for helping to make this room a reality!

![]()
Jessica, this is gorgeous! I would have never guessed that this is a shower curtain!
You’ll never see a cotton shower curtain as just a shower curtain ever again! lol. I’ve been scouting the shower curtain section for other pretty images to turn into artwork!
I agree with Emy, and it is really lovely with your couch too.
Thank you! 🙂
I wouldn’t miss the reveal for anything, love that shower curtain art and how it was framed, so smart. Love to see projects when common items are used in different ways.
Everything have seen so far is wonderful,lots of hard work but so worth it in the reveal.
Til next week
Thank you so much for being such a faithful follower of my little blog JaneEllen! I appreciate your kind words so much. 🙂
What a great idea! Big impact, low budget, beautiful.
Thank you Regine! I originally wanted a wall mural or wallpaper but since I plan to use this wall to photograph projects I decided not to do anything permanent.
Great job! It’s lovely. I would never of thought of that ever!
I love, love, love, this!! My next refresh is the catwalk– which has lots of blank wall space. I’ll need several pieces of oversized art. Now I can get ALL. THE. ART. I need. Yippee….. thanks Jess!!! See you next week… ~~ Susie from The Chelsea Project
What a great idea. I love it!