I can’t believe that next week we’ll be revealing our completed Garage Creative Studio!!!
We are sharing our renovation project weekly as part of the One Room Challenge™. The ORC is a biannual challenge where bloggers and designers around the web complete a room redo over the span of six weeks.
To find out more and see how our space has progressed you can visit the other posts in our series;
Week 1: The Before & Inspiration
Week 2: The Design Plan
Week 3: Nature’s Reflection Painted Door & Other Progress Sneak Peaks
Week 4: Studio Shelving
Week 5: DIY Large Scale Wall Art From Cotton Shower Curtain
The 18’x11′ room is located in our garage outbuilding. The structure is cinder block walls on a concrete slab. Needless to say, the space has completely transformed over the last six weeks! One of the biggest changes in the space was achieved by installing new flooring.
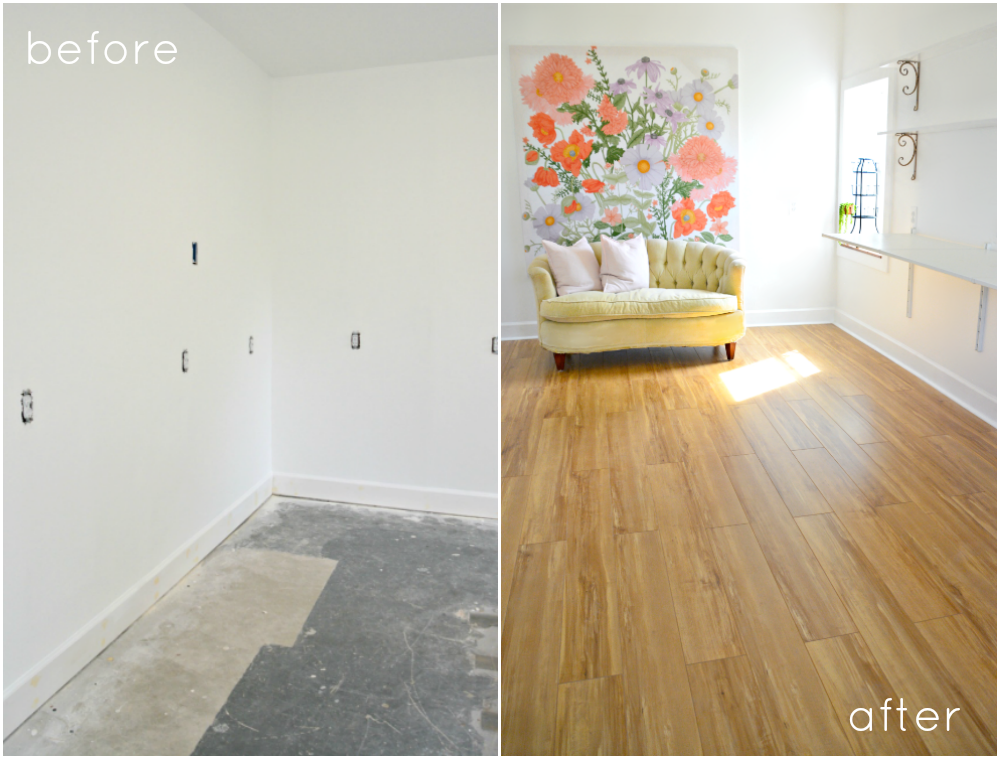
We want to give a huge shoutout to Select Surfaces for providing the laminate flooring for our studio makeover! We specifically chose this product to use in our studio due to its relatively easy installation process, attached foam backing, AND traffic rating. All opinions are our own. We only recommend products we would buy and use in our own home. So far we love the new flooring and have zero complaints!
We chose the Honey Maple from Select Surfaces Elite Collection of laminate flooring. I loved the variation of the grain pattern and how the warm light tones would look lovely against our white walls and trim. This flooring was the perfect solution for covering our concrete garage floor. We were able to purchase and pick up our specific flooring at our local Sam’s Club. Select Surfaces laminate flooring can also be ordered from the Sam’s Club website.
So let’s talk about installation. I’m going to walk you through the steps we took to lay our laminate floor over concrete.
First and foremost you will want to read and follow the manufacturer’s instructions. If your project has a specific timeline be sure to pick up the flooring in advance. You will need to allow the flooring to sit and acclimate in the room before installing.
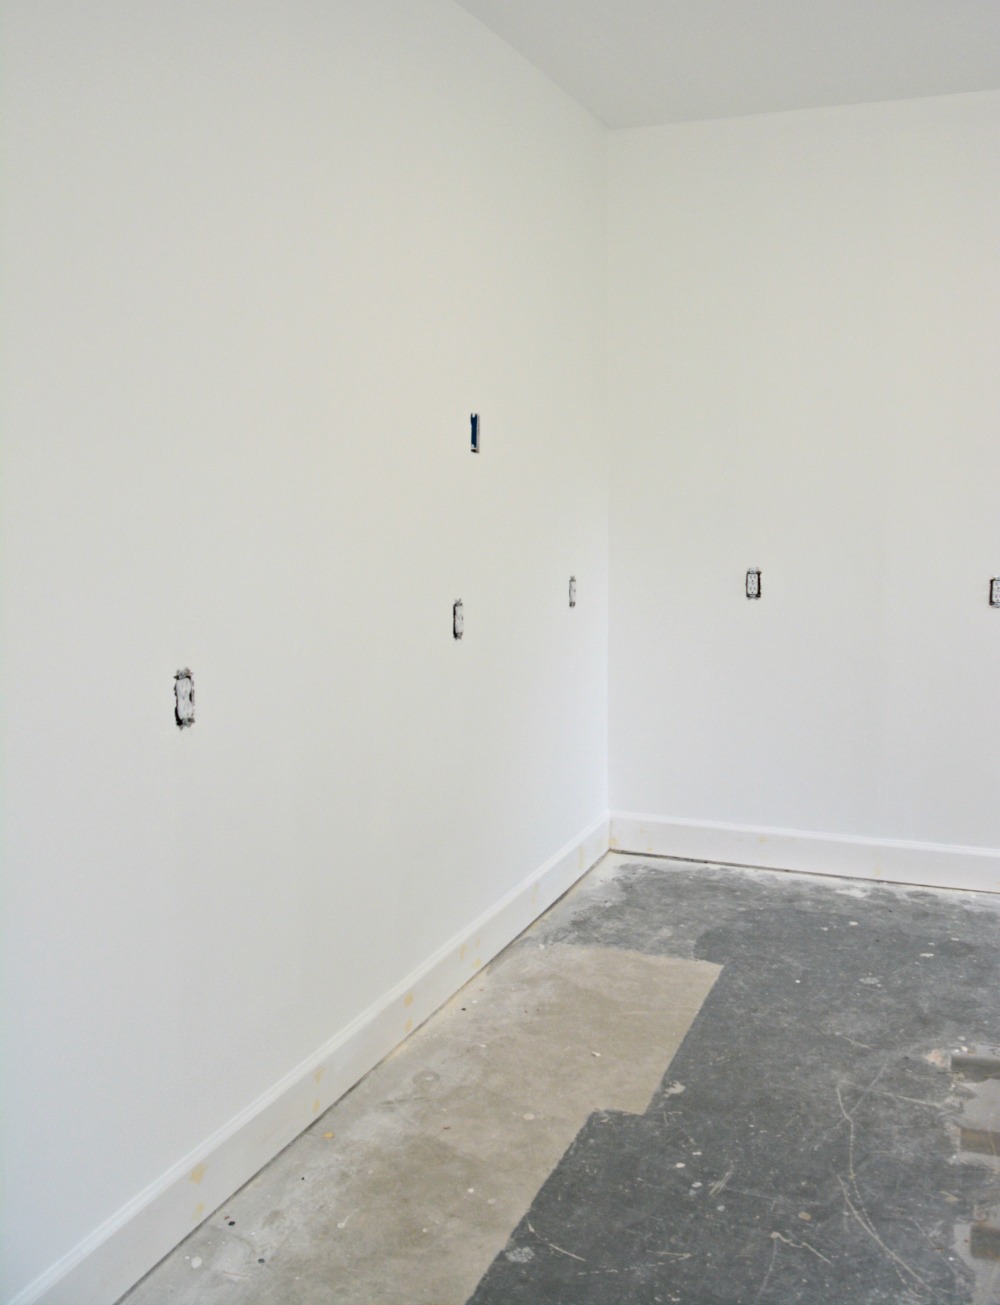
Because our project is a full renovation our floor was covered with a LOT of sanding dust and debris from patching and sanding the drywall. If this isn’t the case you can skip this step. To clean up the dust we spread sweeping compound all over the floor. It keeps the dust particles from kicking up and filling the air.
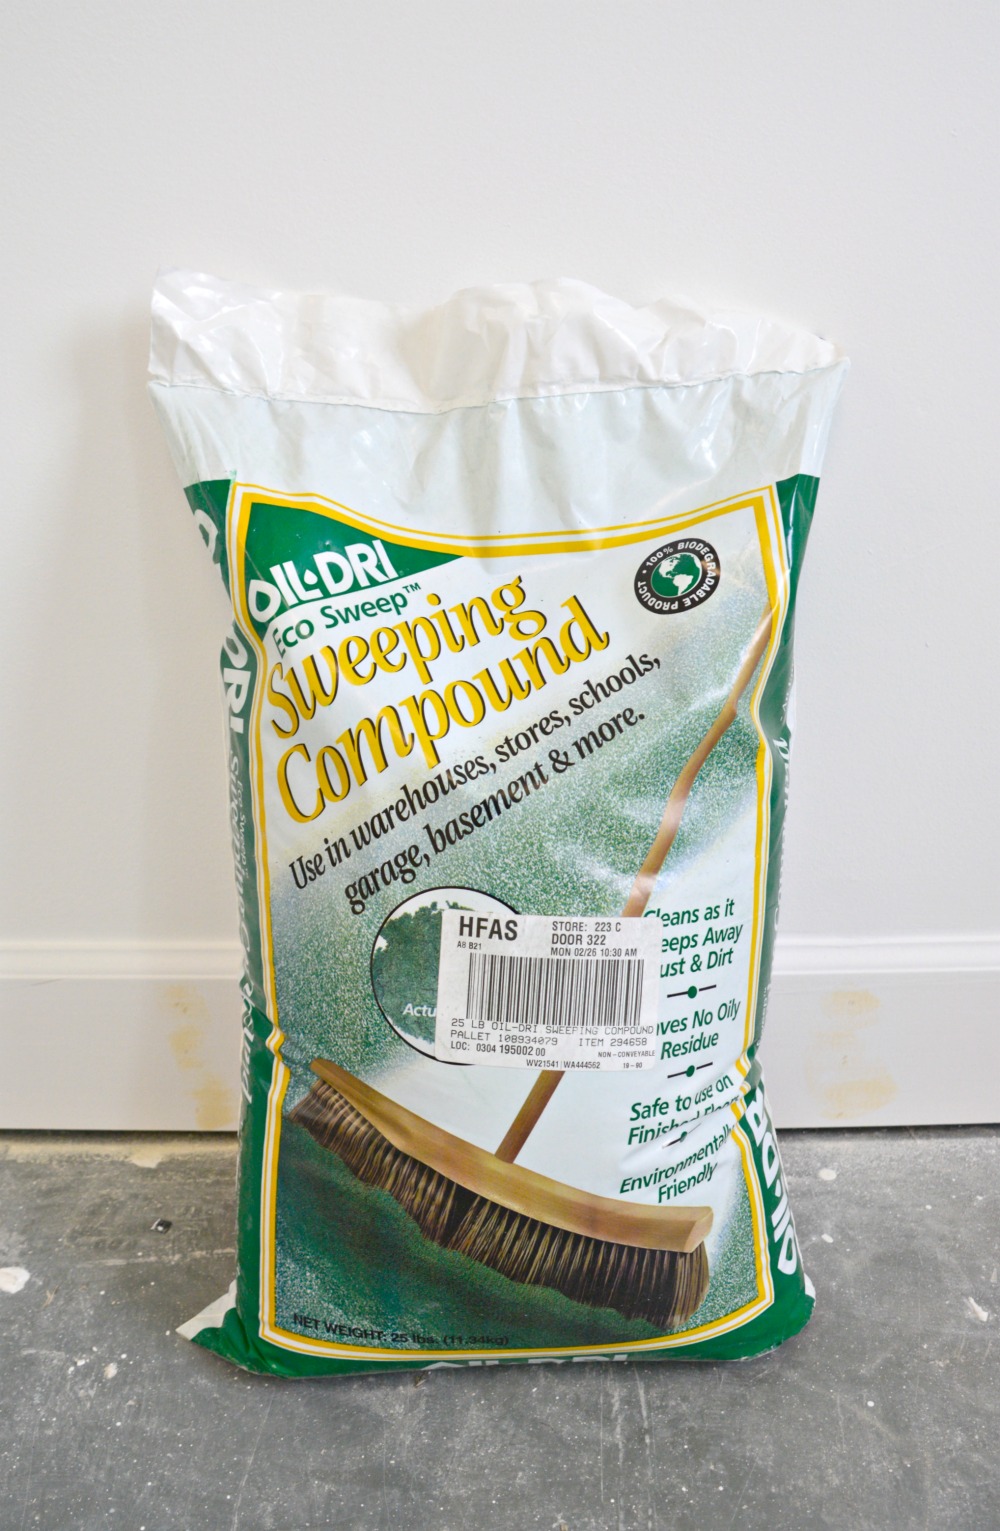
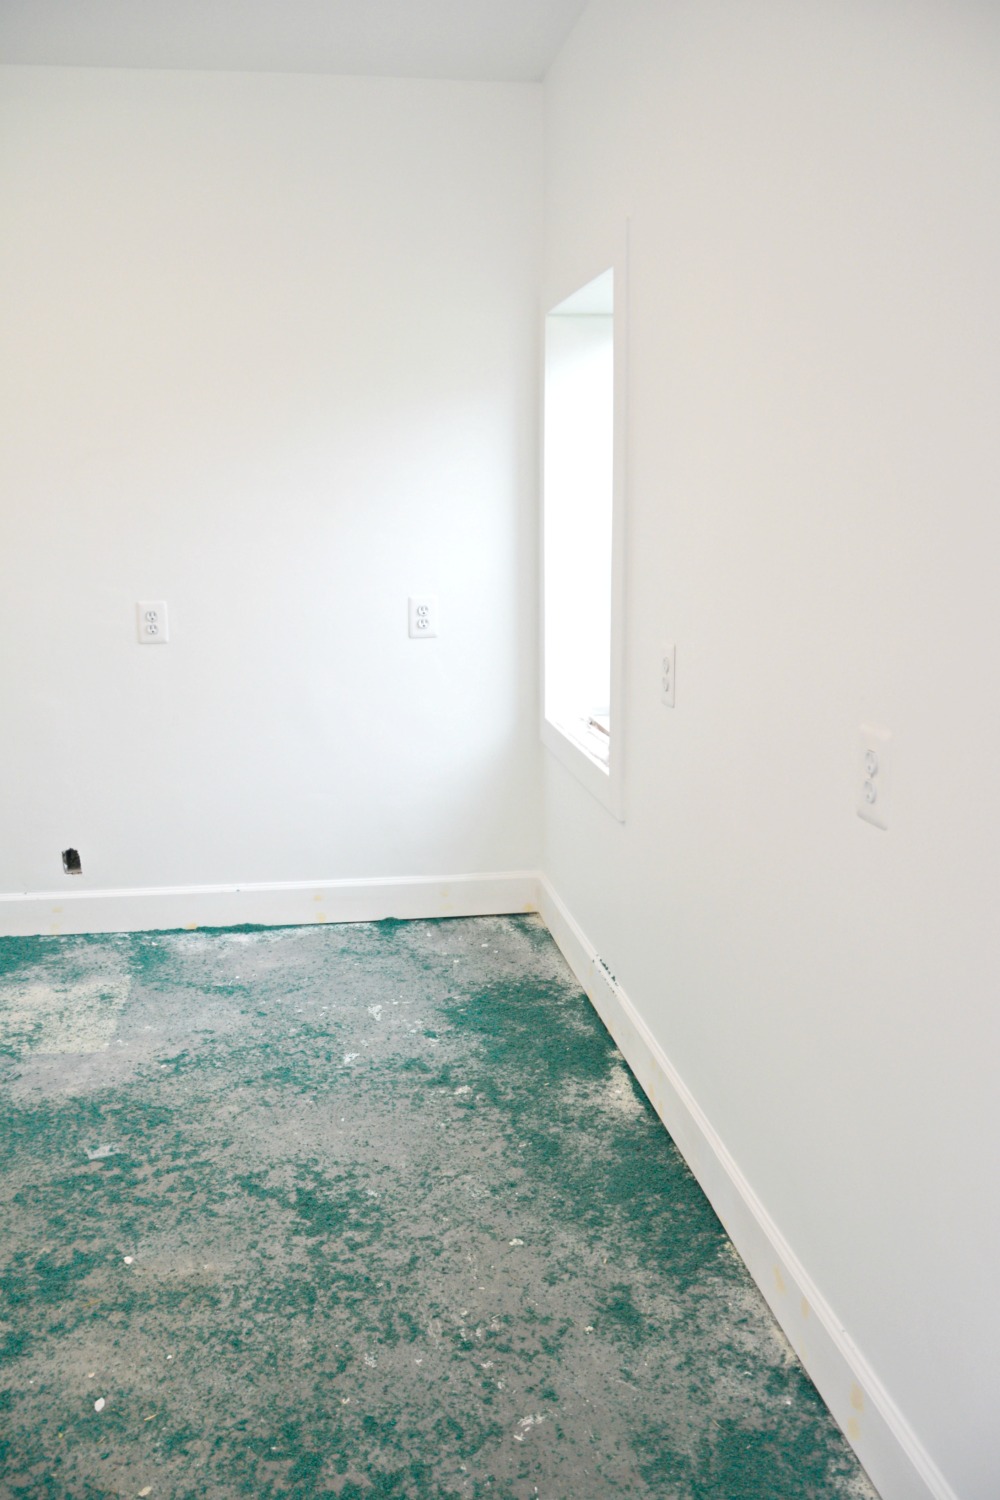
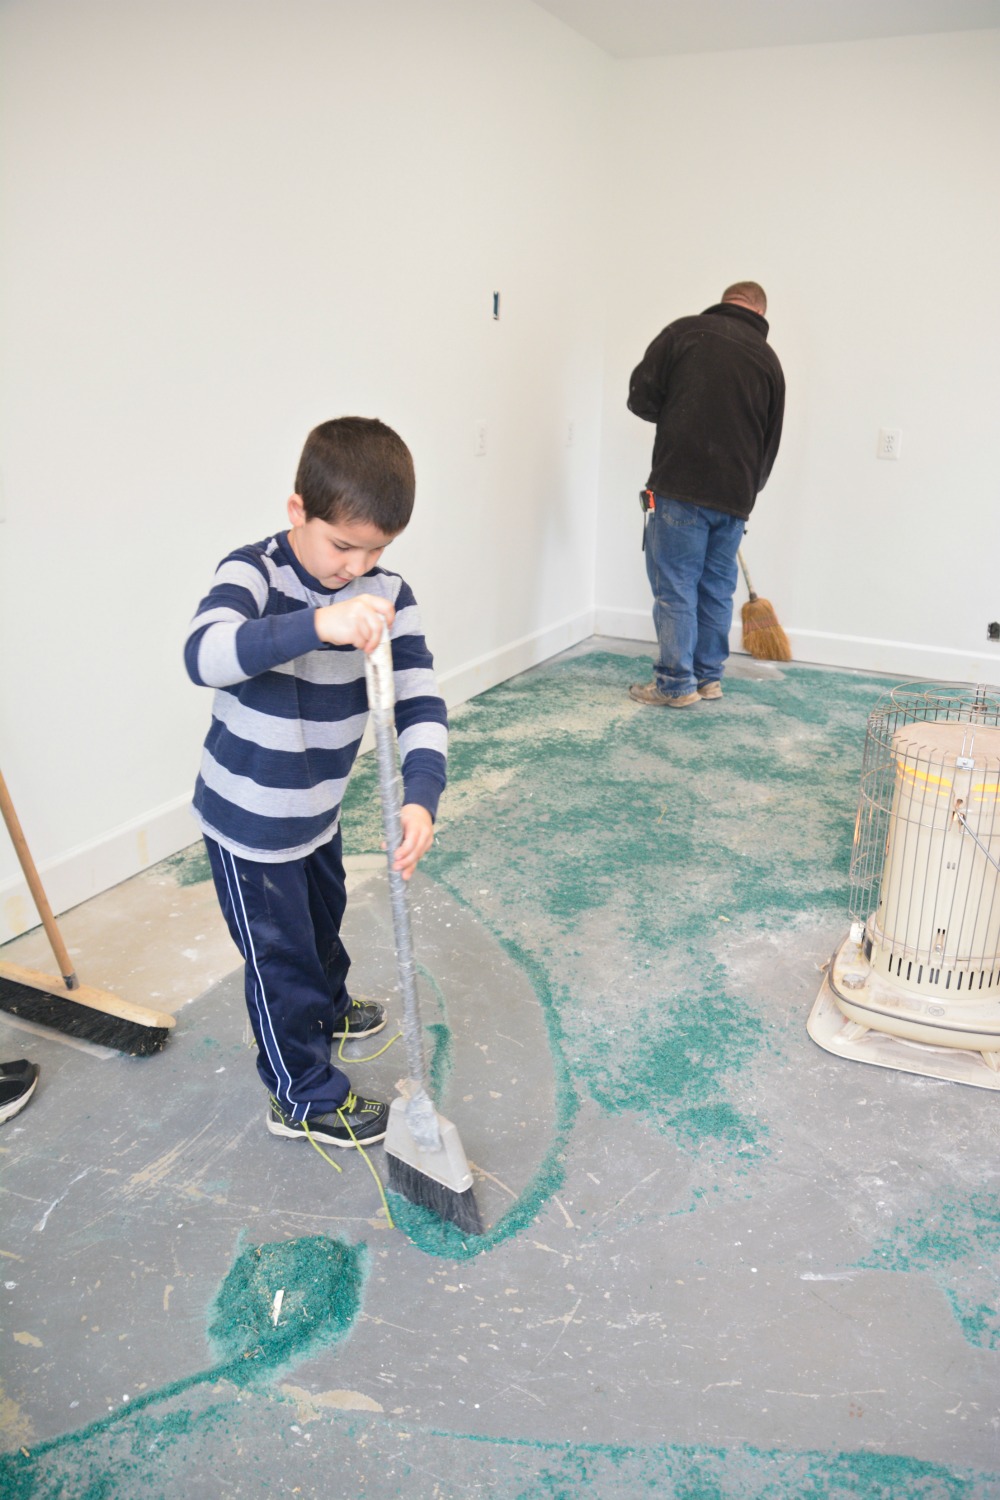
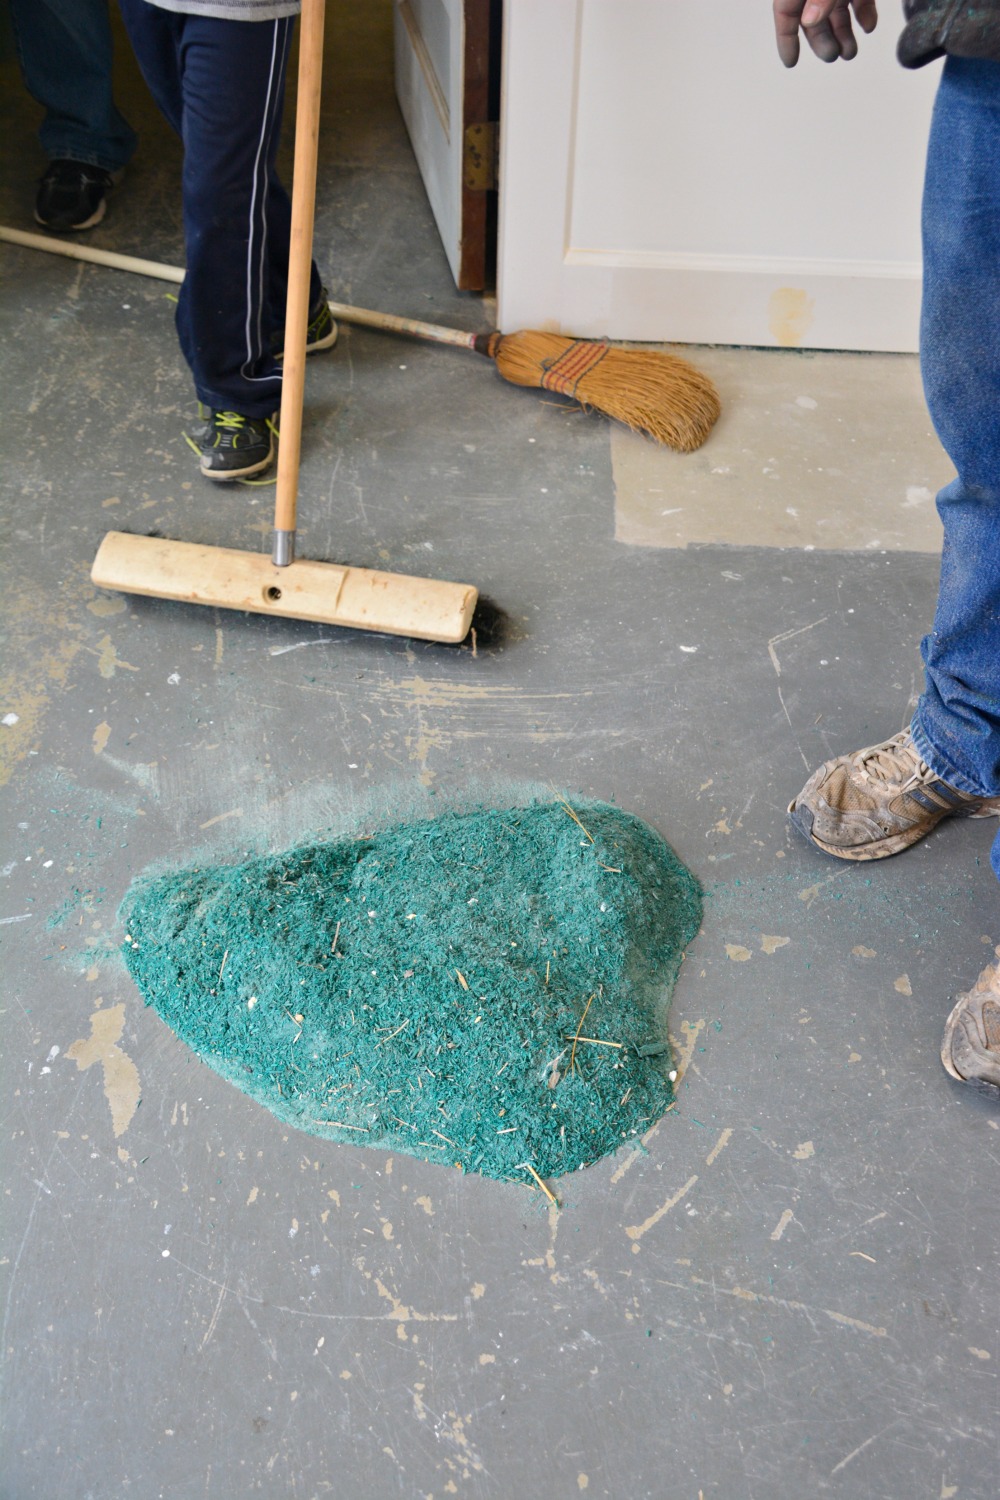
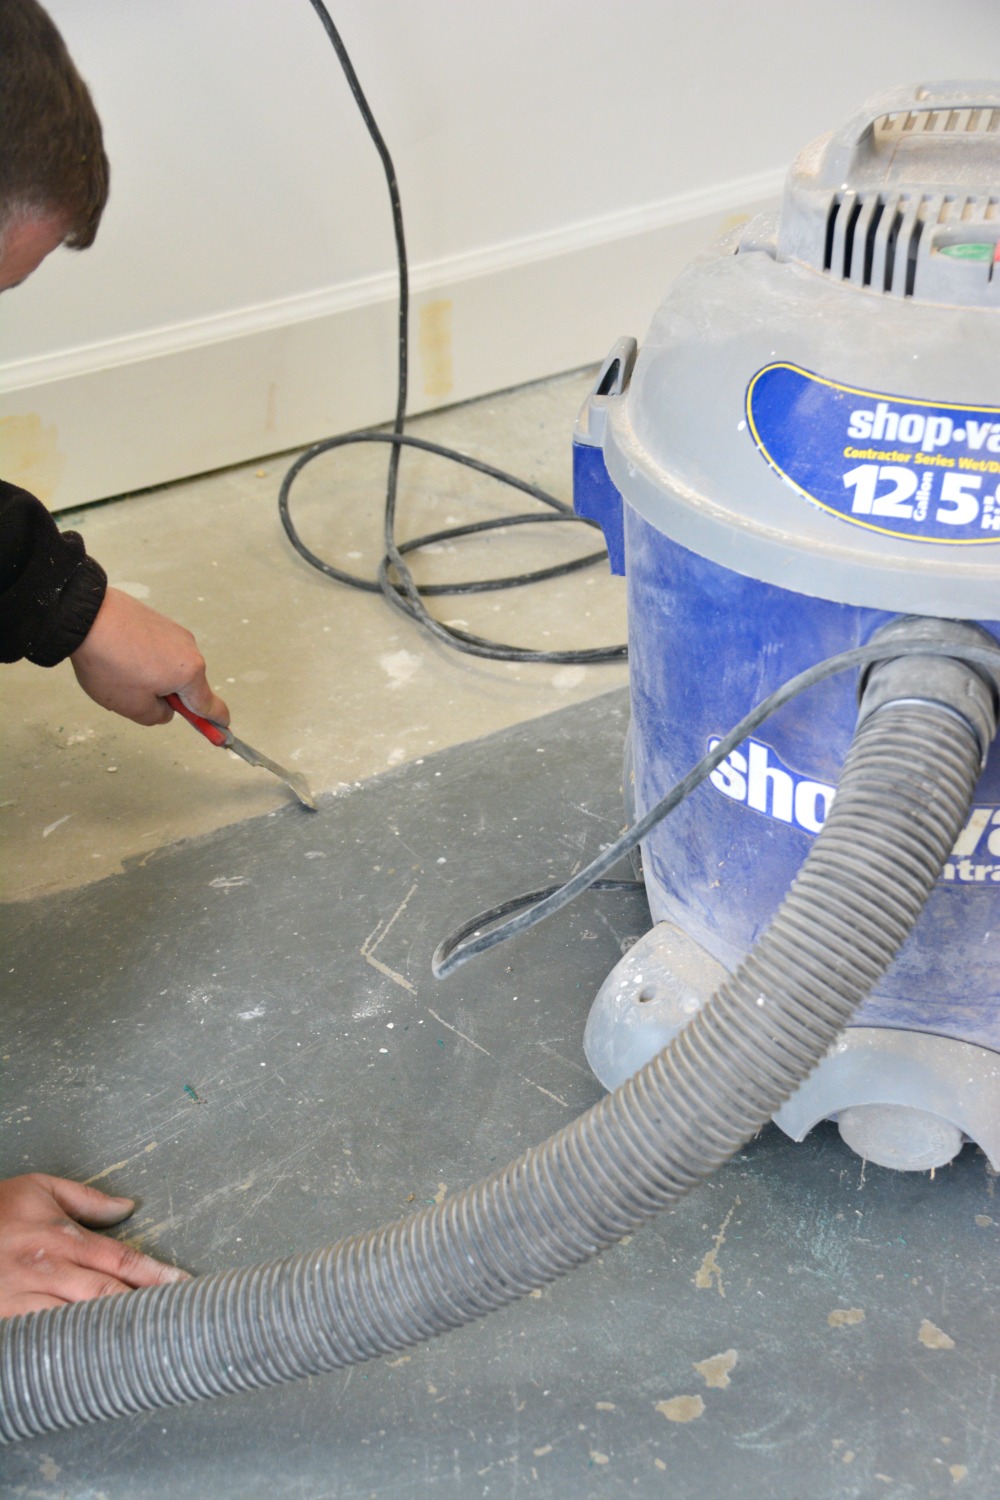
After the dusty debris were removed, larger paint blobs and anything stuck to the floor that could cause it to be uneven was scraped and vacuumed up.
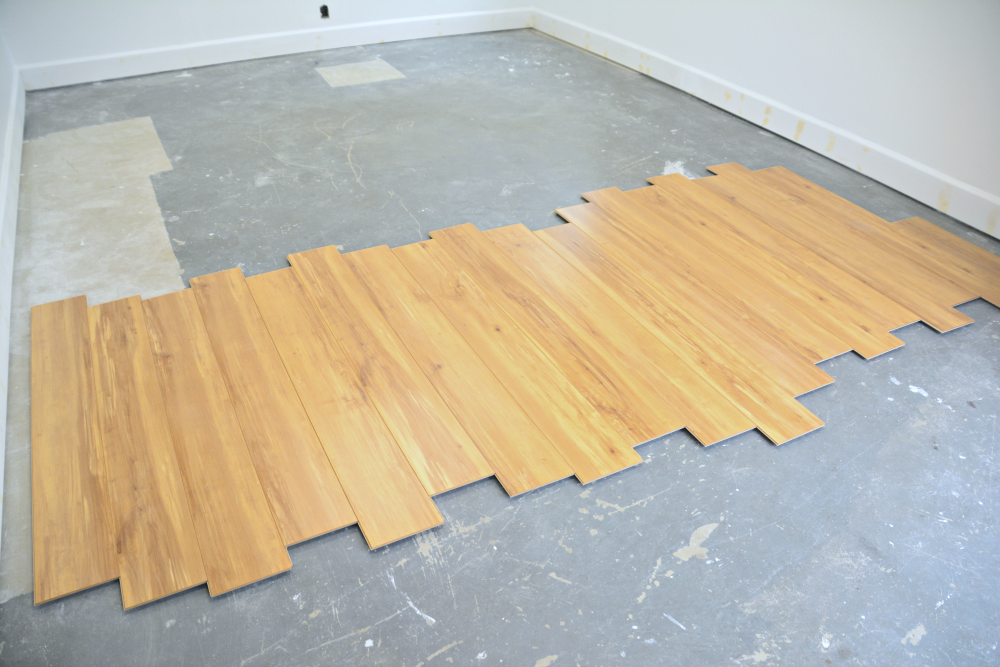
Next, we laid out planks of flooring across the room to plan how wide our first row would need to be. The manufacturer’s specification require a minimum length and width that the planks can be cut. We wanted to be sure that both our starting and ending row of flooring met this specification. We decided to lay our floor starting from a doorway on the left and work our way across the room to the right.
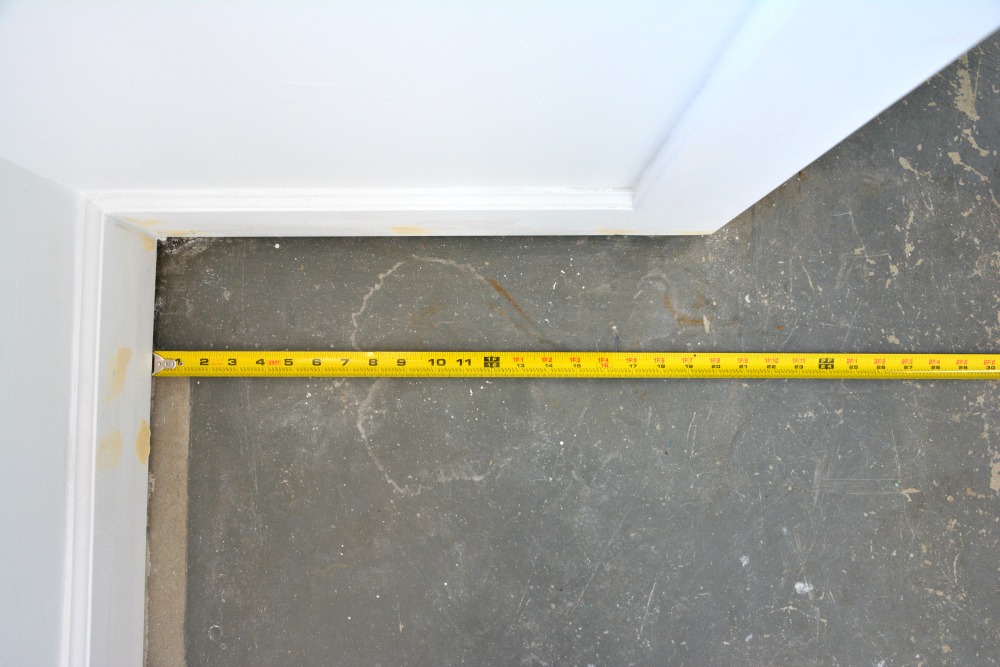
We also measured the room from front to back to determine how long to cut the starting plank, again to make sure it met the minimum length specifications at both ends of the room.
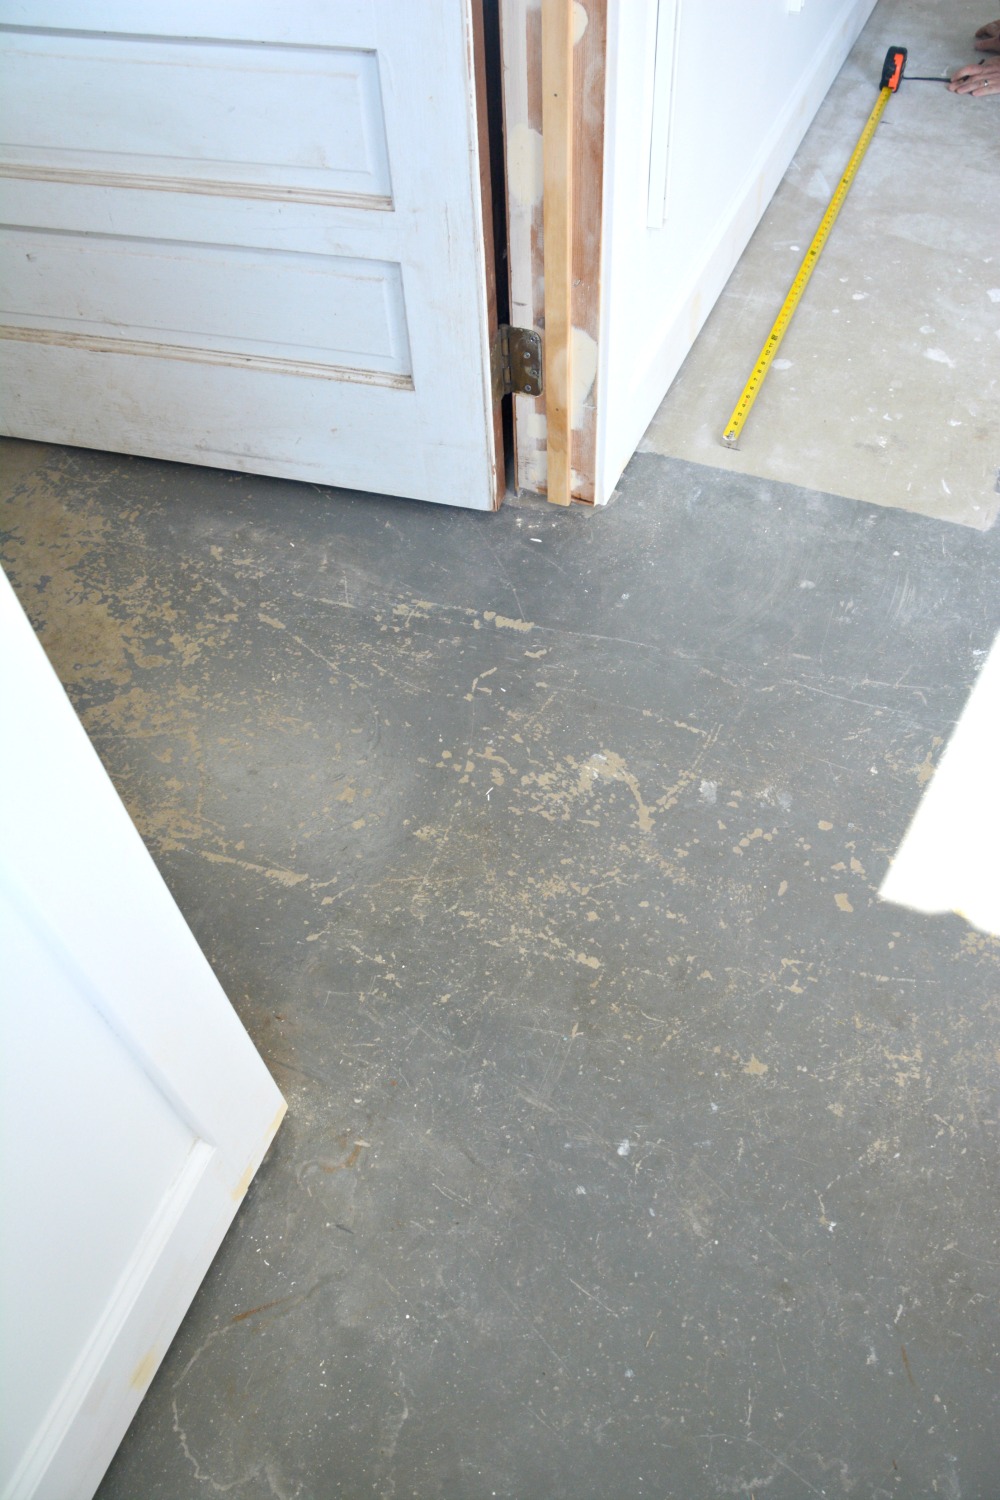
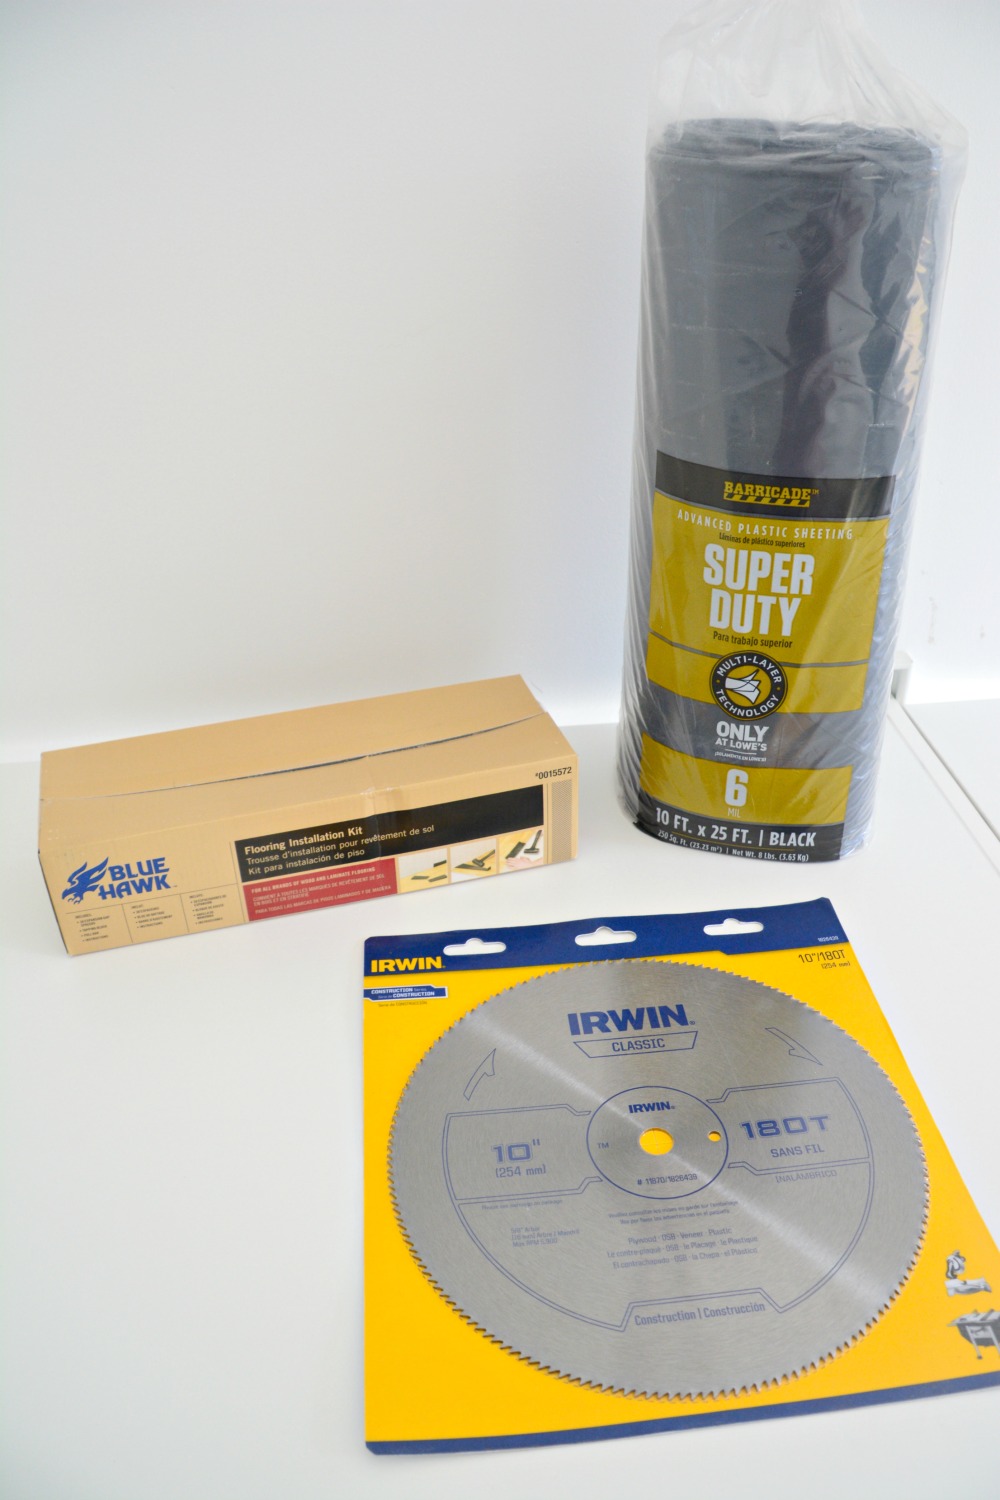
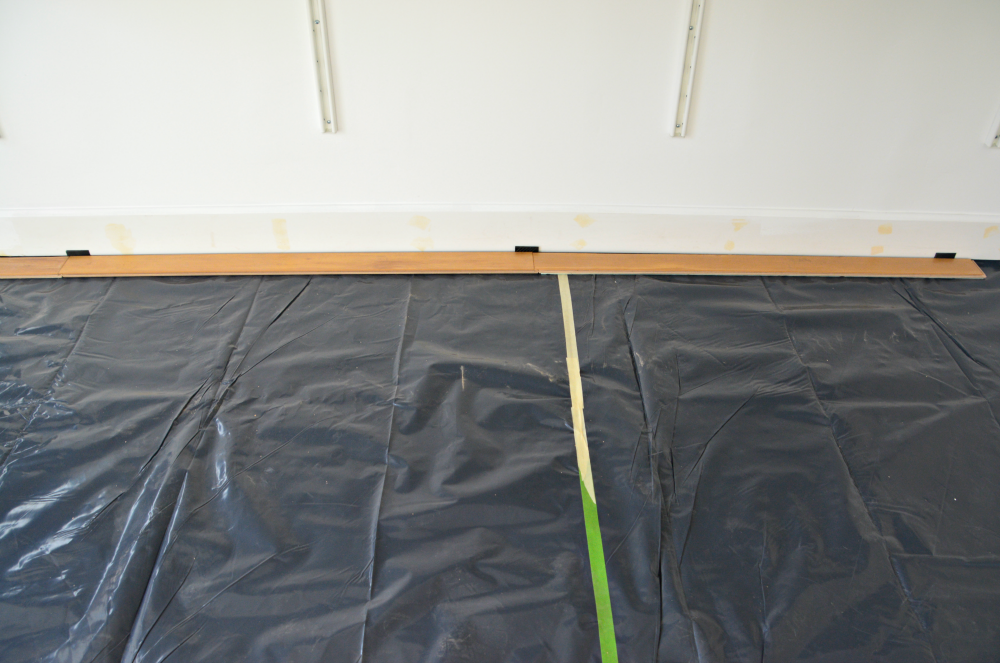
After determining the needed length and width of the first plank we covered the concrete floor with plastic sheeting as a moisture barrier. A moisture barrier is necessary when laying flooring over a concrete subfloor.
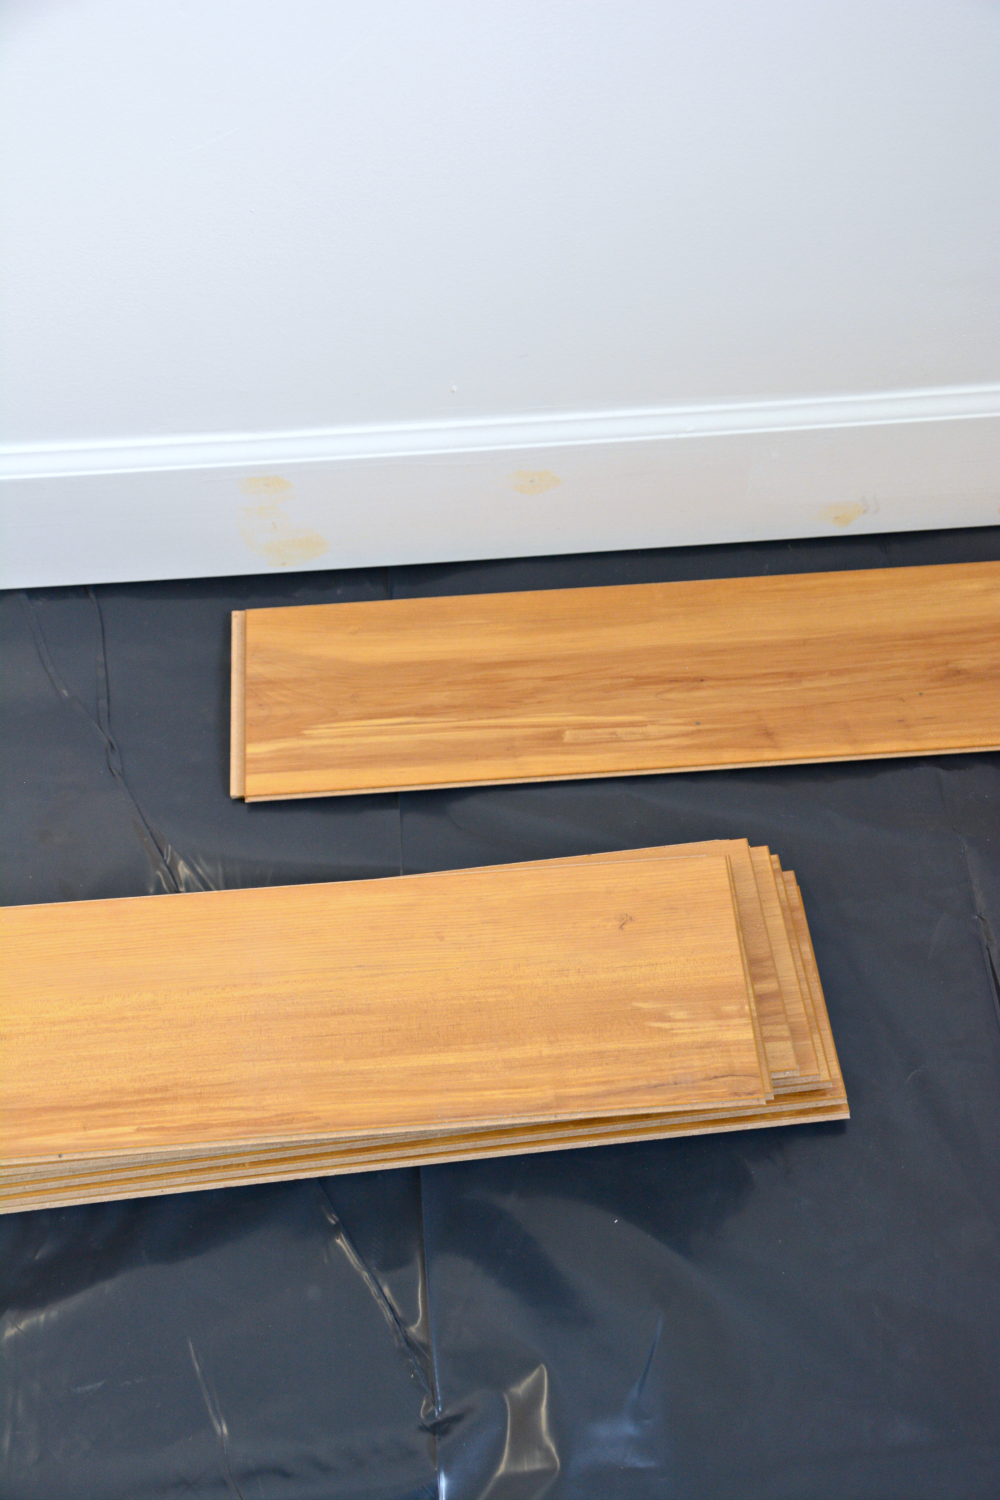
We cut the plastic to fit under the baseboards and kept it from sliding around by laying stacks of the flooring at each corner of the room.
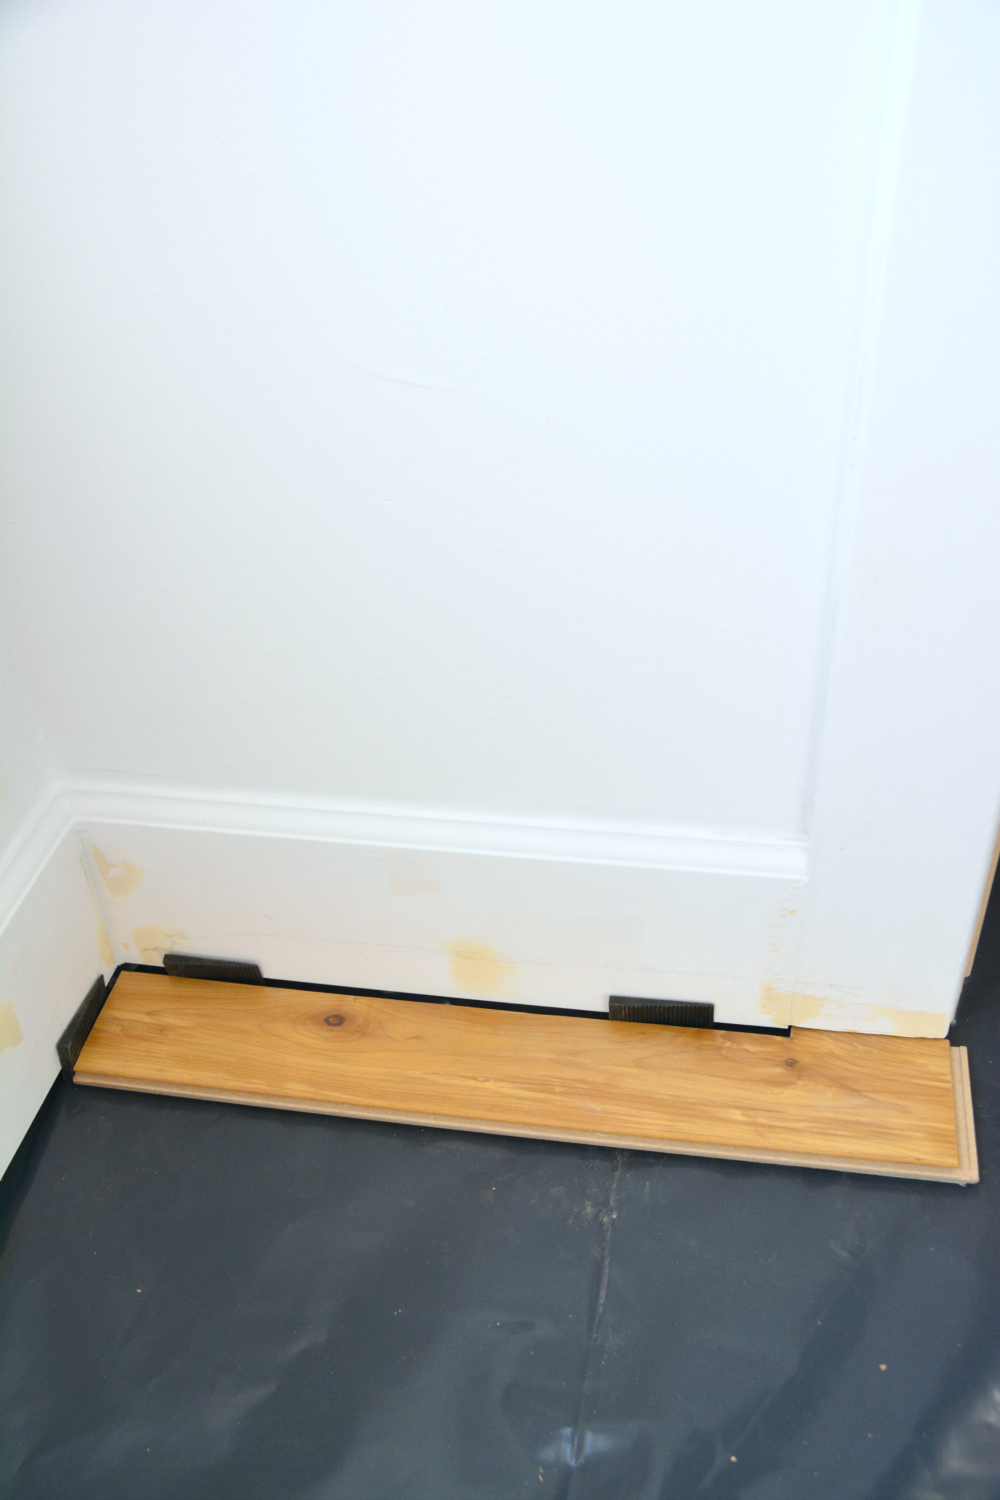
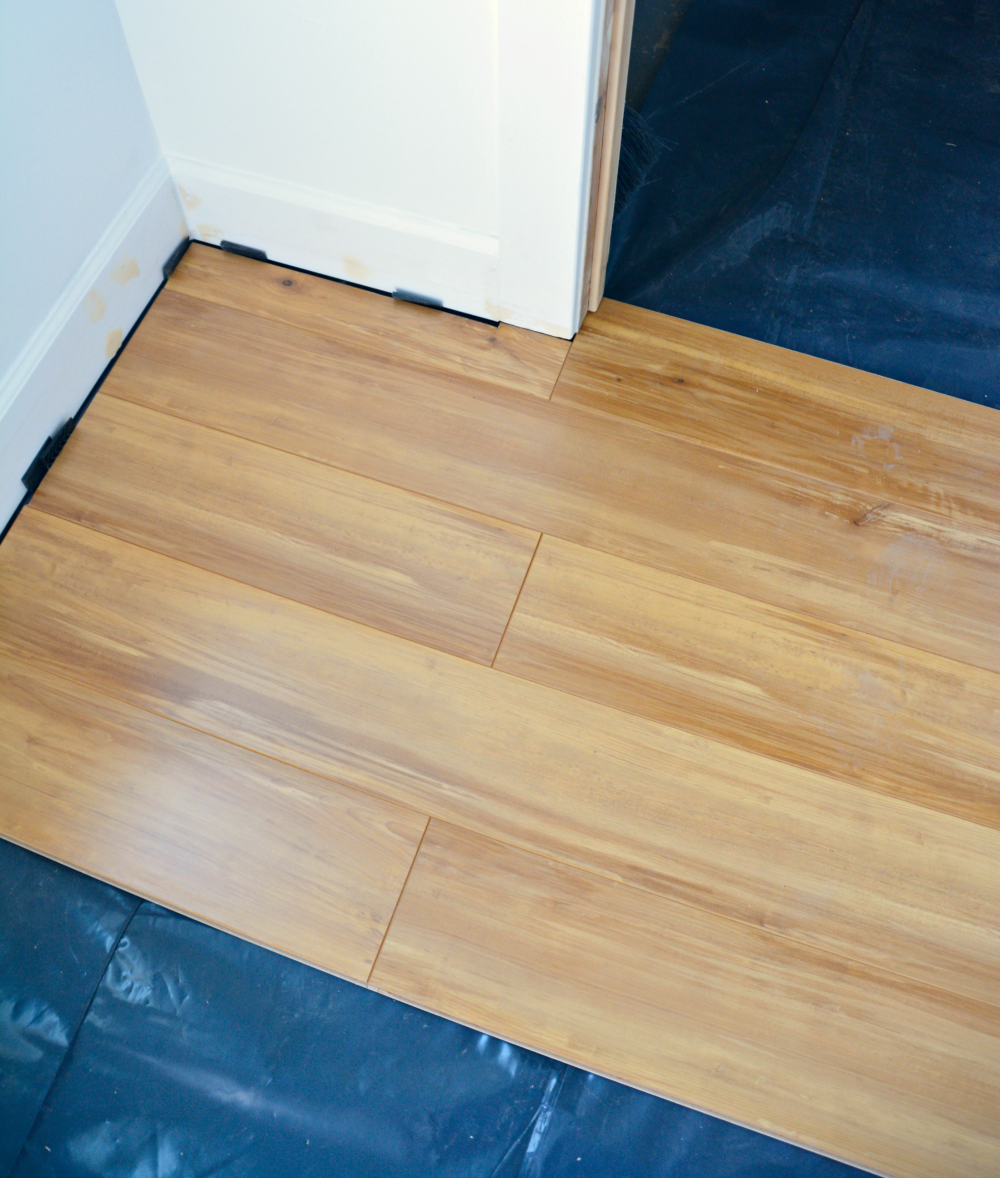
After the first two planks were cut to fit around the doorway it was smooth sailing. Each plank in the first row was cut lengthwise to the pre-determined width and clicked into place. We used spacers every few feet to make sure the flooring remained the correct distance from the walls.
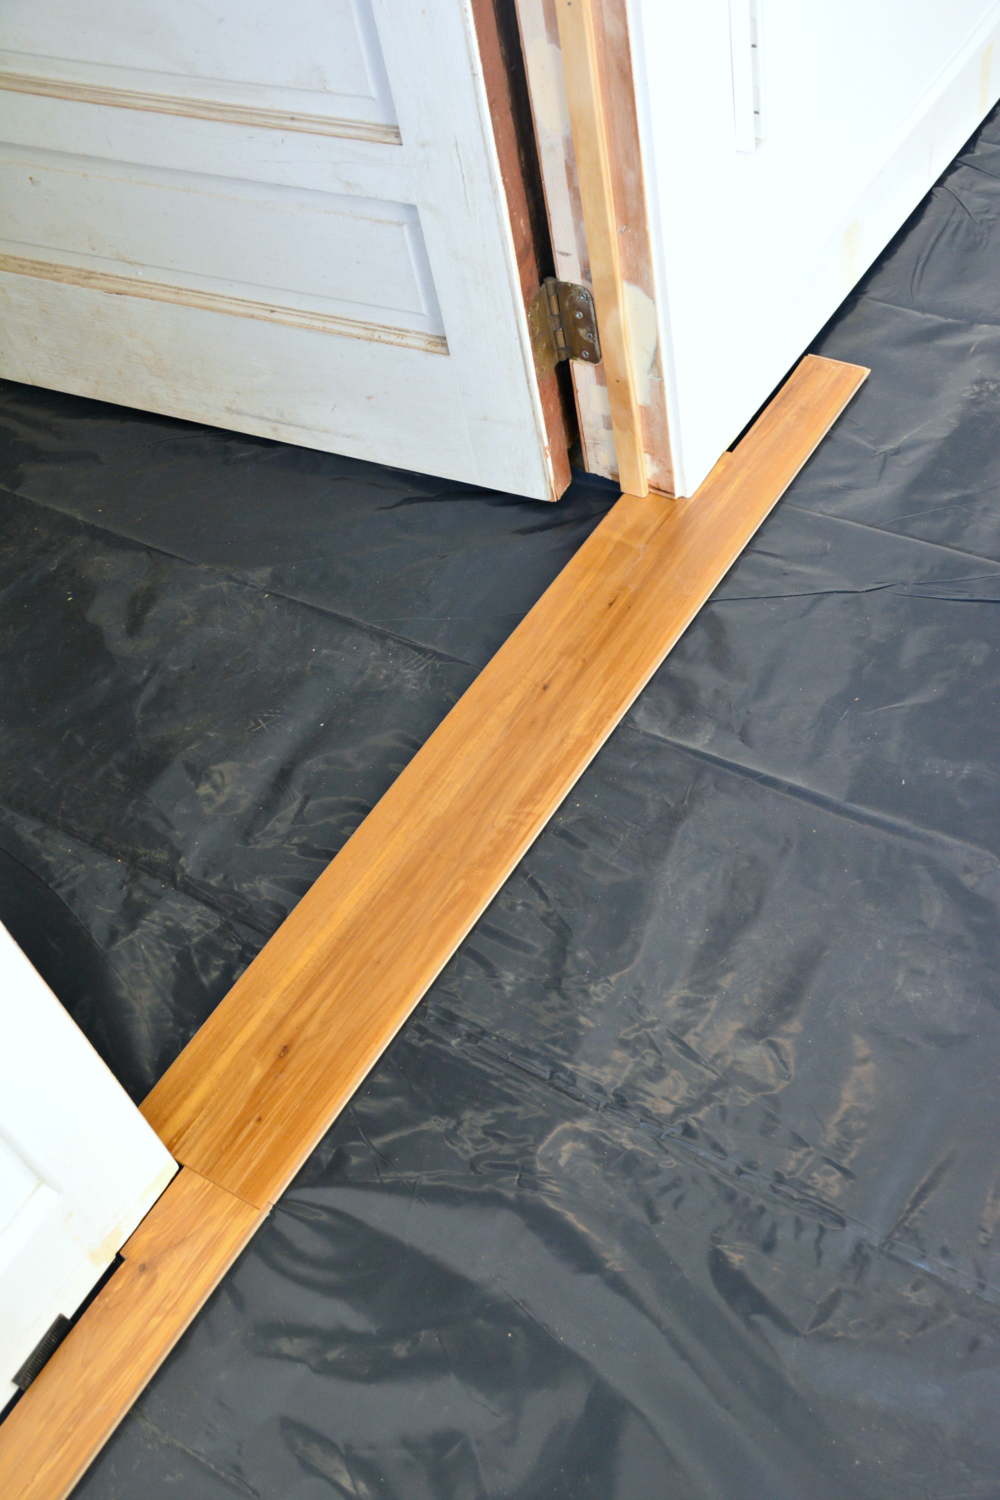
We started with a full plank on the second row and only needed to cut down the first and/or last plank of every row to alternate the seams.
The planks remained the full width until the last row (on the right side of the room). Each plank in the final row was cut to the width needed to fill the gap that remained between the already installed flooring and the wall.
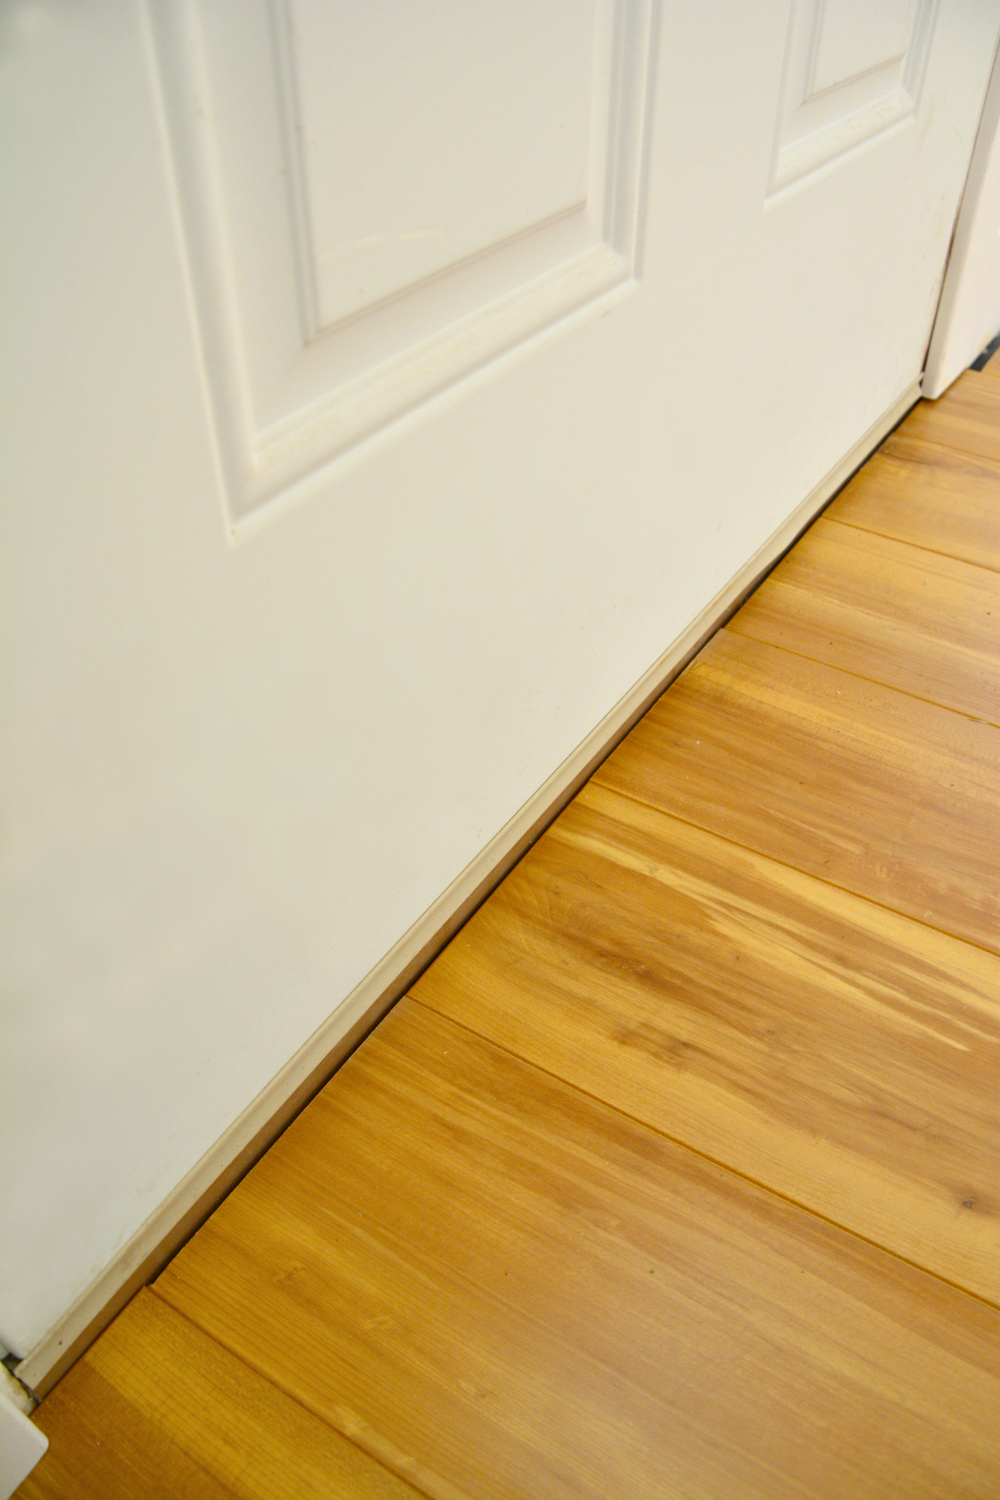
We also chose to lay the laminate without any extra spacing at the exterior door line. We used a coordinating brown caulk to finish the edge and fill the little bit of space left between the planks and the door.
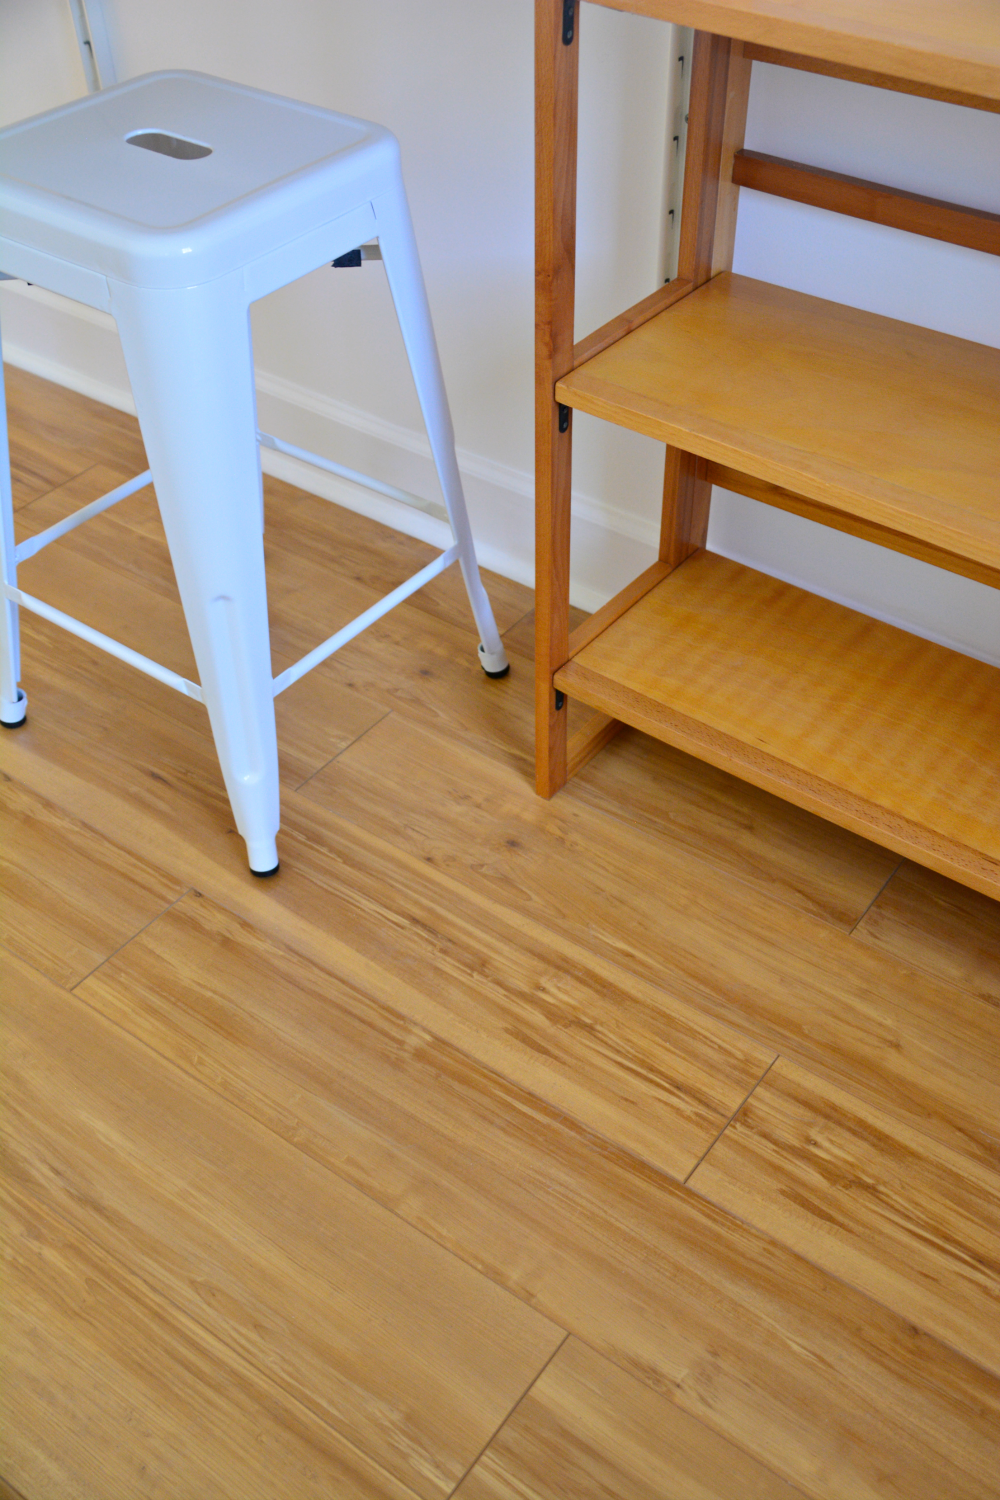
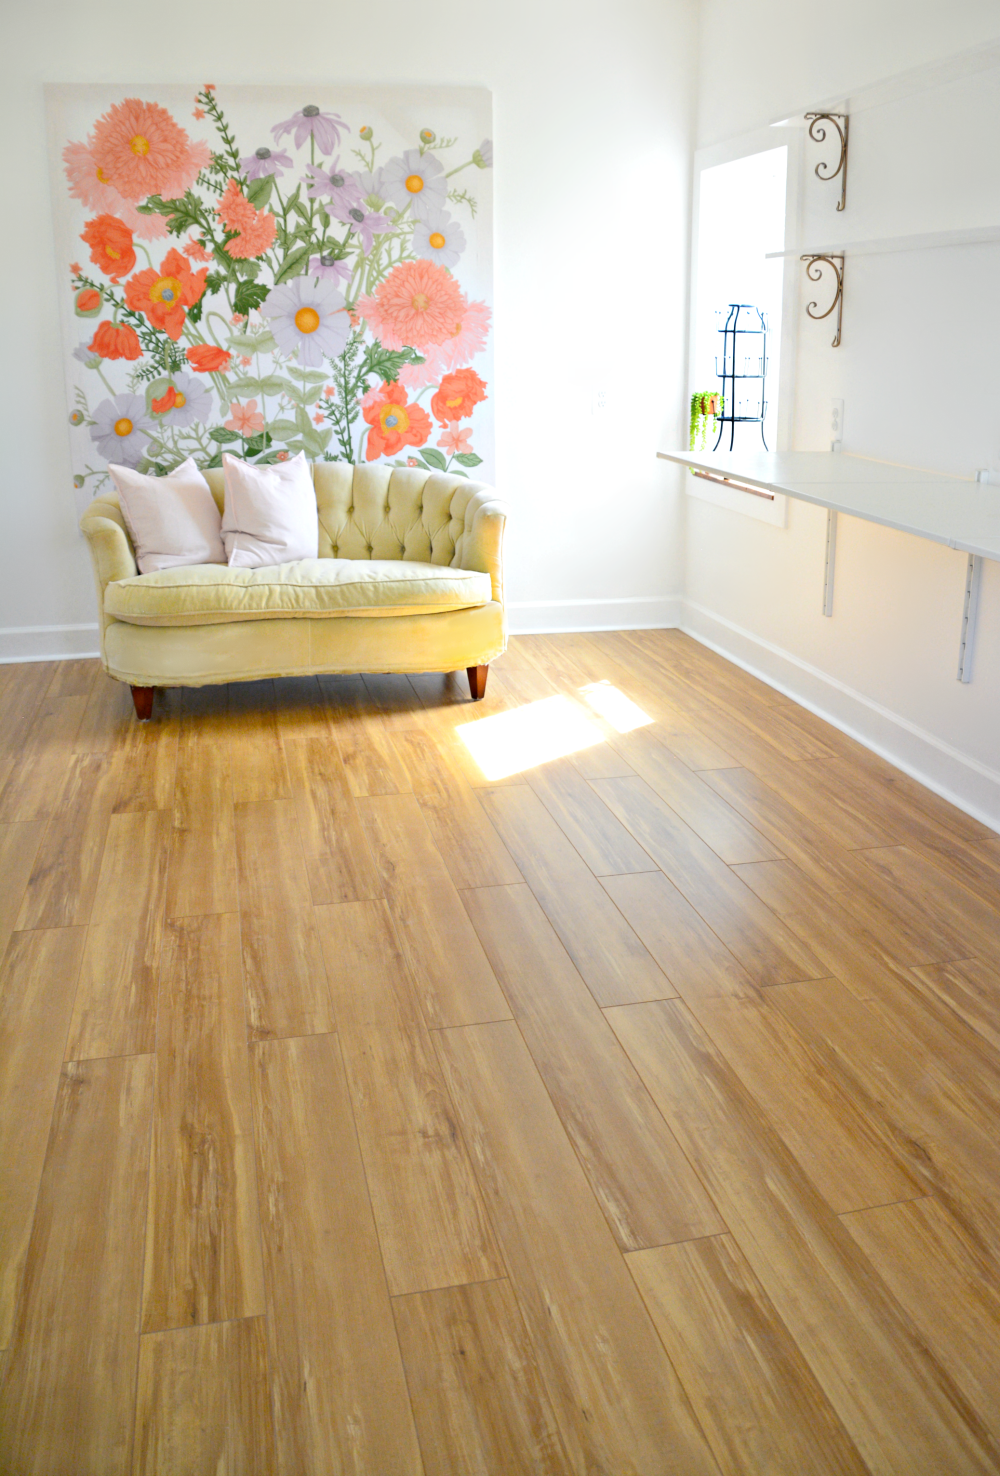
Overall the process went smoothly and was completed over the span of about five hours. My husband even completed most of the installation by himself!! Isn’t that amazing.
We are thrilled with our new flooring and so grateful to have been able to collaborate with Select Surfaces on this project!

![]()
Wow!! The floors look really good!!!!
Great look for your new room. This process looks doable for a DIYer. Can’t wait to see the finished room.
What a great tutorial!! The floor looks great. Pinning to share and keep so I can circle back around when I get to my home office refresh. Can’t wait to see the reveal!! ~~ Susie from The Chelsea Project
Your floors look amazing! I love the light wood tone so much! These look so easy to install. We installed vinyl a few years ago and I hated every second of it. But these look much easier.
What a big improvement! Looks great!
Your floor looks amazing!! I think you picked the perfect color and what a great tutorial!! We laid our own bamboo flooring in our family room a few years ago and it is amazing how easy it really is to do. I can’t wait to see the final reveal! See you at the finish line!!
Wow the floor turned out so good! It’s a great color and looks so easy to install!
We put flooring over cement too! Scraping the glue was not very fun! Your floor looks great!
What a transformation! It looks like such a cozy space now. Love the flooring you chose!
What a great post! I love the tips and tricks you provided. We’ve yet to lay flooring in our basement and this looks like something we would for sure tackle!
danielle
clarkandaldine.com
Great tutorial – and your new floor looks amazing 🙂
What a transformation! I love the color flooring you chose!
Thanks Lisa! I wanted something light that would play well with multiple wood tones. I’m very pleased!