Who’s ready for week 6 of the Spring 2020 One Room Challenge™?!
While I’m very happy to be finishing up this space, we ARE entering the crazy, last few days, crunch time phase where stress can sometimes be high and energy is typically waning. So far I’m feeling pretty good and optimistic that we will get everything done without going too crazy.
If you missed the beginning of this Beachy Boho Bedroom redo, you can catch up by clicking the links below.
Week 1: Beachy Bohemian Girls Bedroom – Before
Week 2: Beachy Bohemian Girls Bedroom Inspiration + Design Plans
Week 3: Plank Walls, Painted Floors, & a New Rug
Week 4: Rehabbed Capiz Shell Light Fixture
Week 5: ORC officially paused in solidarity for #blacklivesmatter
*This post contains Amazon Affiliate links. Purchasing product through these links does not cost any extra but I will make a commission from Amazon for helping them make a sale. We appreciate purchases via our links as it helps support our family and allows us to bring more content to the Petal + Ply blog.
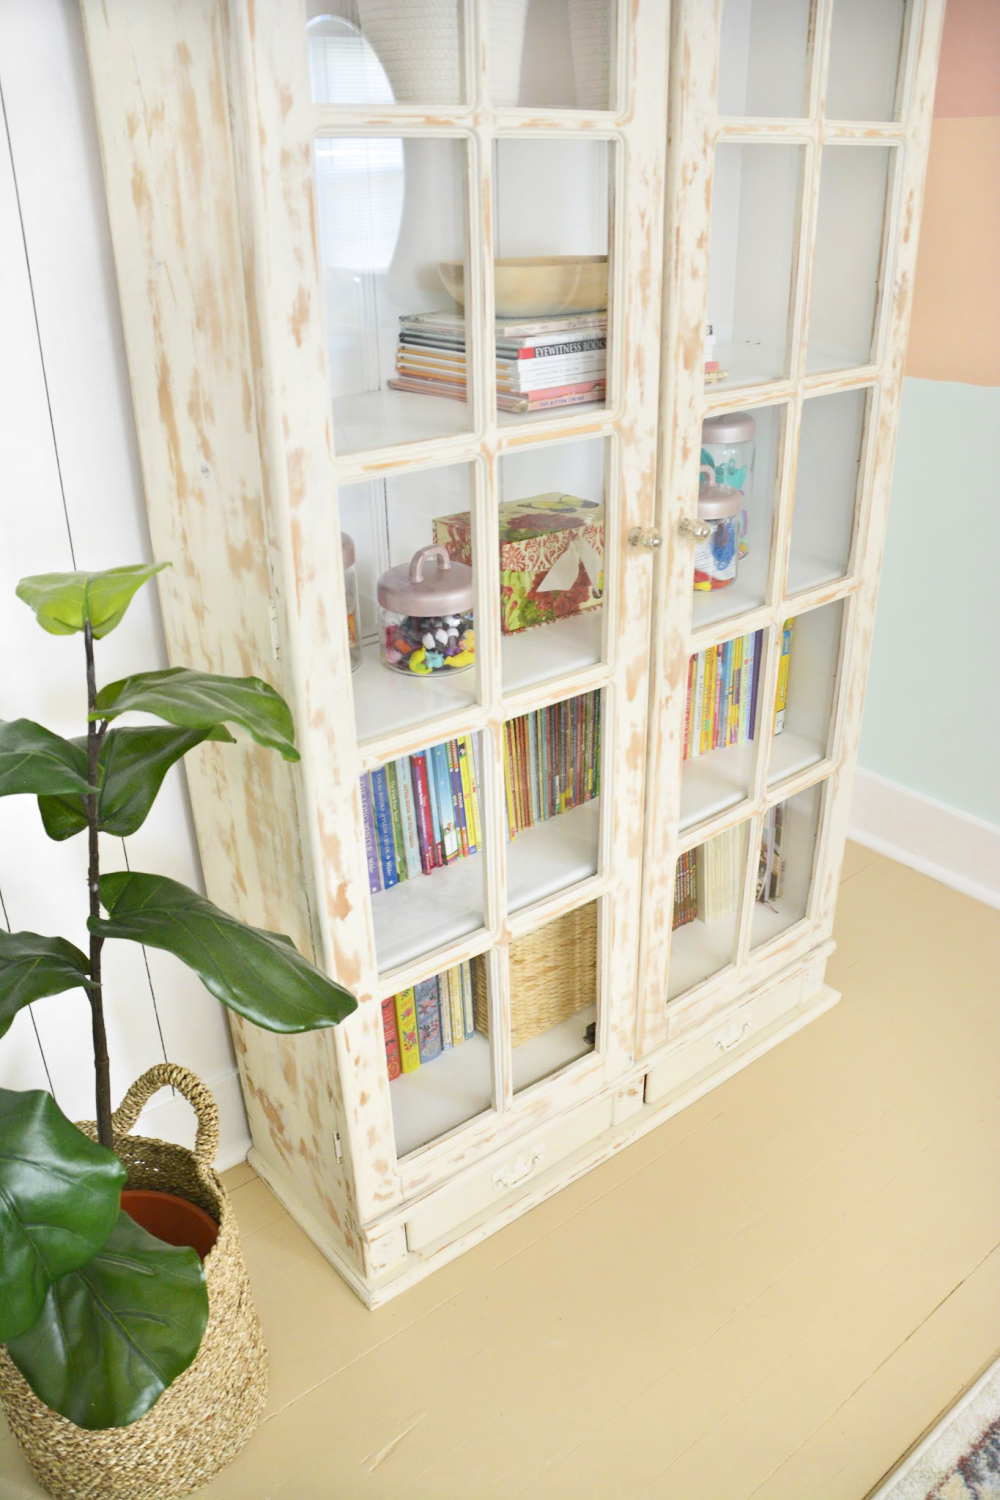
This week was another week full of painting. I went through about 8 cans of spray paint working on various projects including the shutters for the lower half of the windows and a few quick decor updates. The big project of the week and the one I’m sharing today is a weathered look bookcase redo.
We picked up this bookcase last fall during our community bulk trash days. A neighbor had begun redoing the piece and either lost interest or decided they were in over their head, so the bookcase ended up on the curb.
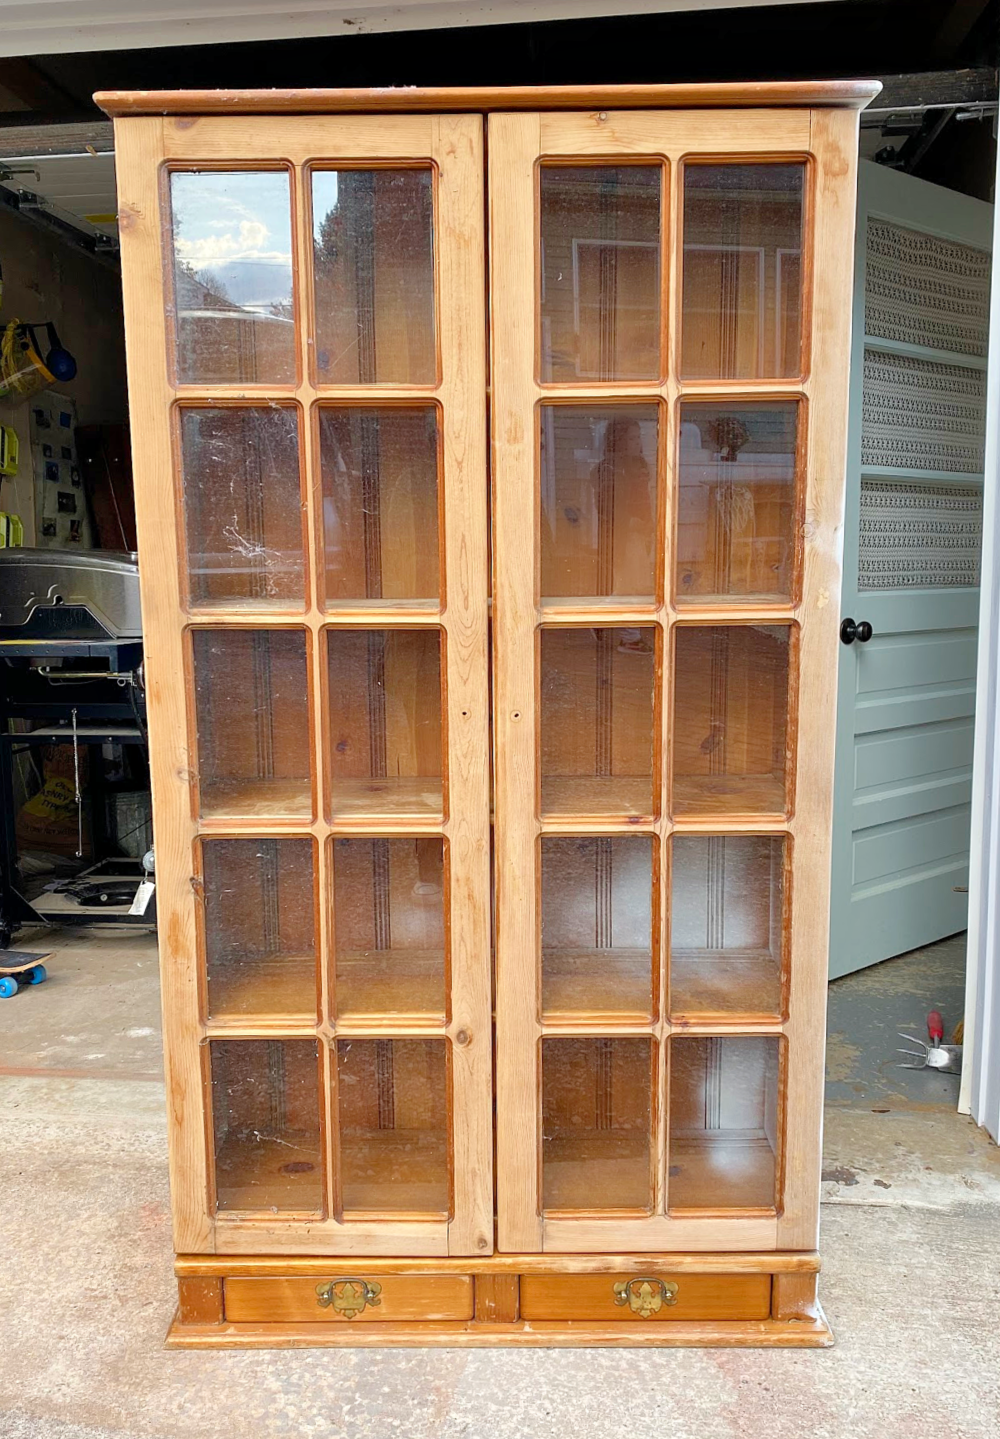
Some of the finish had been sanded, some patches had been spray painted, and some was still in the original banged up (orangey) stained finish. We tried stripping and sanding the spray paint on the exterior but unfortunately, the spray paint may have been oil based, because it was stubborn and after much effort we could not get it all off. Once I knew what we were dealing with I came up with a plan. First, the exterior would be painted and heavily sanded to allow the gorgeous raw wood to show through. This would also allow us to camouflage the areas where the spray paint would not completely come off. Second, the interior would get a solid coat of white paint to help it fade into the plank wall it will sit in front of.
Originally I had planned on painting the exterior of the piece in a white paint BUT after looking at my stash of paint I decided to mix up the remains of all the light colored chalk paint cans I had on hand (about 5 colors). The result was a creamy ,aged, off-white color. While it may not have been my first choice, I’m glad I didn’t have to make an unnecessary trip to the store. If you’re looking for a similar color I’d try an ivory color like FolkArt Home Decor Chalk Paint in Sheepskin or Martha Stewart Matte Chalk, Ivory. After painting the entire piece with one coat of paint I used a Black & Decker Mouse Sander to heavily distress the paint.
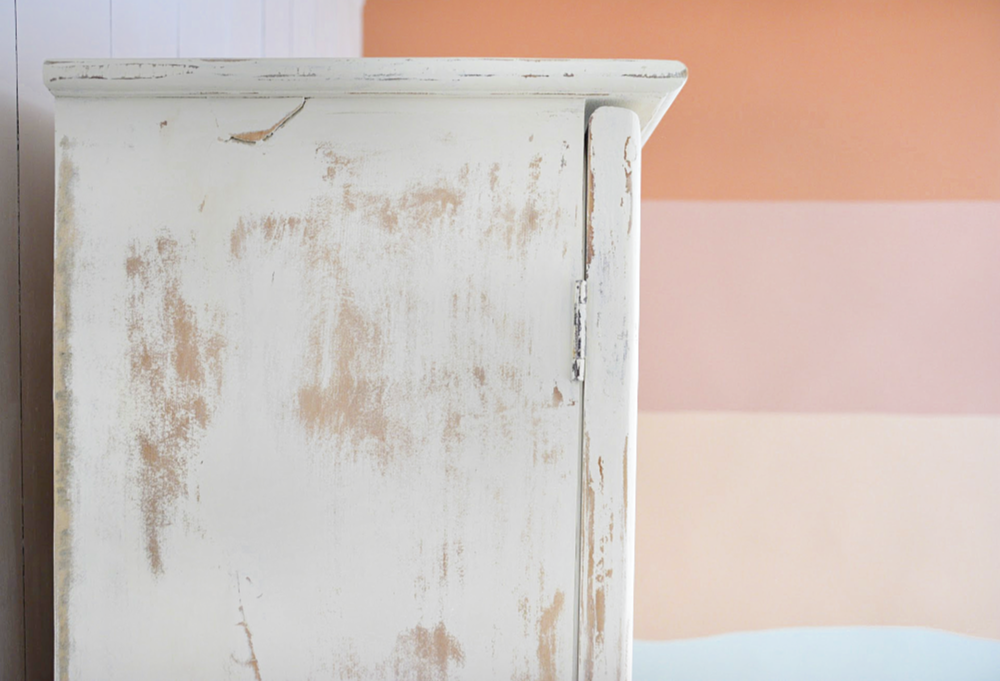
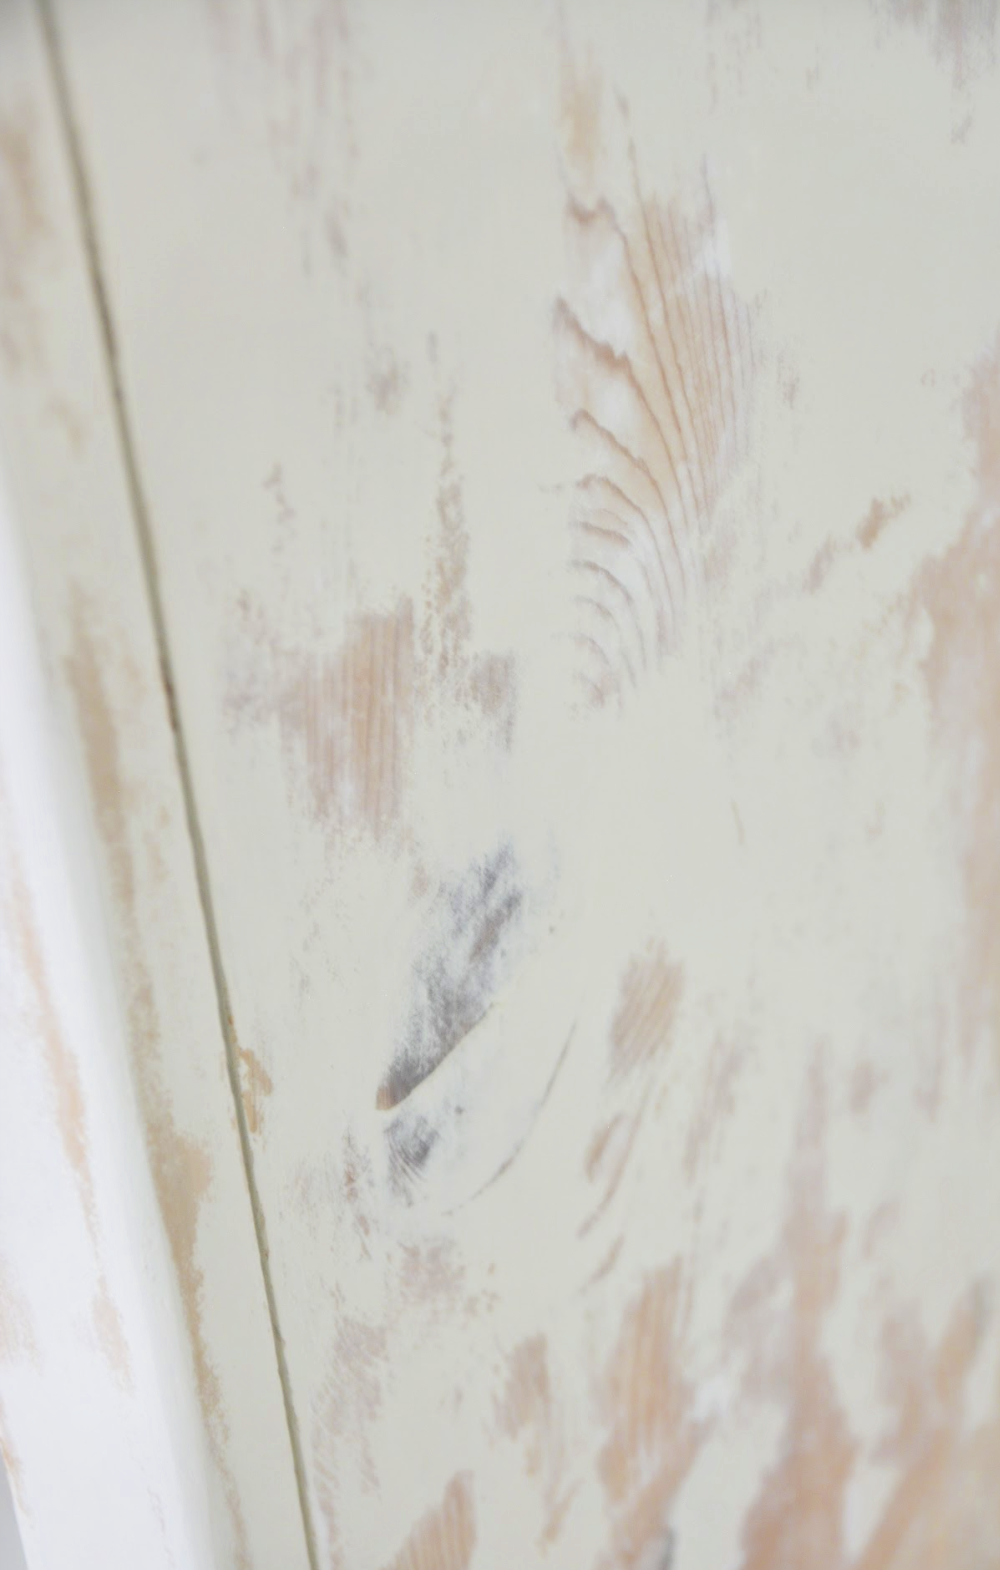
To paint the hardware on the bottom two drawers I used Rust-oleum Clean Metal Primer and then Rust-oleum Painter’s Touch Semi-Gloss in Ivory Bisque. The Ivory Bisque (which I also already had leftover from another project) was almost a perfect match to the paint I mixed up.
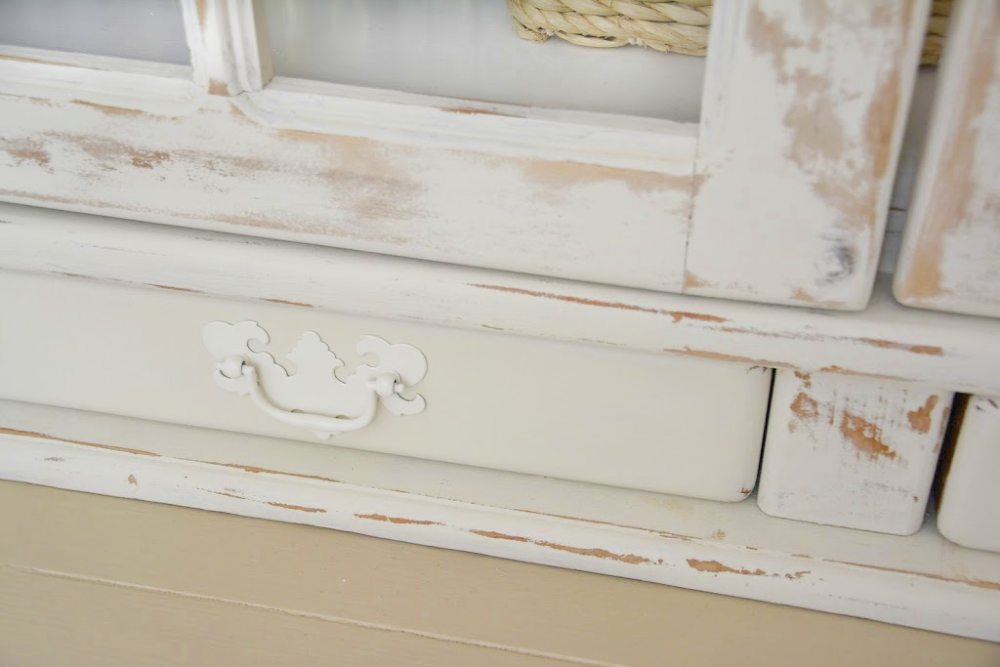
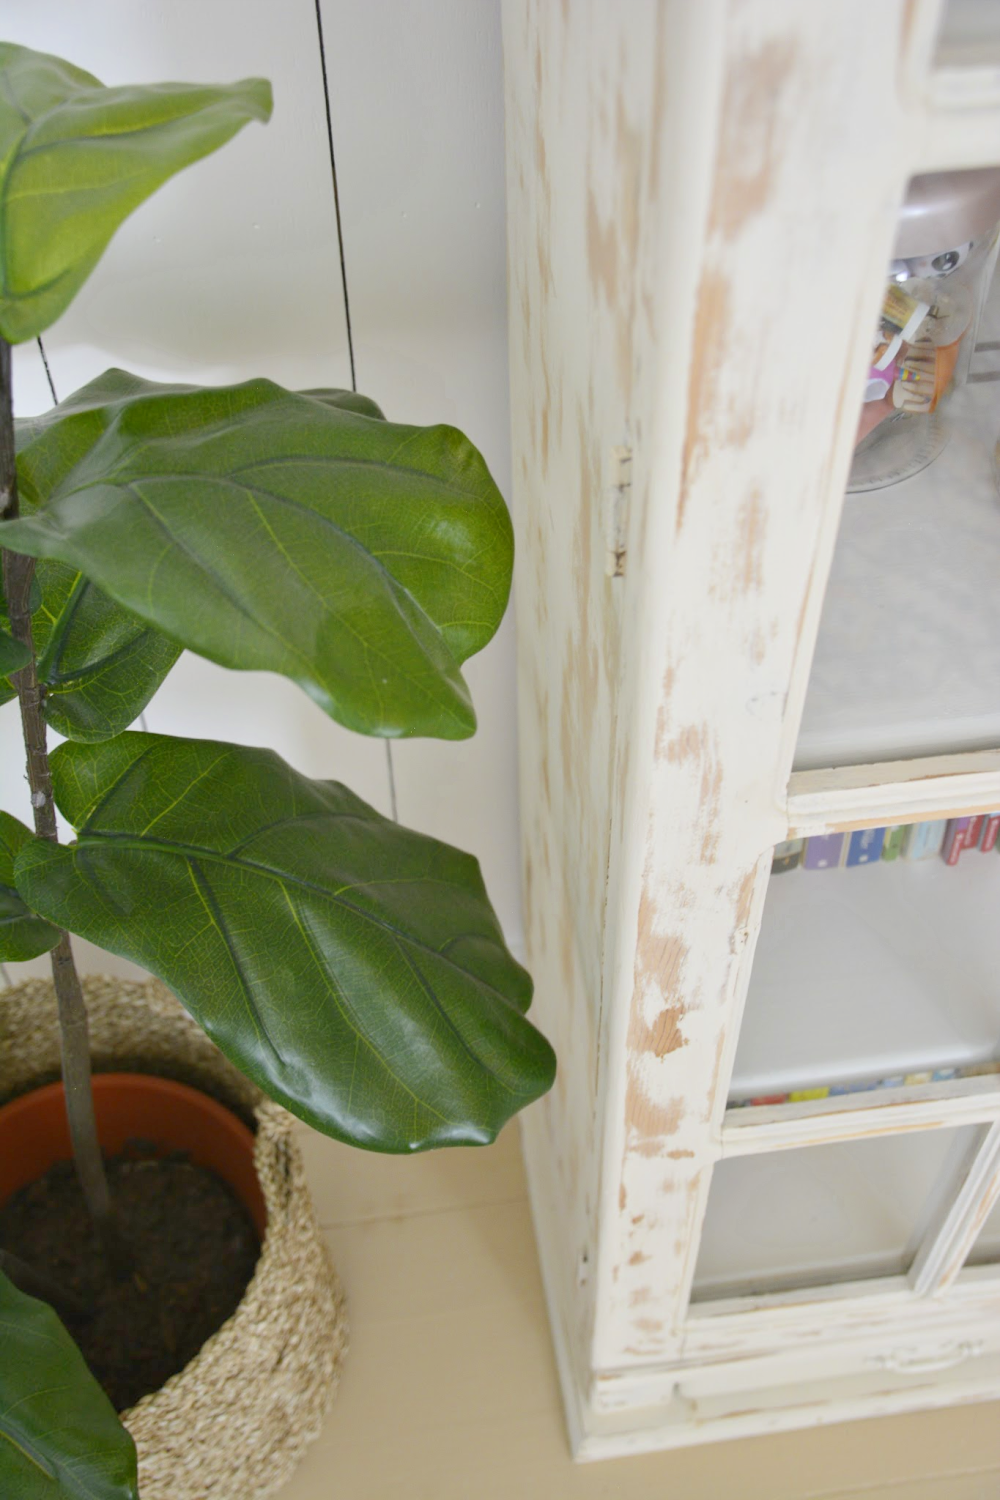
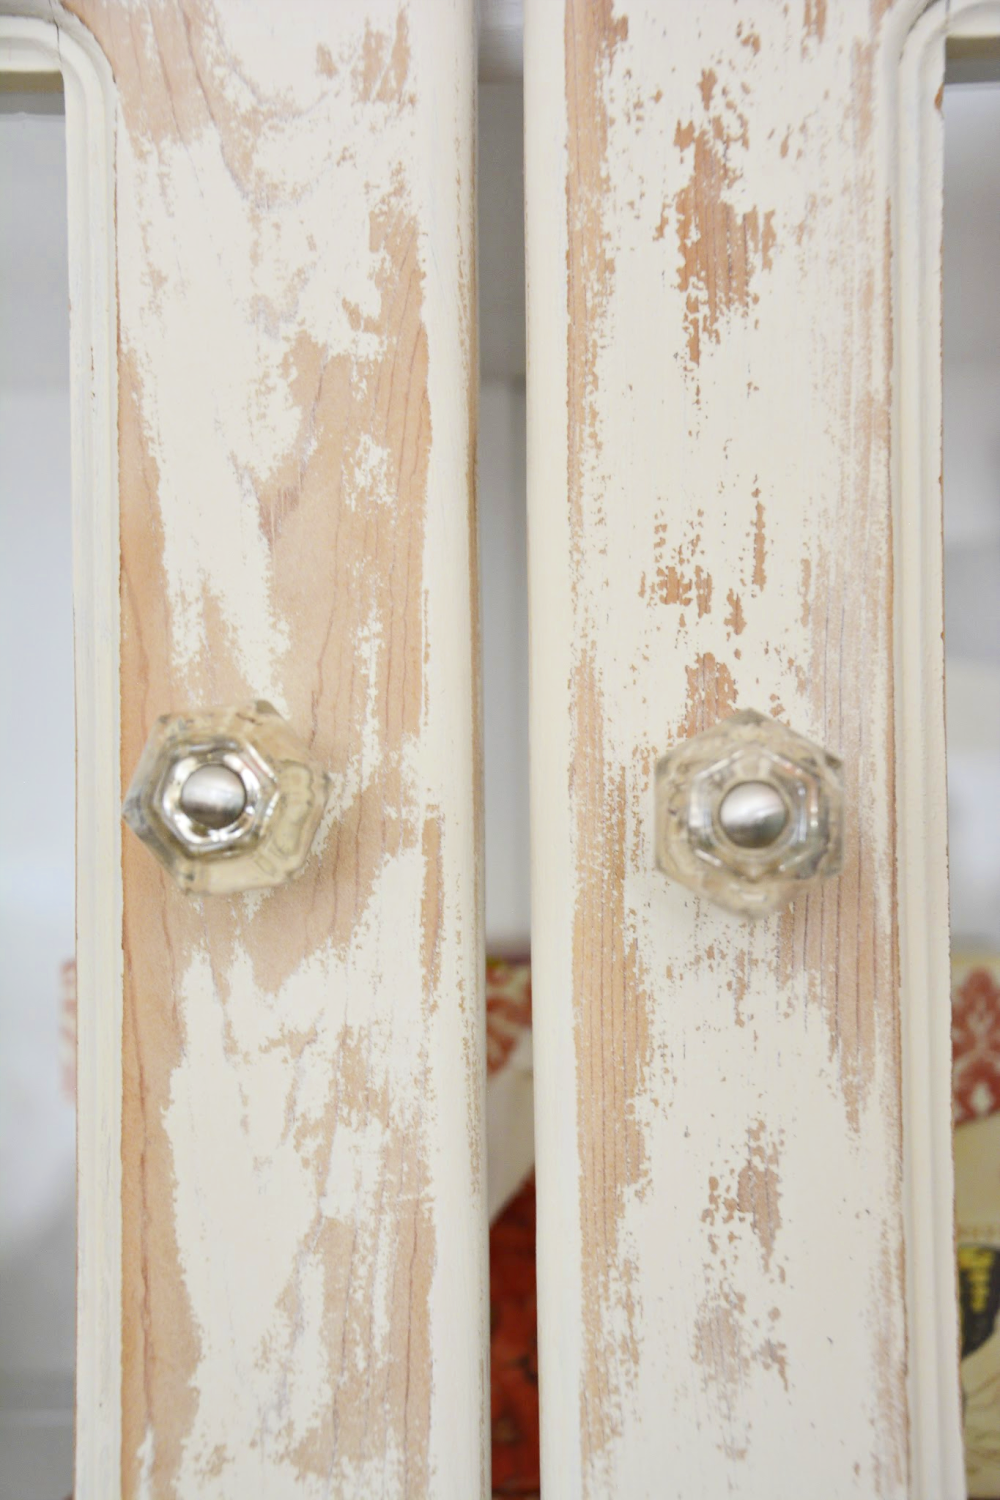
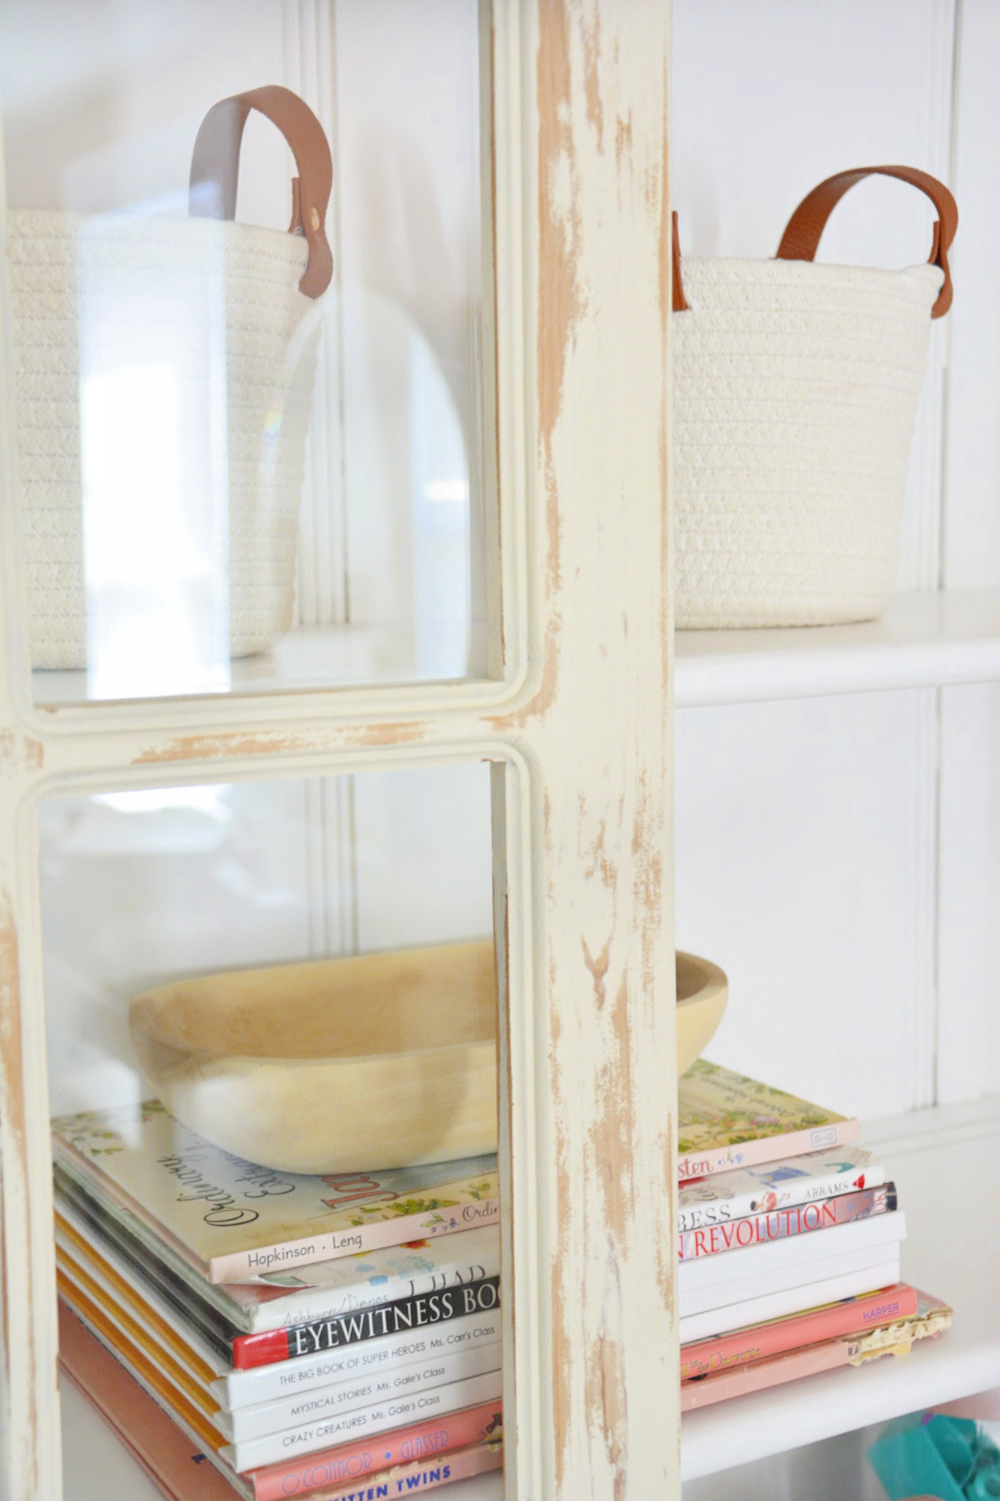
For the interior of the bookcase I started with Majic Paints Diamond Hard Paint in white. It was my first time using this paint and I really liked the paint itself BUT the color looked much to bright (blueish) compared to the white wall paint. I decided to use a coat of the wall paint over the Majic Paint so that the inside of the bookcase would match the wall behind.
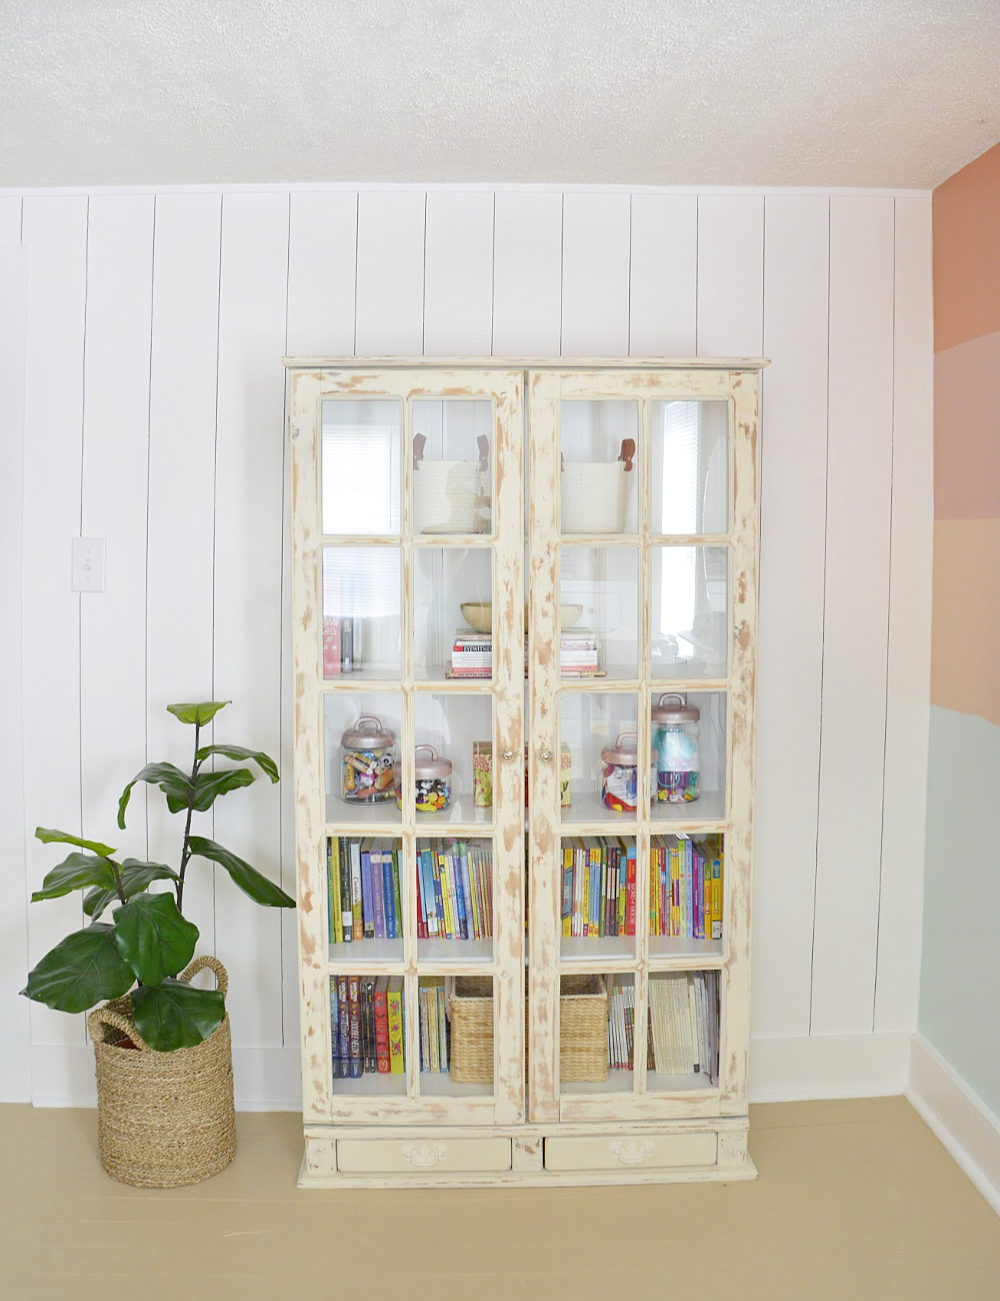
I am really happy with how the bookcase came out. The color looks really good in the room and coordinates very well with the new rug. For some reason the bottom half of the cabinet is reading very yellow in the image above. It doesn’t appear that creamy in real life. Hopefully the room lighting and my photography & editing skills will be better for the final reveal photos. 😉
This week, today actually, we also hung the new DIY curtain rods!
Ahh! We are so close to finishing the room.
THE TO-DO LIST
new area ruginstall & paint vertical plank wallspaint baseboards & window/door casingspaint ocean sunset muralbuild bentwood headboardrehab&hang thrifted lightingend table DIYrefinish wood bookcasepaint& install lower window shutterswindow treatmentspaint& install ceiling to floor shutter accent around bed frame- DIY decor projects
- touch ups
- style decorative elements
- photograph the finished space!
Thanks for stopping in today and we hope to see you back next week for our final progress post before the final reveal. The final One Room Challenge™ reveals will begin to be posted on June 25th and will continue through July 5th!
Now, if you haven’t done so already, go check out the Week 6 room updates from all of the featured designers and other linking participants over on the One Room Challenge™ blog.
